

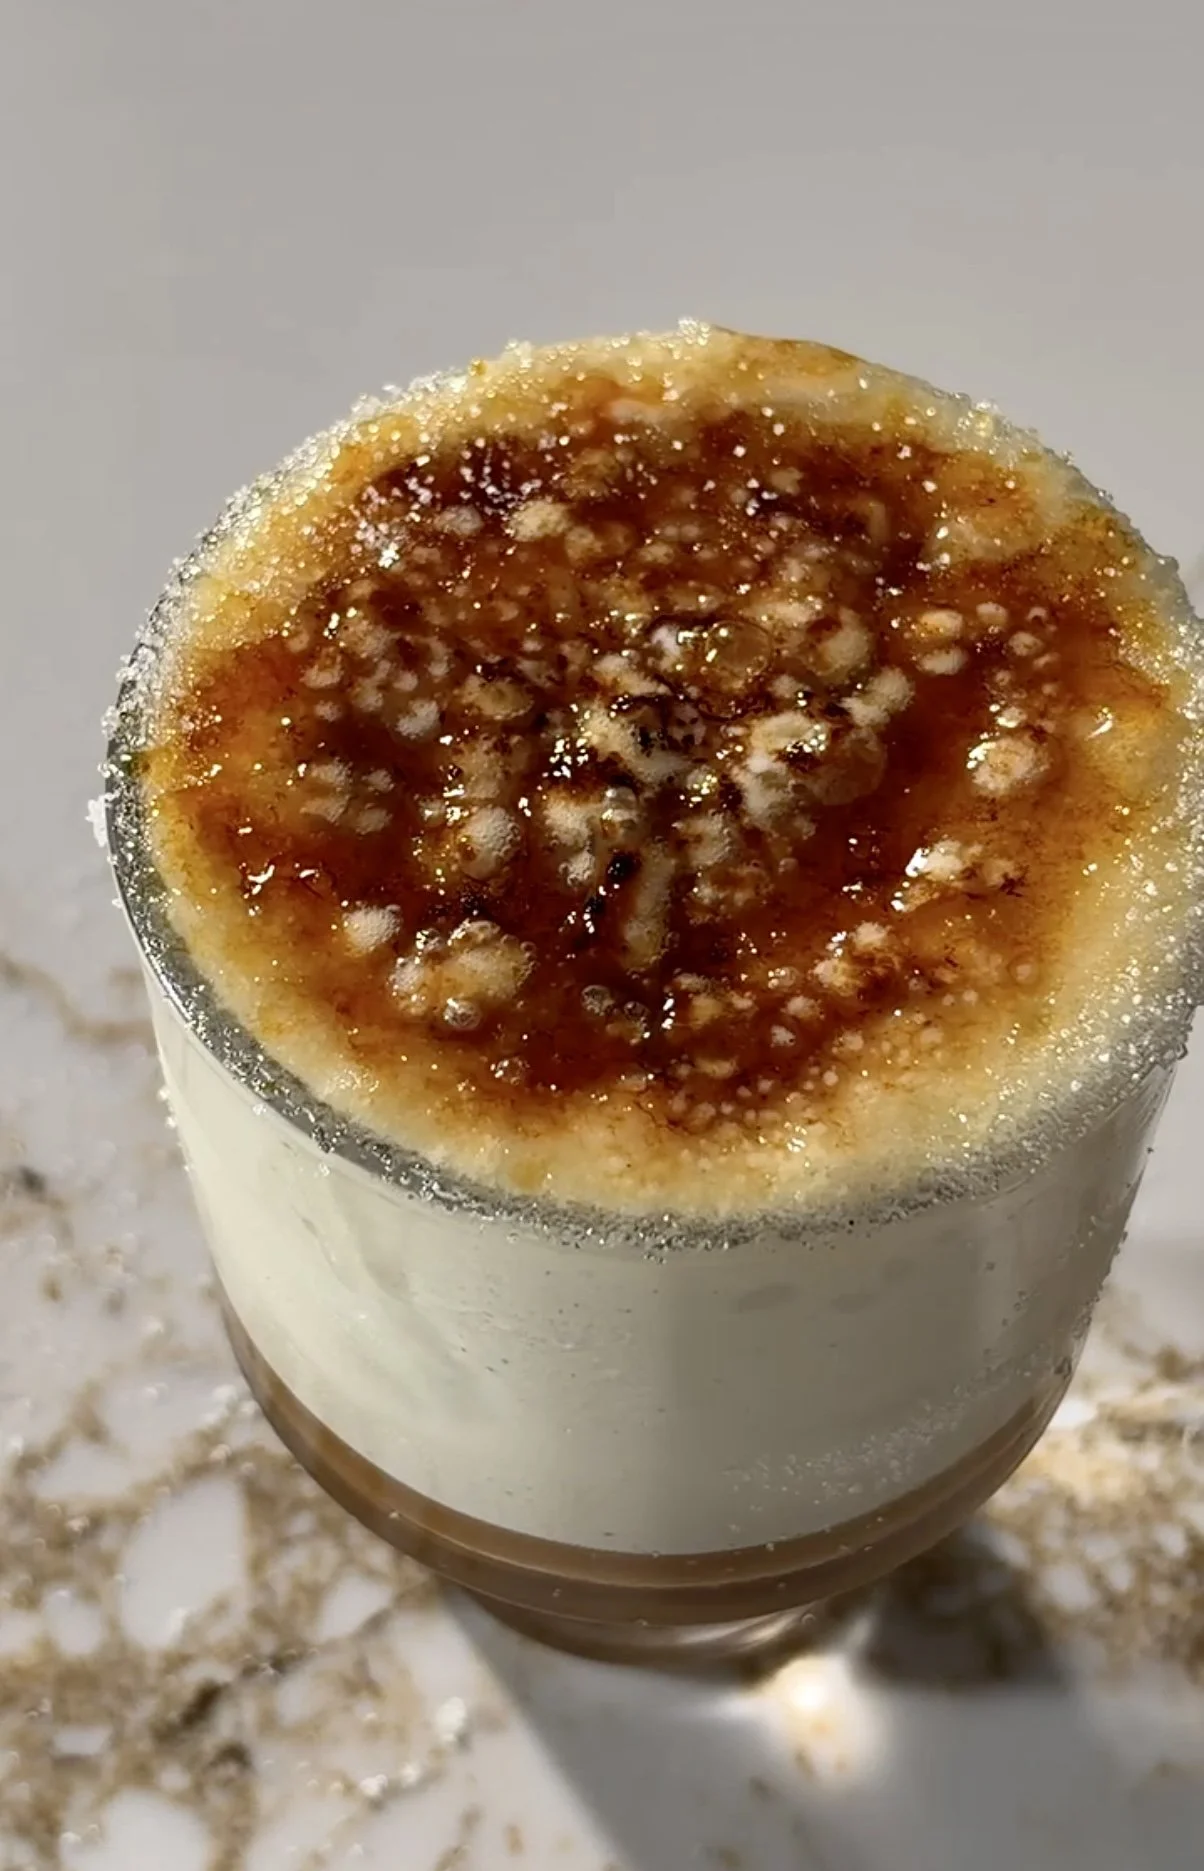
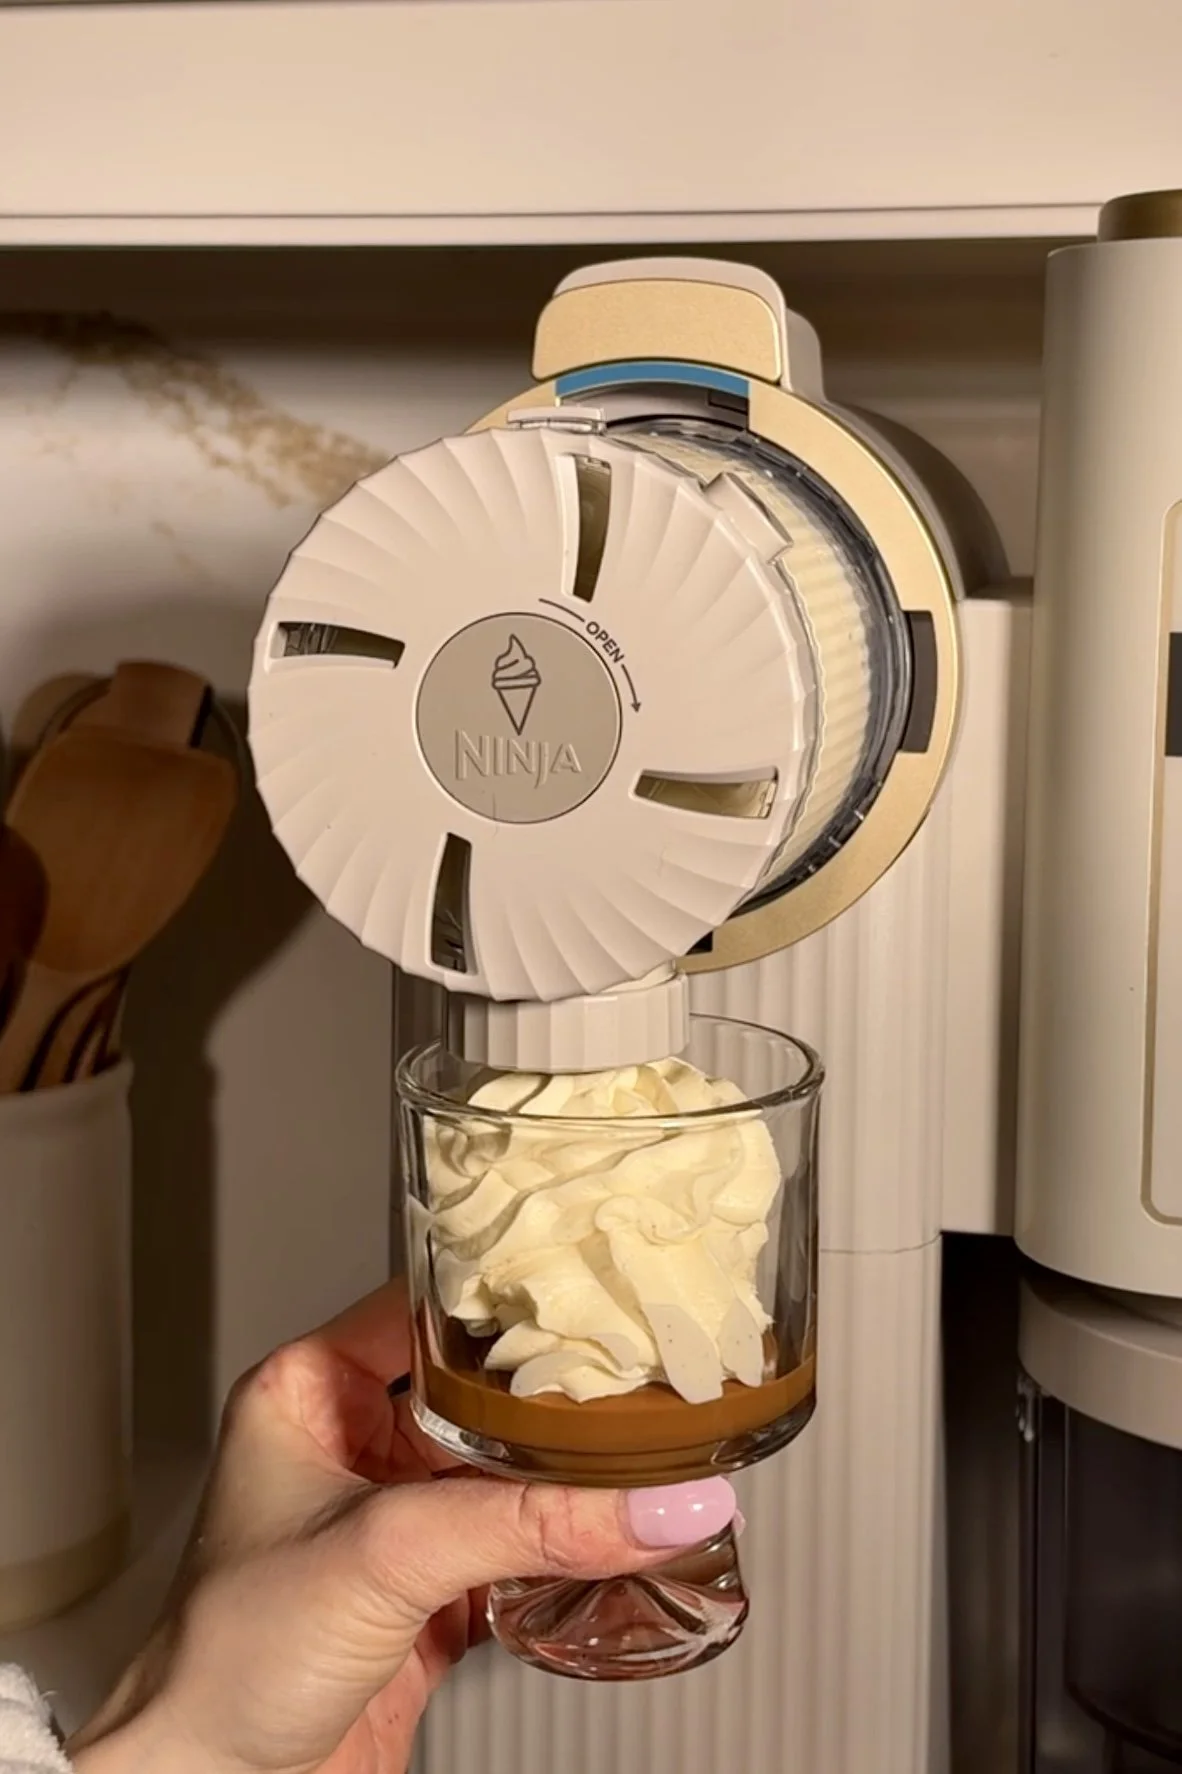
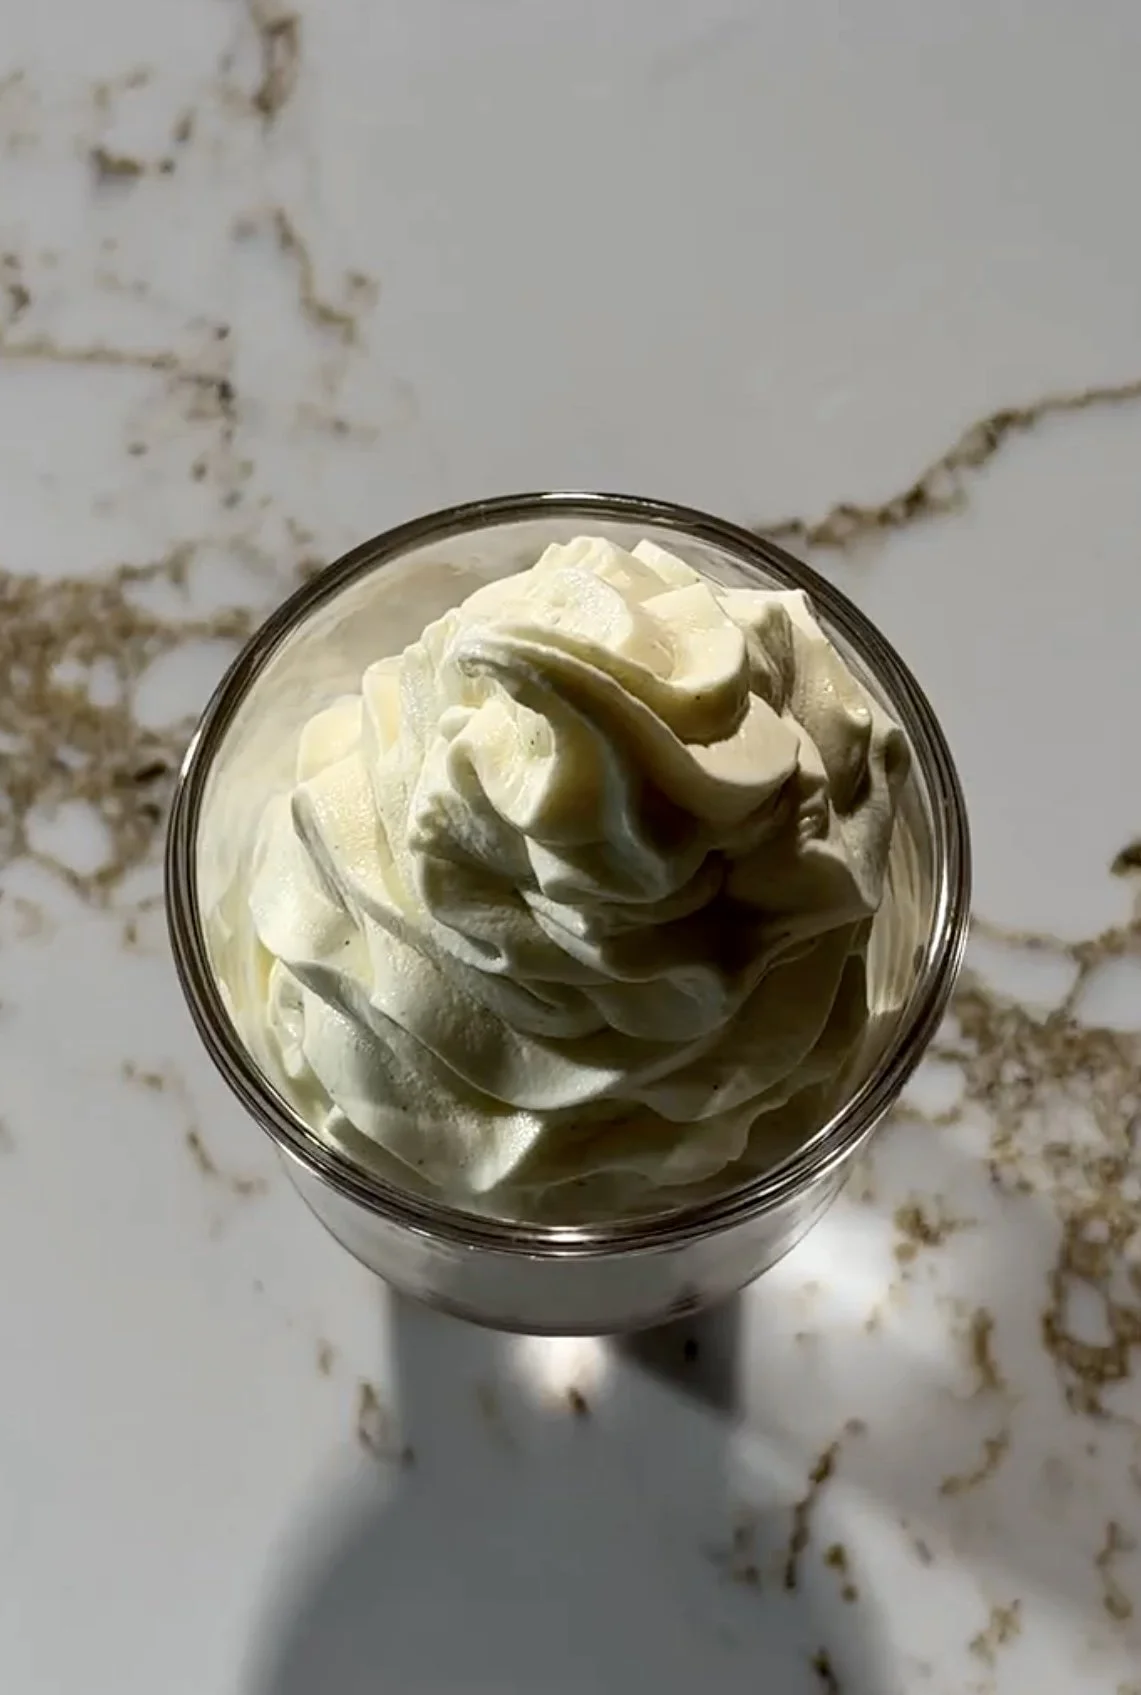
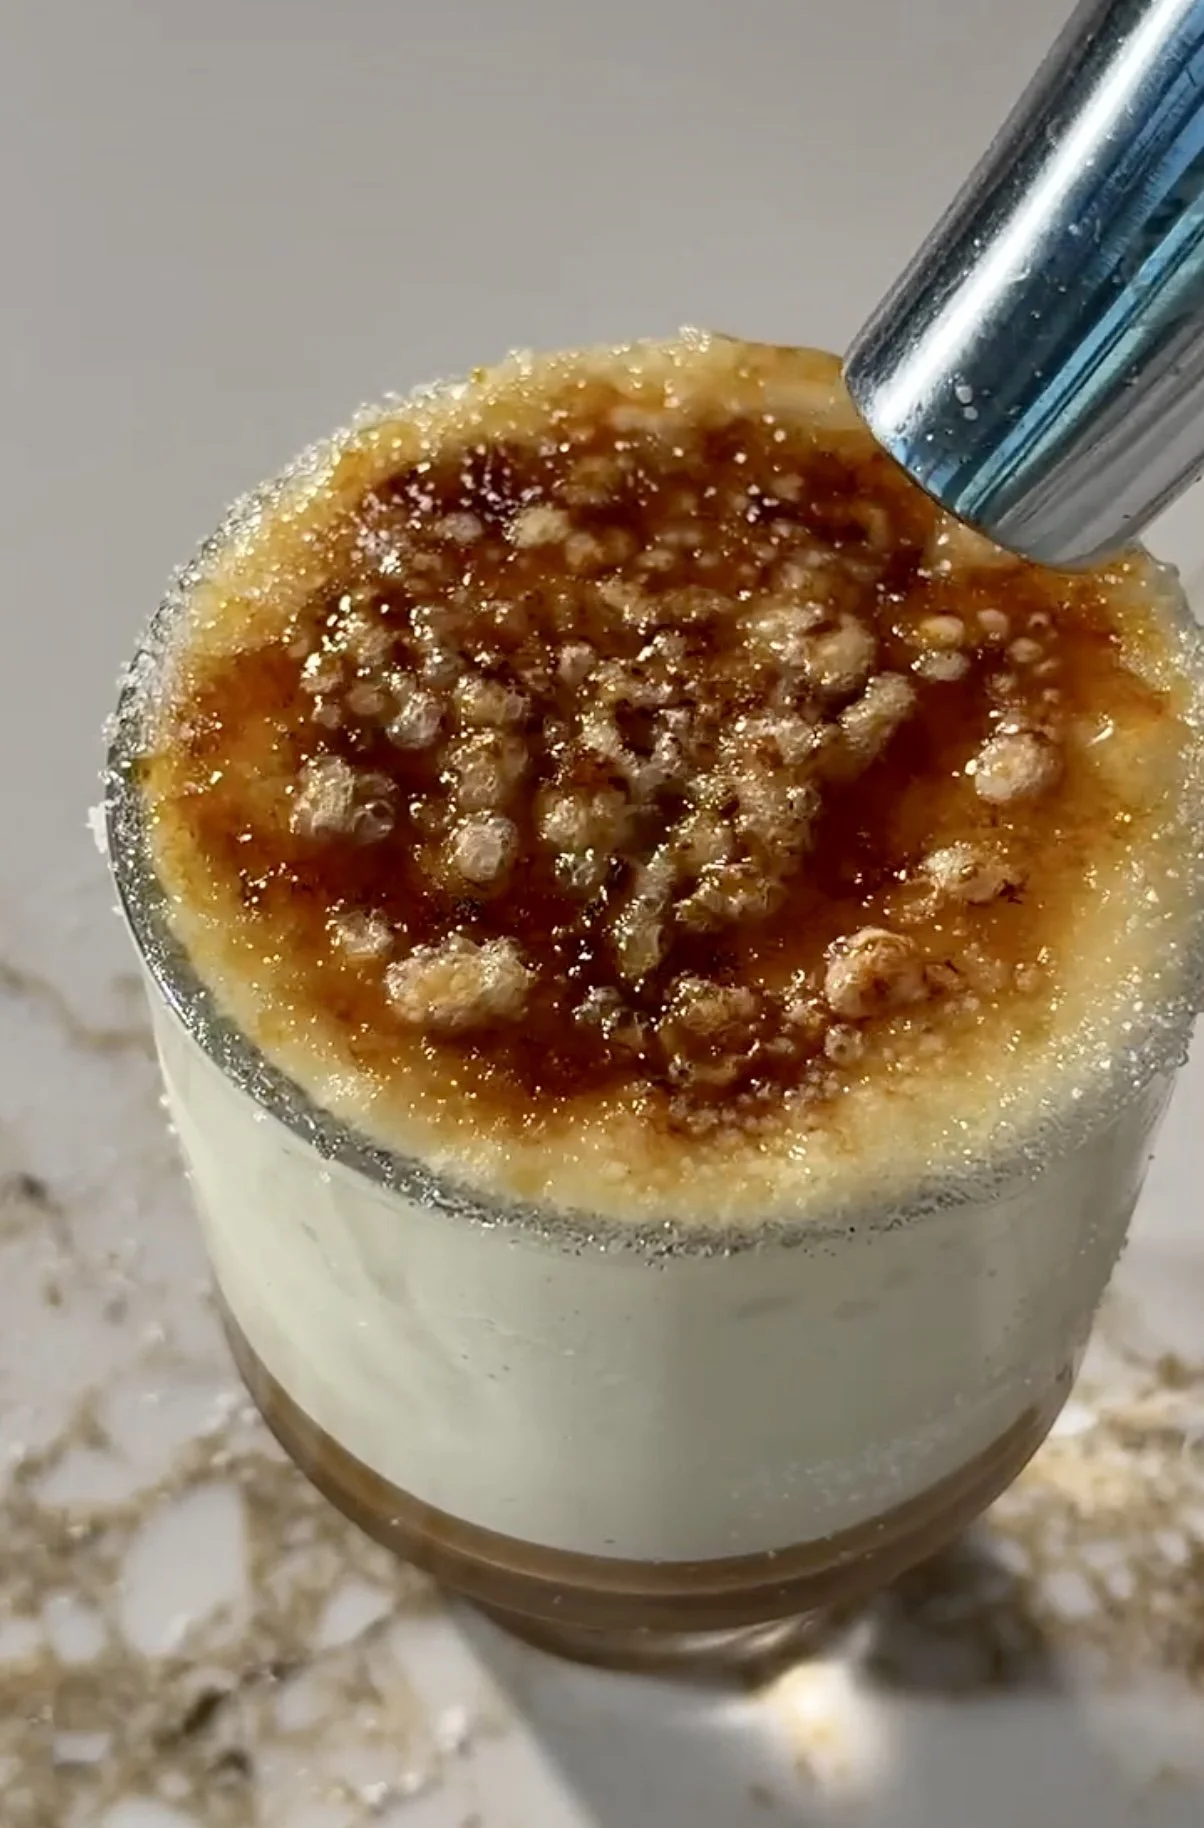
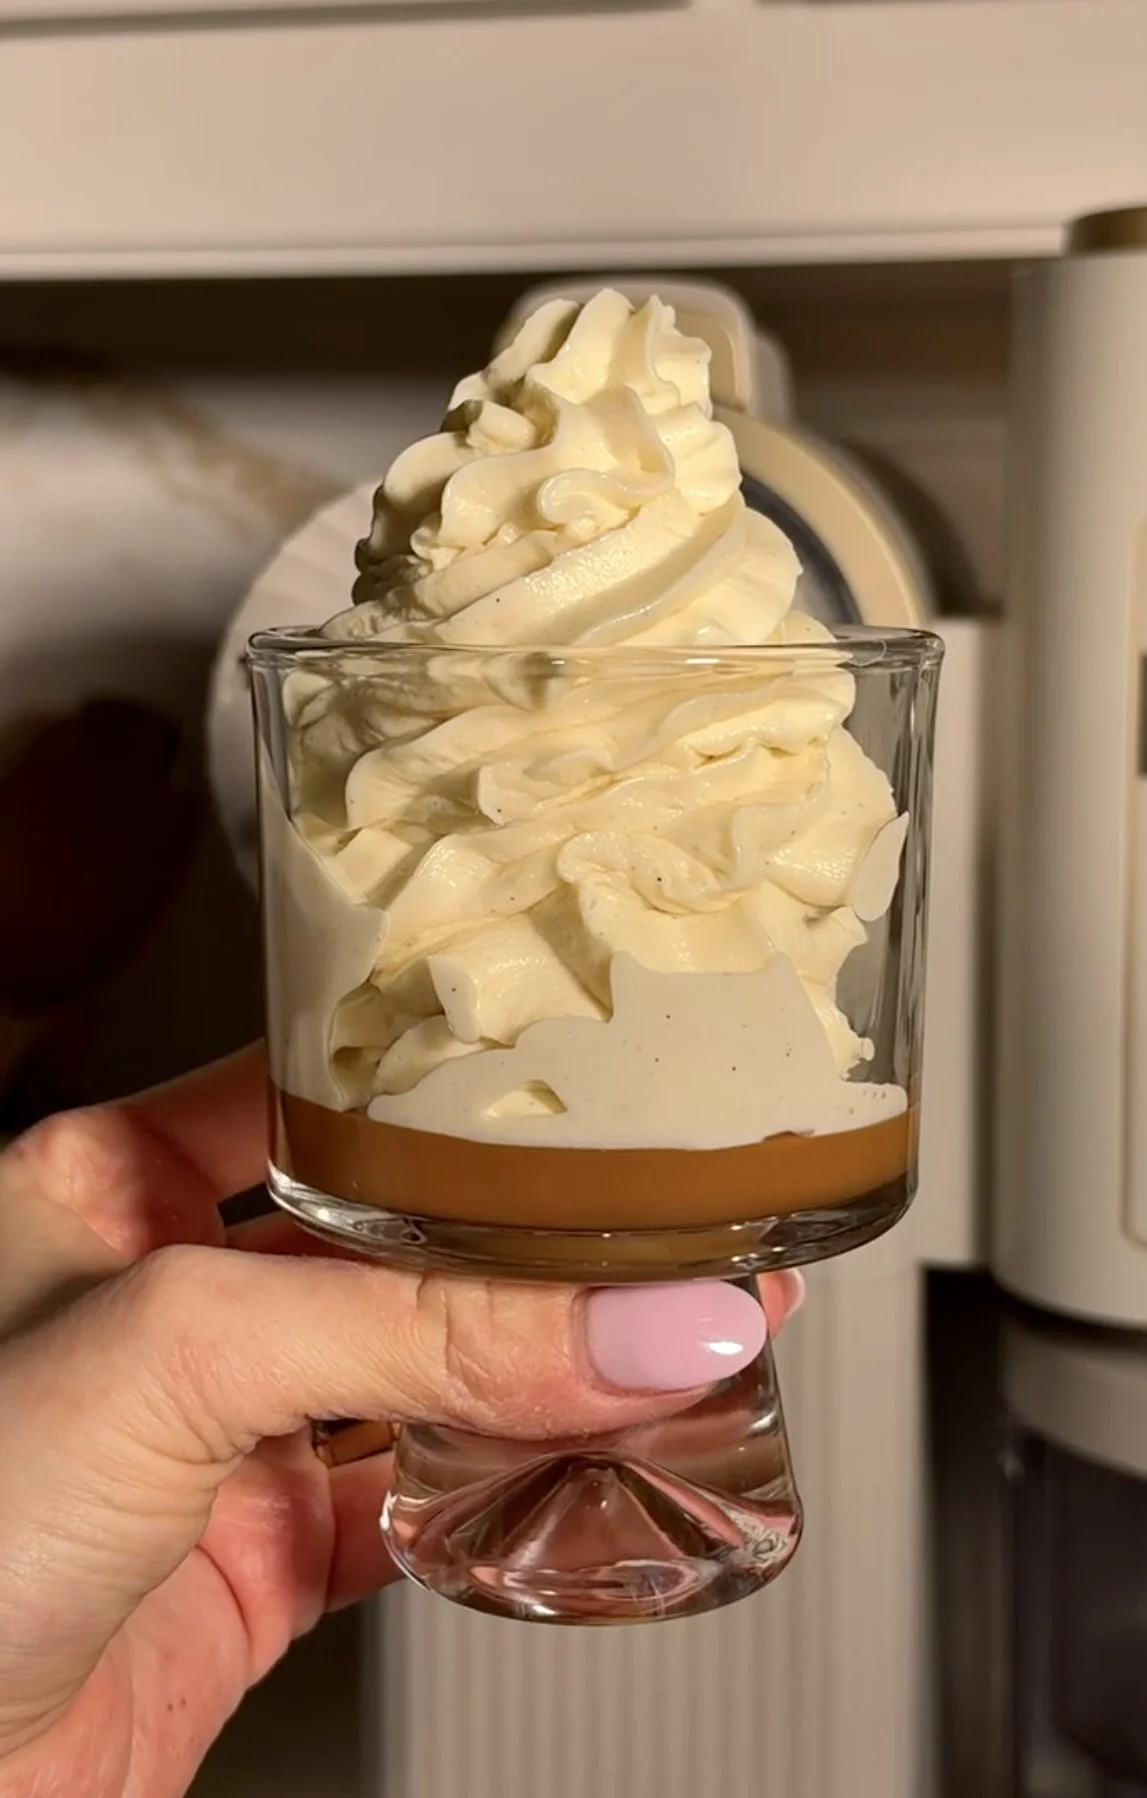
Meet your new favorite way to serve ice cream. These Crème Brûlée Ice Cream Sundaes start with a classic vanilla bean custard ice cream base that is smooth rich and incredibly creamy — made in a traditional ice cream maker or your Ninja CREAMi for the most perfectly scoopable or soft serve result. To serve a layer of cookie butter goes on the bottom of the cup followed by the vanilla bean custard ice cream and then a generous layer of sugar torched until perfectly caramelized and crackly on top. The most satisfying crack you will ever experience in a dessert!
If you try out this recipe, I’d love to see it! Leave a comment with a star rating below and tag @wellmadebykiley on Instagram and hashtag it #wellmadebykiley
Ingredients You Need:
Full ingredients and recipe are in the recipe card below. Read through this section for all the ingredients substitution and baking tips!
Whole Milk: Combined with the heavy cream to create the rich and creamy base of the vanilla bean custard ice cream. Whole milk is essential here for the most smooth and perfectly creamy result.
Heavy Cream: Combined with the whole milk for an extra rich and indulgent custard base that churns up into the smoothest most perfectly creamy vanilla bean ice cream with every single scoop.
Vanilla Bean Paste or Extract: The star flavoring of this custard ice cream — real vanilla bean paste is strongly recommended for the most rich and deeply flavored vanilla bean custard with those beautiful flecks of vanilla in every single scoop.
Egg Yolks: The key to a rich smooth and perfectly silky custard base — five egg yolks add incredible richness and a beautiful golden color that sets this vanilla bean custard ice cream completely apart from any standard ice cream base.
Granulated Sugar: Used in the custard base to sweeten the vanilla bean ice cream to a perfectly balanced and indulgent finish — also sprinkled generously over the top of each cup and torched until perfectly caramelized and crackly for that classic crème brûlée experience.
Salt: A small amount in the custard base balances the sweetness and enhances the deep rich vanilla bean flavor throughout every single scoop.
Cookie Butter: Spooned into the bottom of each cup before adding the vanilla bean custard ice cream for the most incredible warm caramelized and spiced Biscoff surprise in every single spoonful. Optional but absolutely worth it.
Why You’ll Love Crème Brûlée Ice Cream Sundaes:
Smooth Rich And Perfectly Creamy Vanilla Bean Custard: The vanilla bean custard ice cream base is incredibly smooth rich and creamy with real vanilla bean flavor in every single bite. This is the kind of ice cream that makes every other vanilla ice cream feel like a compromise.
Cookie Butter Layer On The Bottom: A layer of cookie butter on the bottom of every cup adds the most incredible warm caramelized and spiced surprise that pairs so beautifully with the smooth vanilla bean custard ice cream on top.
Perfectly Caramelized And Crackly Torched Sugar Top: A generous layer of granulated sugar torched until perfectly caramelized and crackly on top is the most satisfying finishing touch — just like a real crème brûlée but in ice cream form.
The Most Satisfying Crack: Cracking through the caramelized sugar top with a spoon is genuinely one of the most satisfying dessert moments you will ever experience!
Made In An Ice Cream Maker Or Ninja CREAMi: The custard base works beautifully in a traditional ice cream maker or a Ninja CREAMi — making this recipe incredibly accessible no matter what equipment you have at home.
Feels Like A Restaurant Dessert At Home: Between the smooth vanilla bean custard the cookie butter layer and the torched sugar top this sundae looks and tastes like something you would order at a really incredible restaurant.
Perfect For Any Occasion: Dinner parties holiday gatherings date nights or any time you want to make something truly impressive and special.
Tips for Making Crème Brûlée Ice Cream Sundaes:
Freeze Your Ice Cream Maker Base Overnight: If using a standard ice cream maker make sure to place the base in the freezer the night before — ideally in the back or coldest part of the freezer. A properly frozen base is essential for the best churning result.
Do Not Boil The Milk Mixture: Heat the whole milk heavy cream and vanilla together until just simmering — do not let it boil. Boiling the milk mixture will affect the texture and flavor of the custard base.
Temper The Eggs Slowly: When streaming the hot milk mixture into the egg yolks go slowly and whisk continuously. Adding the hot liquid too quickly will cook and scramble the eggs. Starting with just a small ladle at a time is the safest approach.
Keep The Heat Low When Cooking The Custard: Cook the custard over medium-low heat and whisk continuously until it just barely coats the back of a spoon and reaches 170F-180F. Do not turn up the heat to speed up the process or the eggs will scramble.
Strain Through A Fine Mesh Sieve: Pour the finished custard through a fine mesh sieve before chilling for the smoothest most perfectly silky result. This removes any small bits of cooked egg for the cleanest custard base possible.
Chill The Custard Completely Before Churning: The custard base must be completely cold before churning in a standard ice cream maker — at least 4-6 hours in the refrigerator or overnight for the best result. A warm base will not churn properly.
For The Ninja CREAMi — Chill For At Least 2 Hours First: If using a Ninja CREAMi allow the custard to chill for at least 2 hours before pouring into the pint containers and freezing overnight. The base does not need to be completely cold before freezing.
Re-Spin If Needed: If the ice cream looks dry or crumbly after the first spin in the Ninja CREAMi add 1 tablespoon of milk and re-spin on the same function until it reaches a perfectly smooth and scoopable consistency.
Use Real Vanilla Bean Paste: Real vanilla bean paste is strongly recommended over extract for the most rich and deeply flavored vanilla bean custard with those beautiful flecks of vanilla throughout every single scoop.
Use A Generous Layer Of Cookie Butter: Do not be shy with the cookie butter layer on the bottom of each cup. A generous layer is what gives you that incredible warm caramelized Biscoff flavor in every single spoonful alongside the vanilla bean custard.
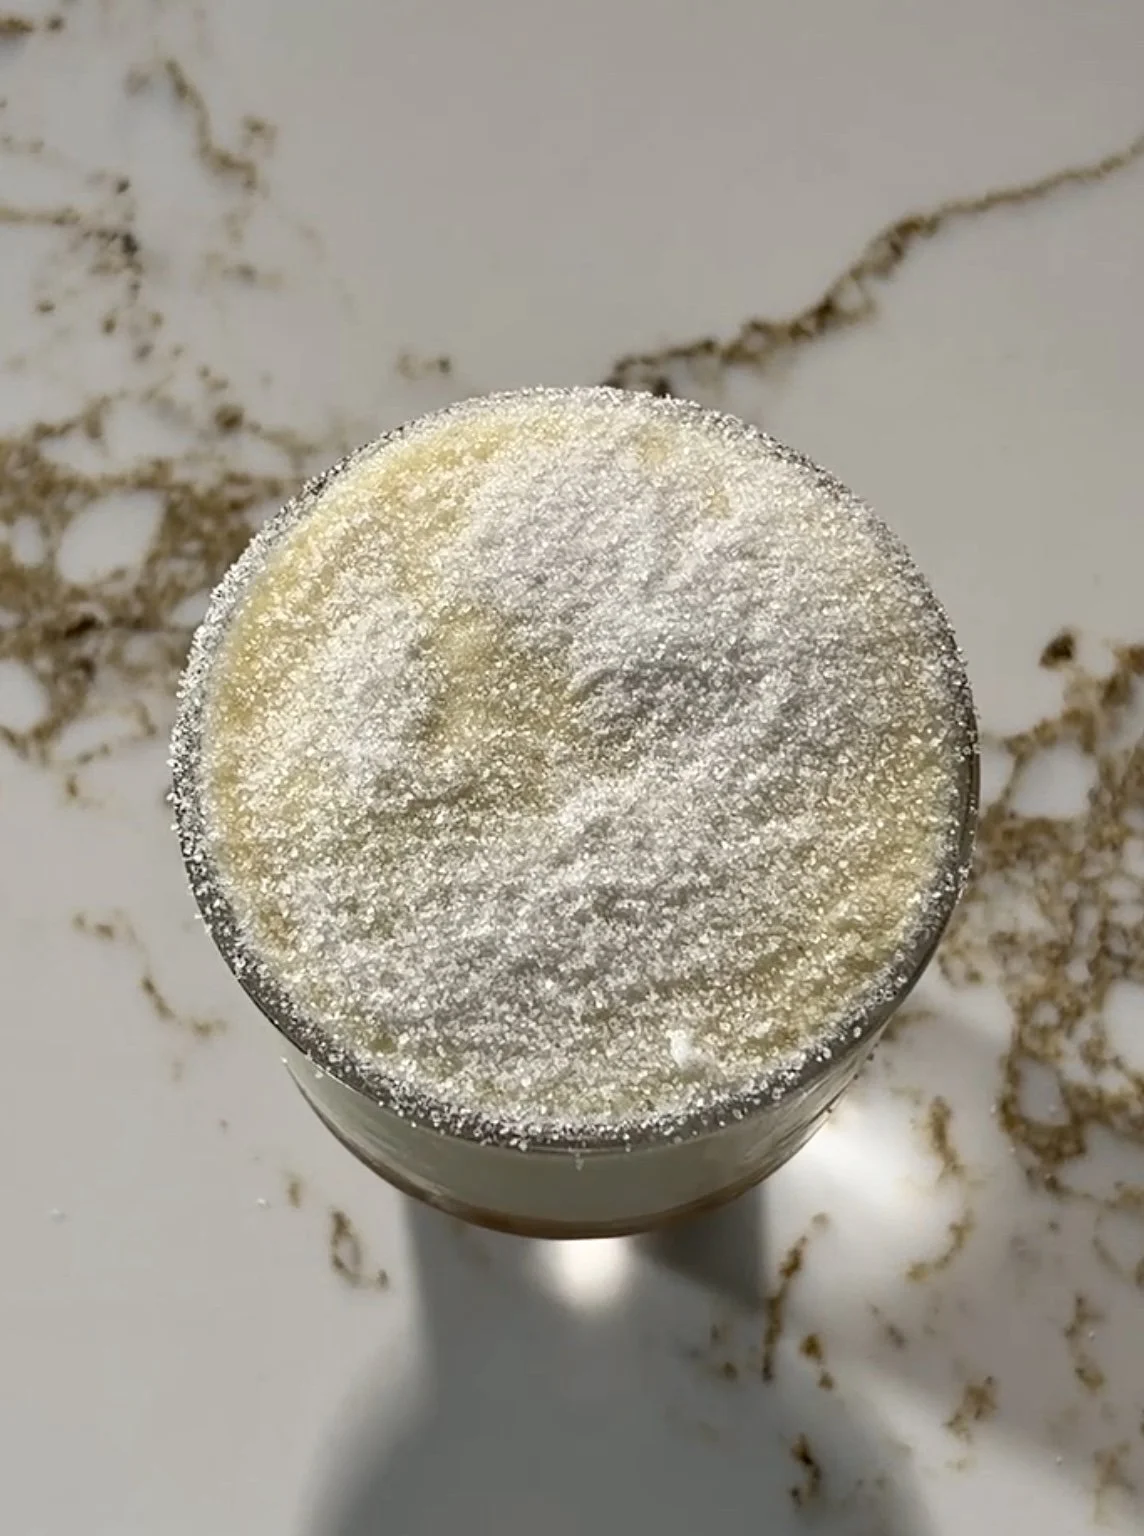
Use Granulated Sugar — Not Powdered Sugar: Make sure to use granulated sugar for the torched top — powdered sugar will not caramelize properly and will not give you that perfectly crackly and caramelized crème brûlée result.
Sprinkle The Sugar In An Even Layer: Spread the granulated sugar in an even layer over the top of each cup before torching. An even layer ensures the sugar caramelizes uniformly for the most beautiful and consistently crackly top.
Keep The Torch Moving: When torching the sugar keep the torch moving in a circular motion to caramelize the sugar evenly without burning any one spot. The sugar should turn a deep golden amber color all the way across.
Serve And Crack Immediately: Serve the crème brûlée ice cream sundaes immediately after torching so the caramelized sugar top is perfectly crackly. Waiting too long will cause the sugar to absorb moisture and lose that satisfying crack.
How to Store Crème Brûlée Ice Cream Sundaes:
Best Served Fresh: These crème brûlée ice cream sundaes are at their absolute best served immediately after torching. The caramelized sugar top is perfectly crackly and the vanilla bean custard ice cream is at its most smooth and creamy.
Vanilla Bean Custard Ice Cream (Freezer): Store the churned vanilla bean custard ice cream in sealed pint containers or a freezer-safe container with a layer of parchment paper pressed against the surface for up to 2 weeks for the best texture and flavor.
Custard Base (Make Ahead): The custard base can be made up to 2 days in advance and stored covered in the refrigerator before churning. This is a great way to save time the day of serving.
Do Not Torch Ahead: The torched sugar top must be done right before serving — a pre-torched sundae will lose the crackly caramelized top as the sugar absorbs moisture from the ice cream.
FAQs:
Q: Can I use a Ninja CREAMi instead of a traditional ice cream maker?
A: Yes. Pour the chilled custard base into Ninja CREAMi pint containers and freeze overnight. Process on the Ice Cream function for a scoopable result or the Soft Serve Ice Cream function on the Scoop and Swirl for a soft serve result. Re-spin with a splash of milk if the texture looks dry or crumbly after the first spin.
Q: Why do I need to temper the eggs?
A: Tempering the eggs by slowly streaming the hot milk mixture into the egg yolks while whisking continuously prevents the eggs from scrambling. Going slowly and starting with just a small amount of hot liquid at a time is the key to a perfectly smooth custard every single time.
Q: What sugar works best for the torched top?
A: Plain granulated sugar is strongly recommended for the best caramelized and crackly crème brûlée top. Powdered sugar will not caramelize properly so make sure to use granulated for the most satisfying crack.
Q: Can I skip the cookie butter layer?
A: Yes. The cookie butter layer is optional but strongly recommended — it adds the most incredible warm caramelized and spiced flavor that pairs so beautifully with the smooth vanilla bean custard and crackly sugar top. Any cookie butter or Biscoff spread works perfectly here.
Q: Why does my custard need to be strained through a sieve?
A: Straining through a fine mesh sieve removes any small bits of cooked egg for the smoothest most perfectly silky custard base. It is a quick step that makes a significant difference in the final texture of the ice cream.
Q: How do I know when the custard is ready?
A: The custard is ready when it just barely coats the back of a spoon and reaches between 170F-180F on a kitchen thermometer. Do not let it go above that temperature or the eggs will scramble and the texture will be grainy.
Q: Can I make this without a kitchen torch?
A: A kitchen torch is strongly recommended for the best caramelized and crackly crème brûlée top. Without one you can place the sugar-topped cups under a broiler for 1-2 minutes watching closely — but a kitchen torch gives you the most even and controlled caramelization every single time.
Love this? Check out my other ice cream recipes:
Salted Maple Swirl Ice Cream Sandwiches (w/ Butter Waffle Cookies)
Brownie Ice Cream Sandwiches (w/ Homemade Coffee Chip Ice Cream)
Make sure to tag me @wellmadebykiley on Instagram and leave a review or comment if you make these crème brûlée ice cream sundaes!