

Fried Apple Hand Pies
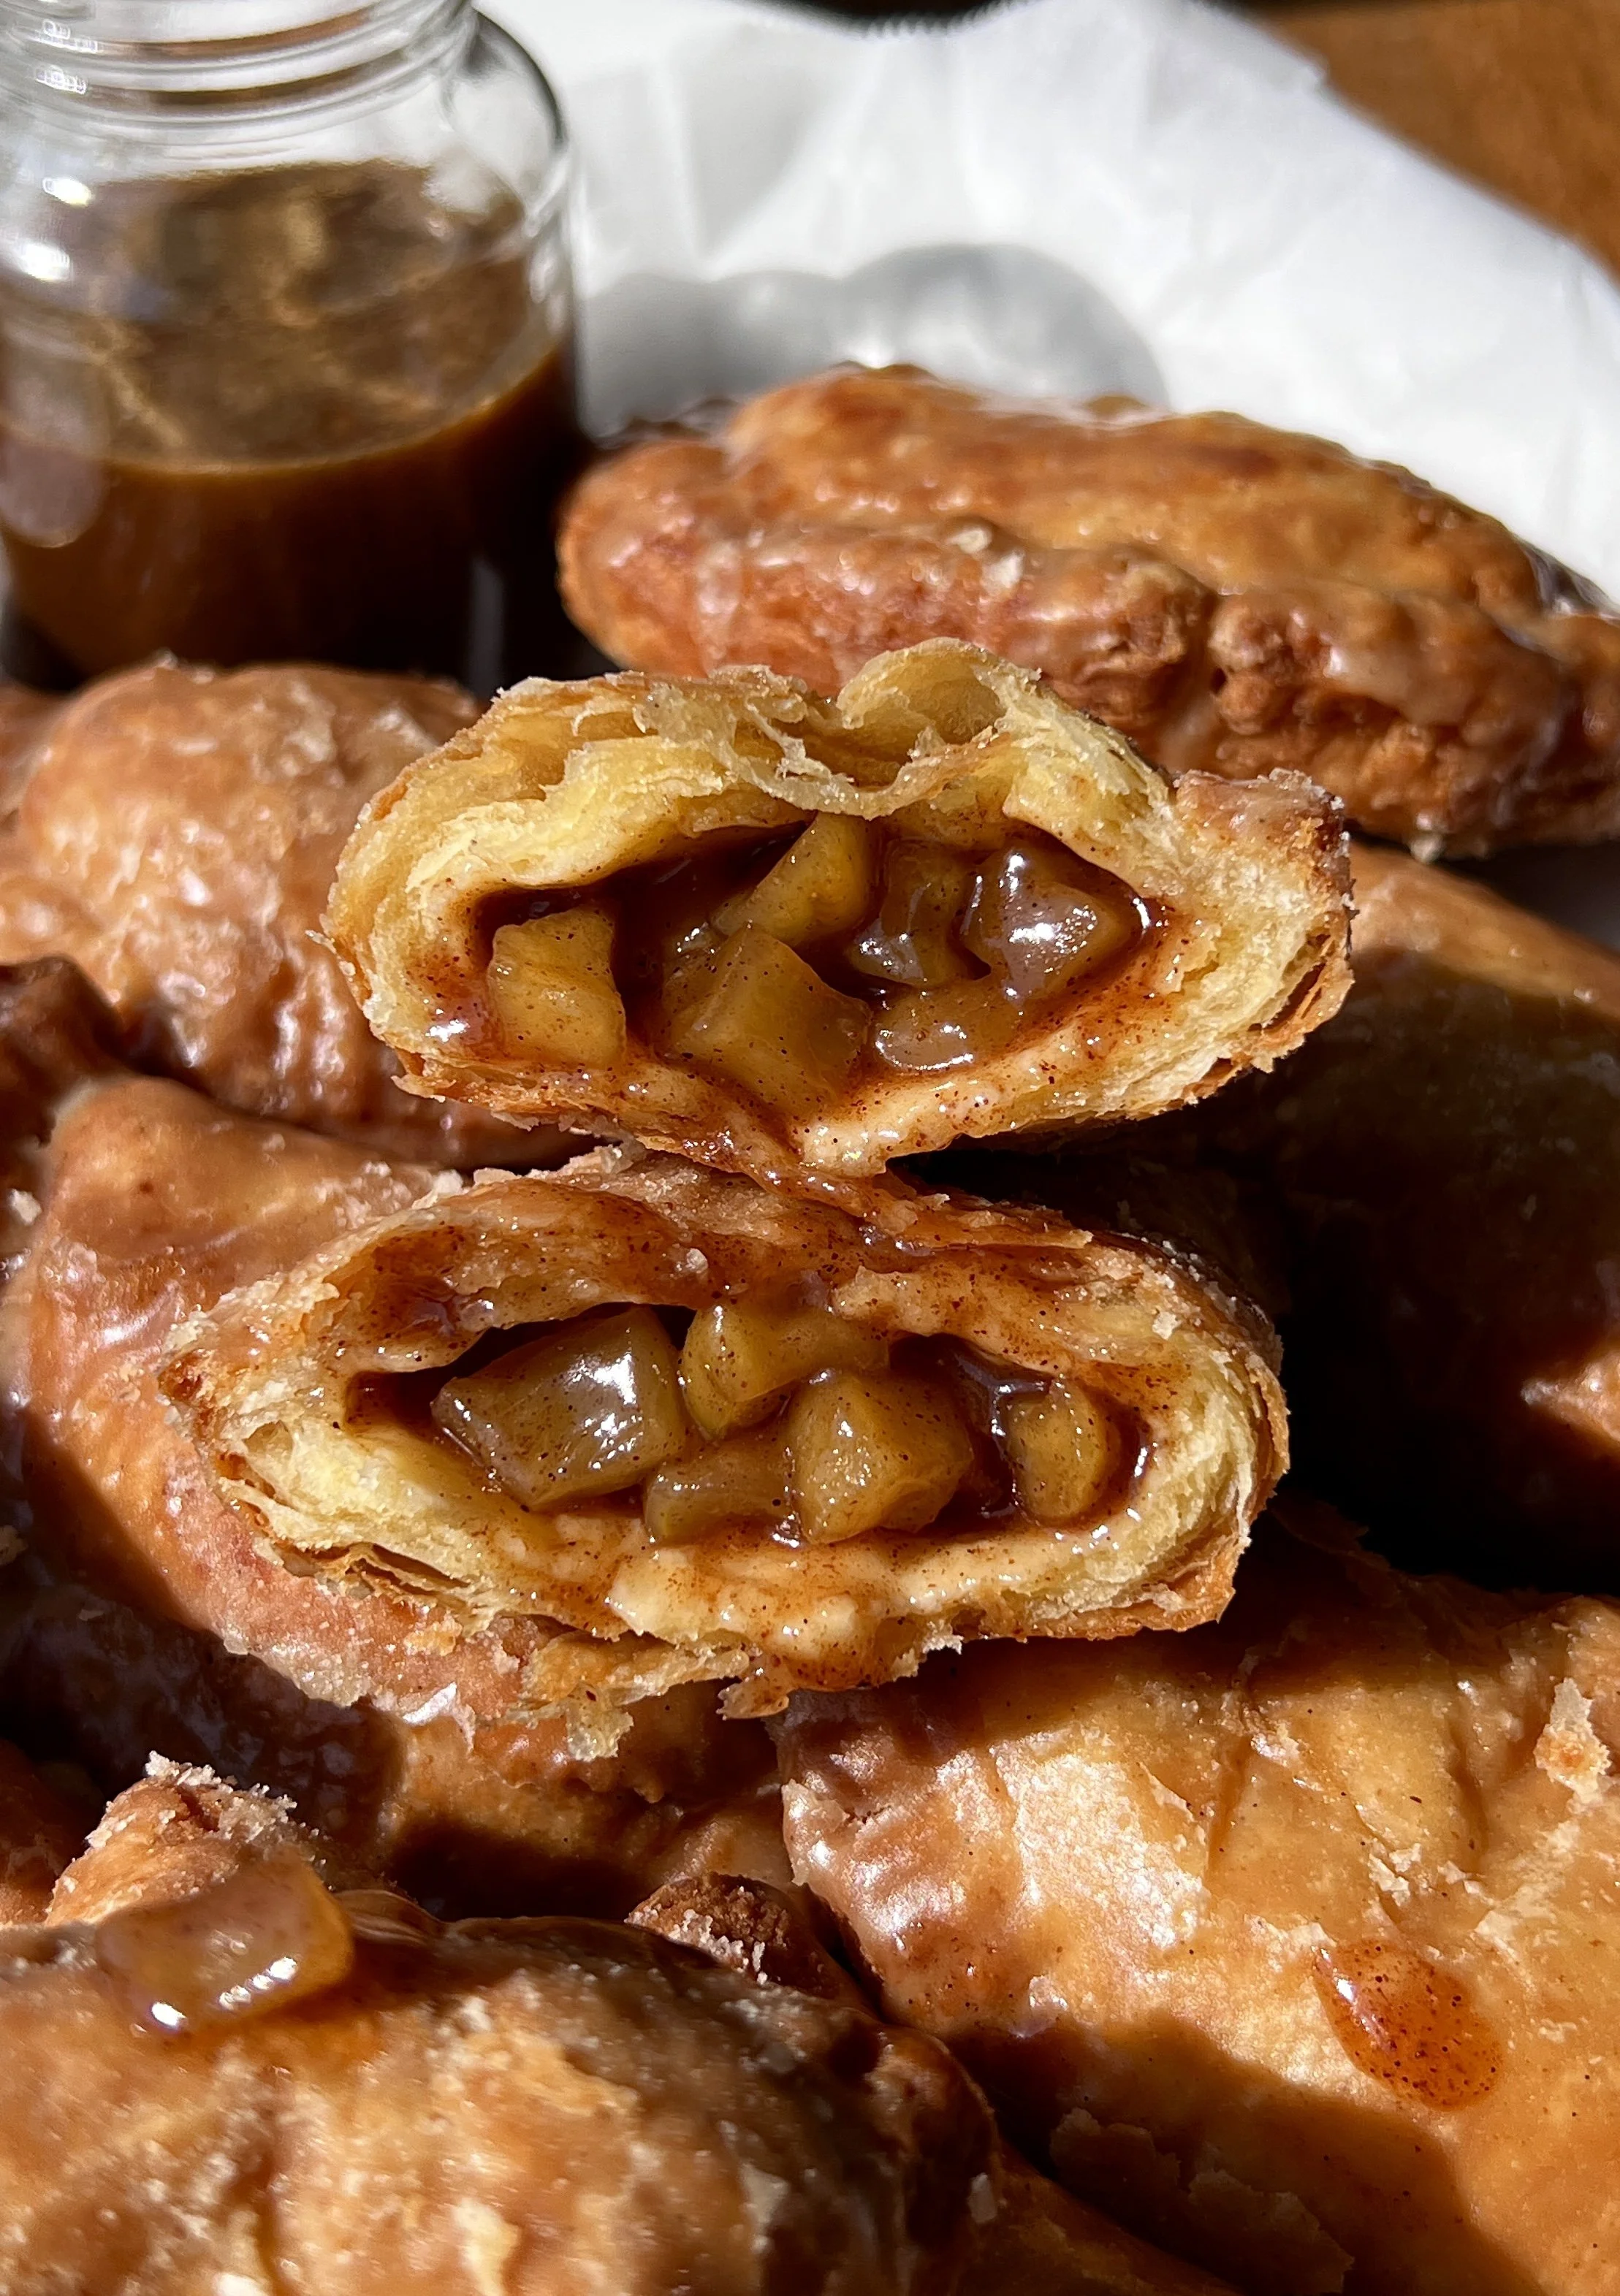
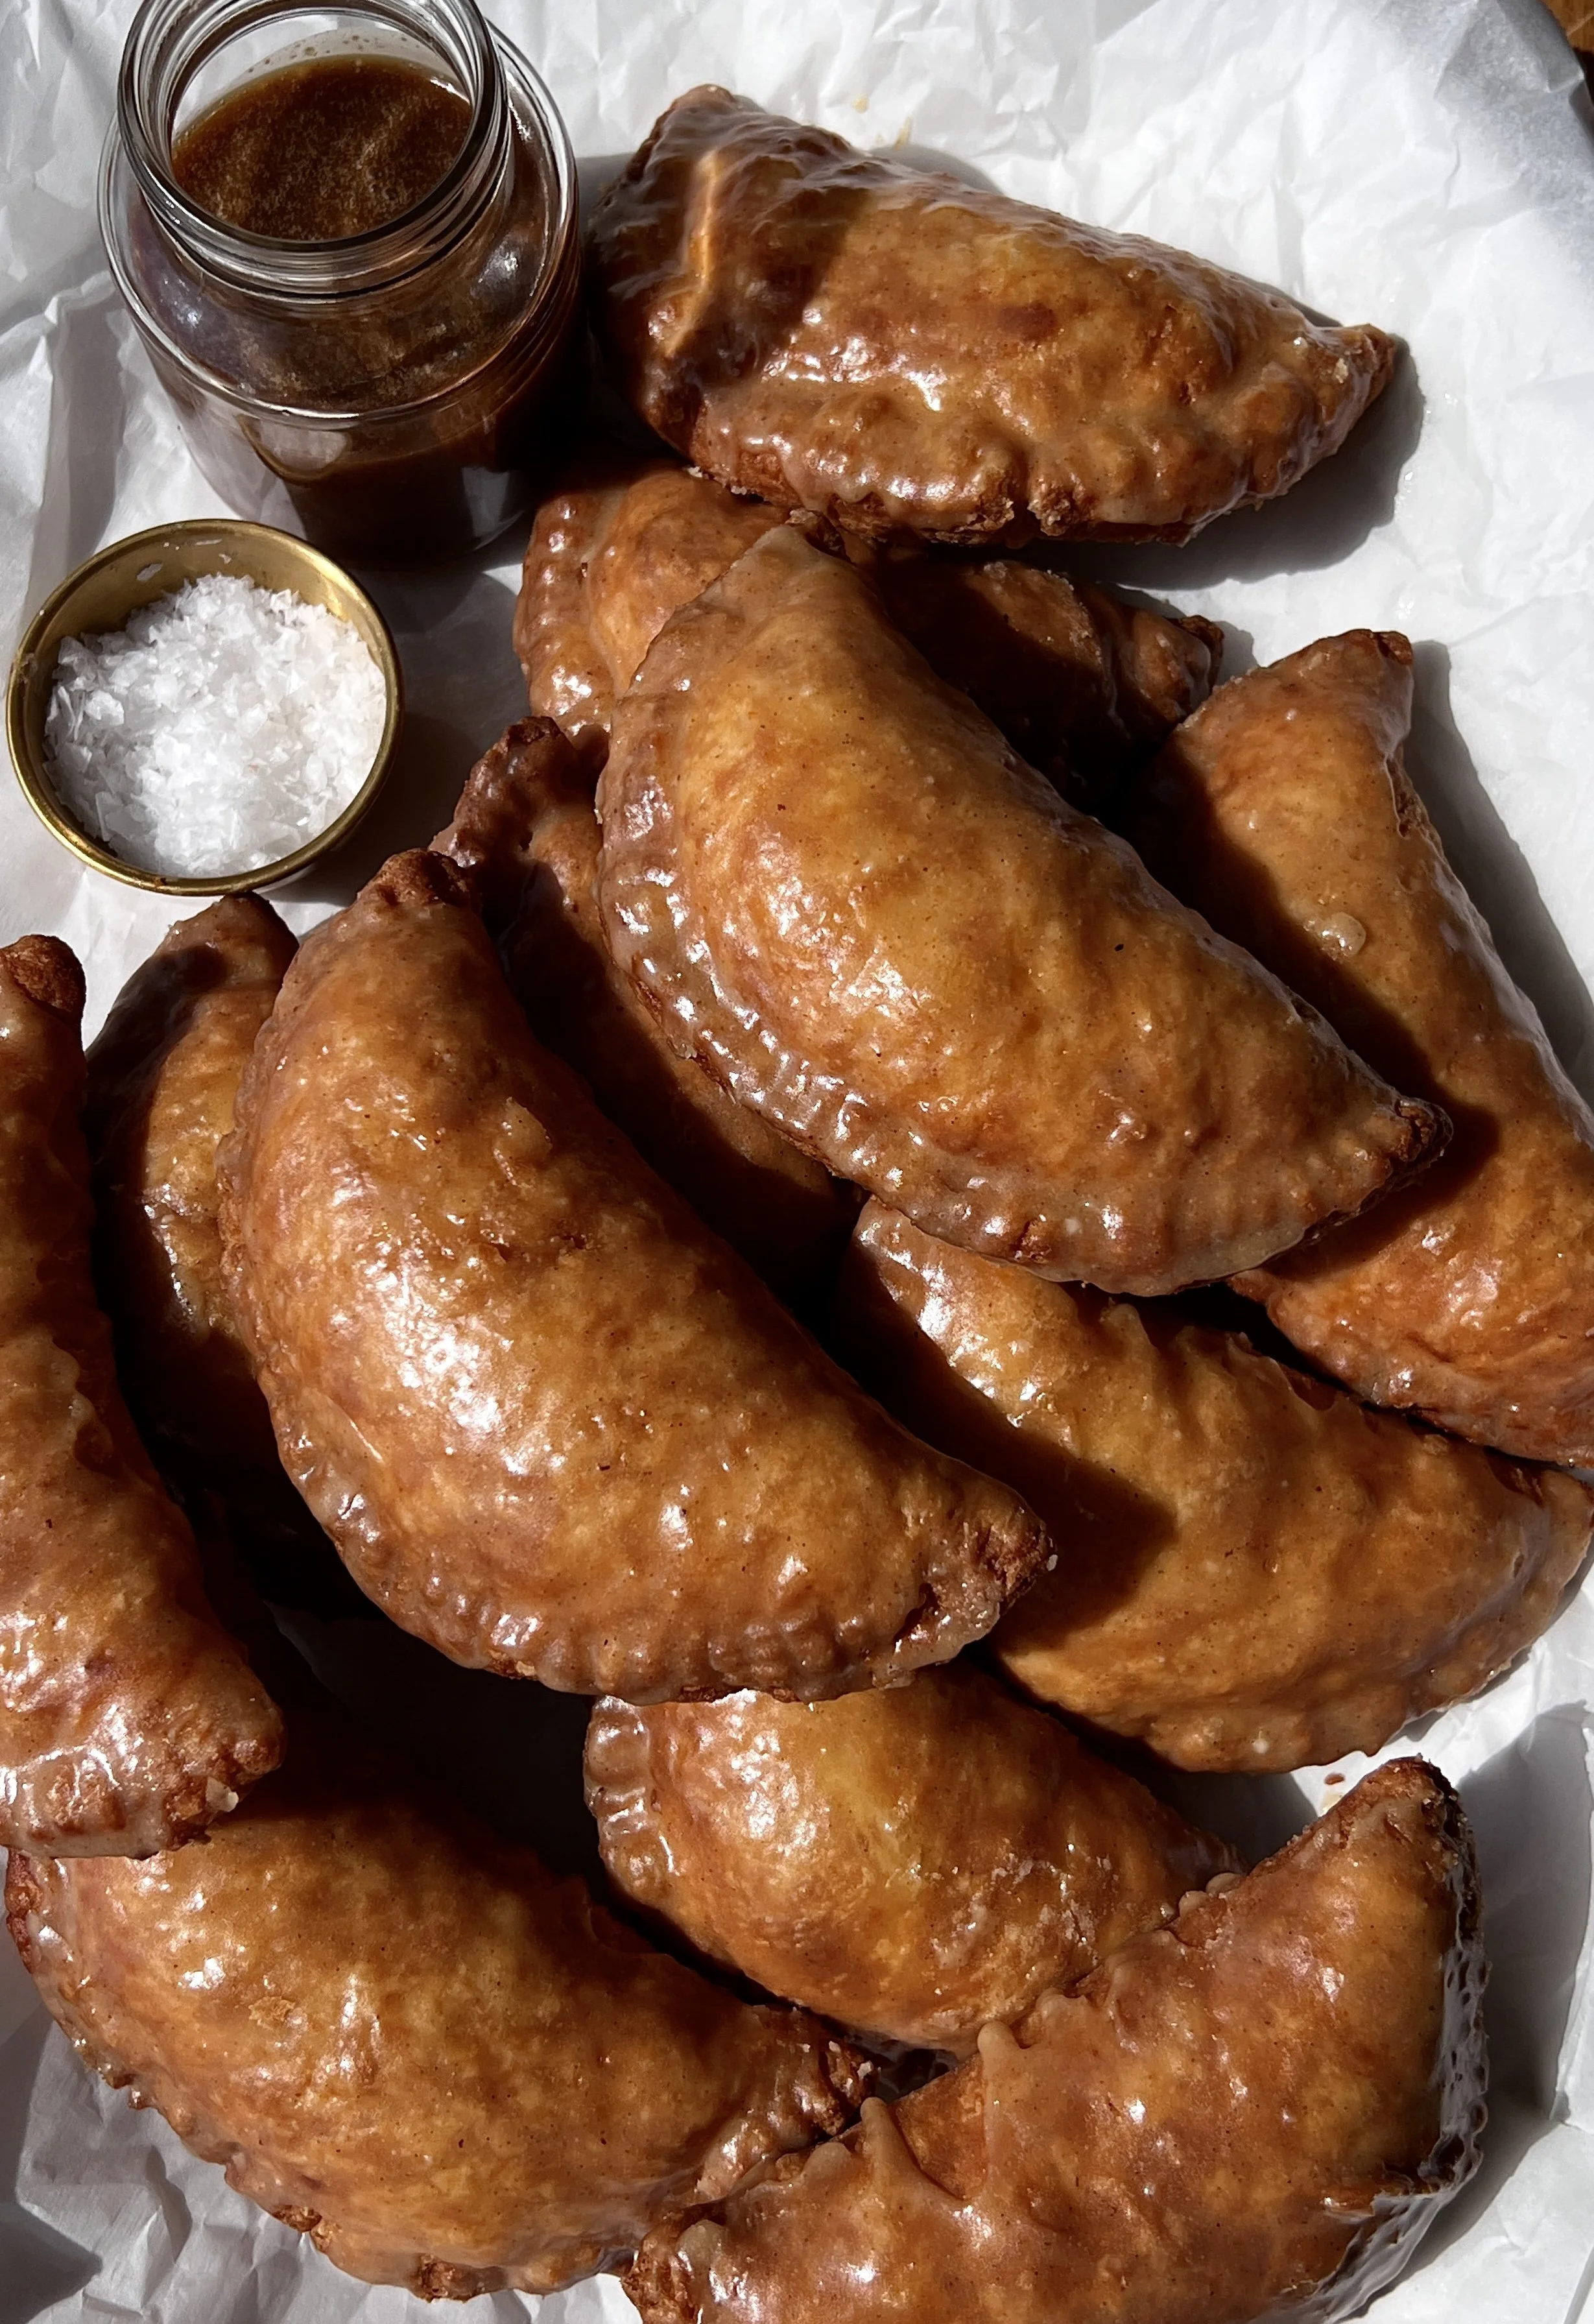
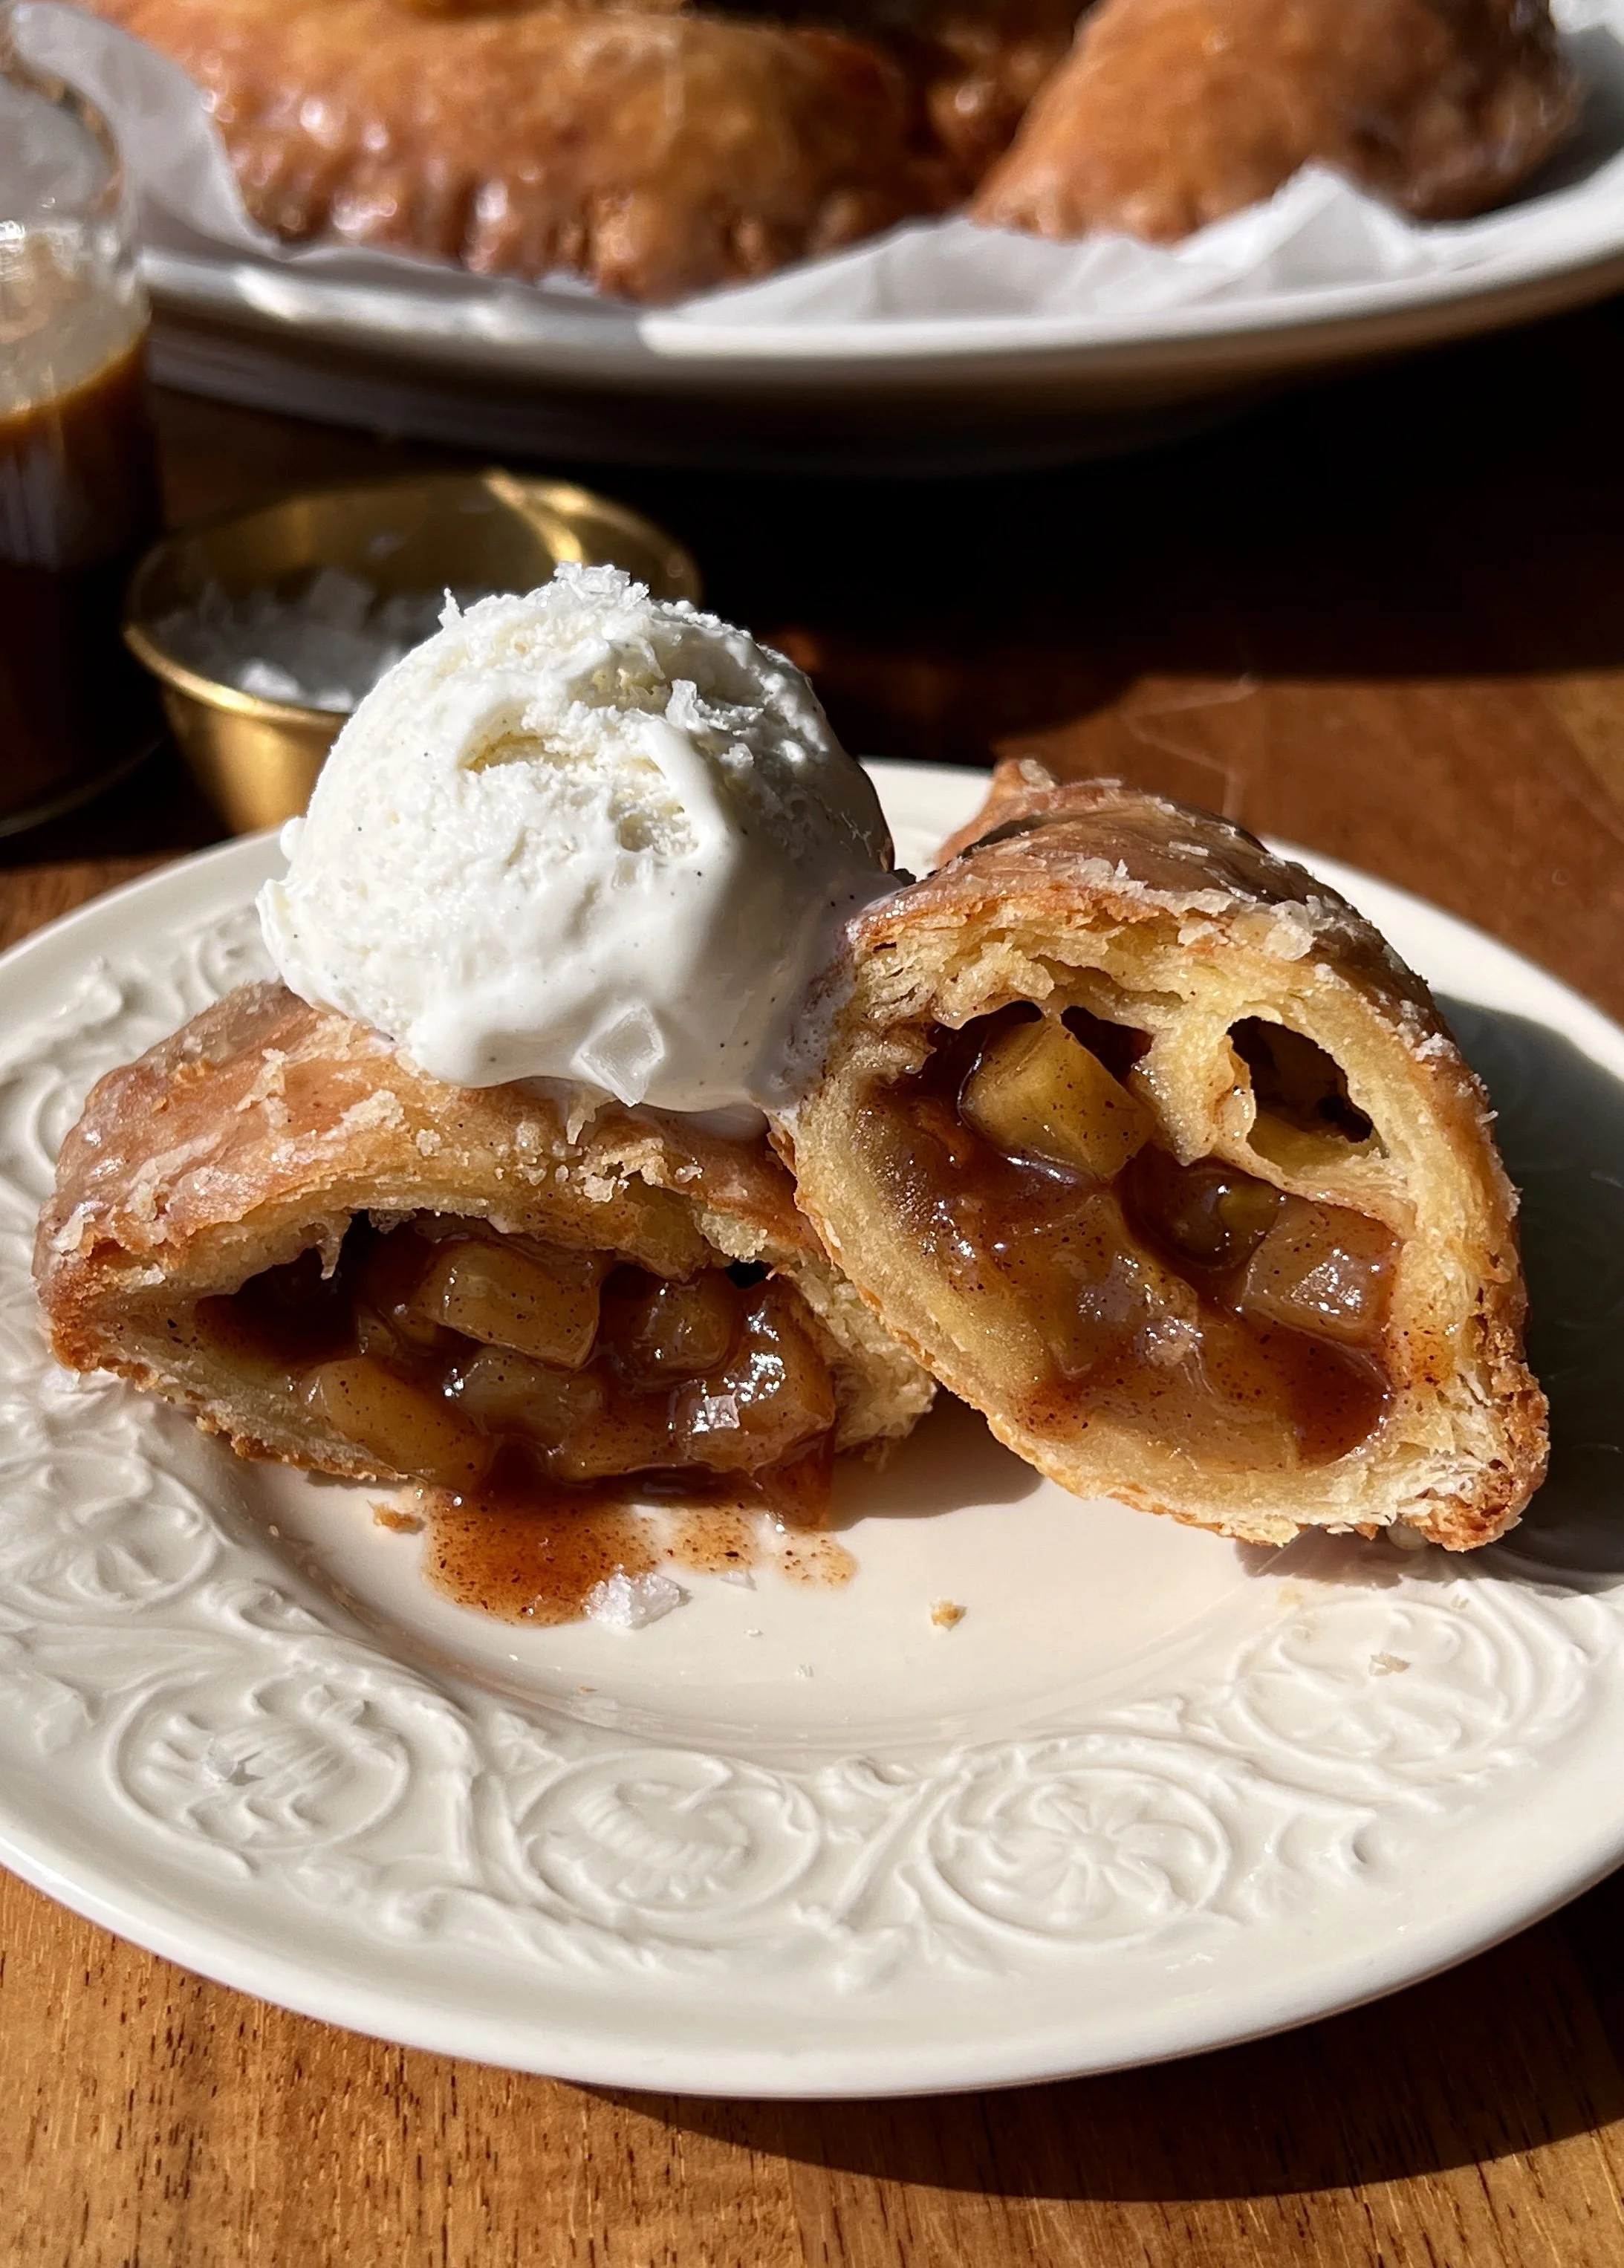
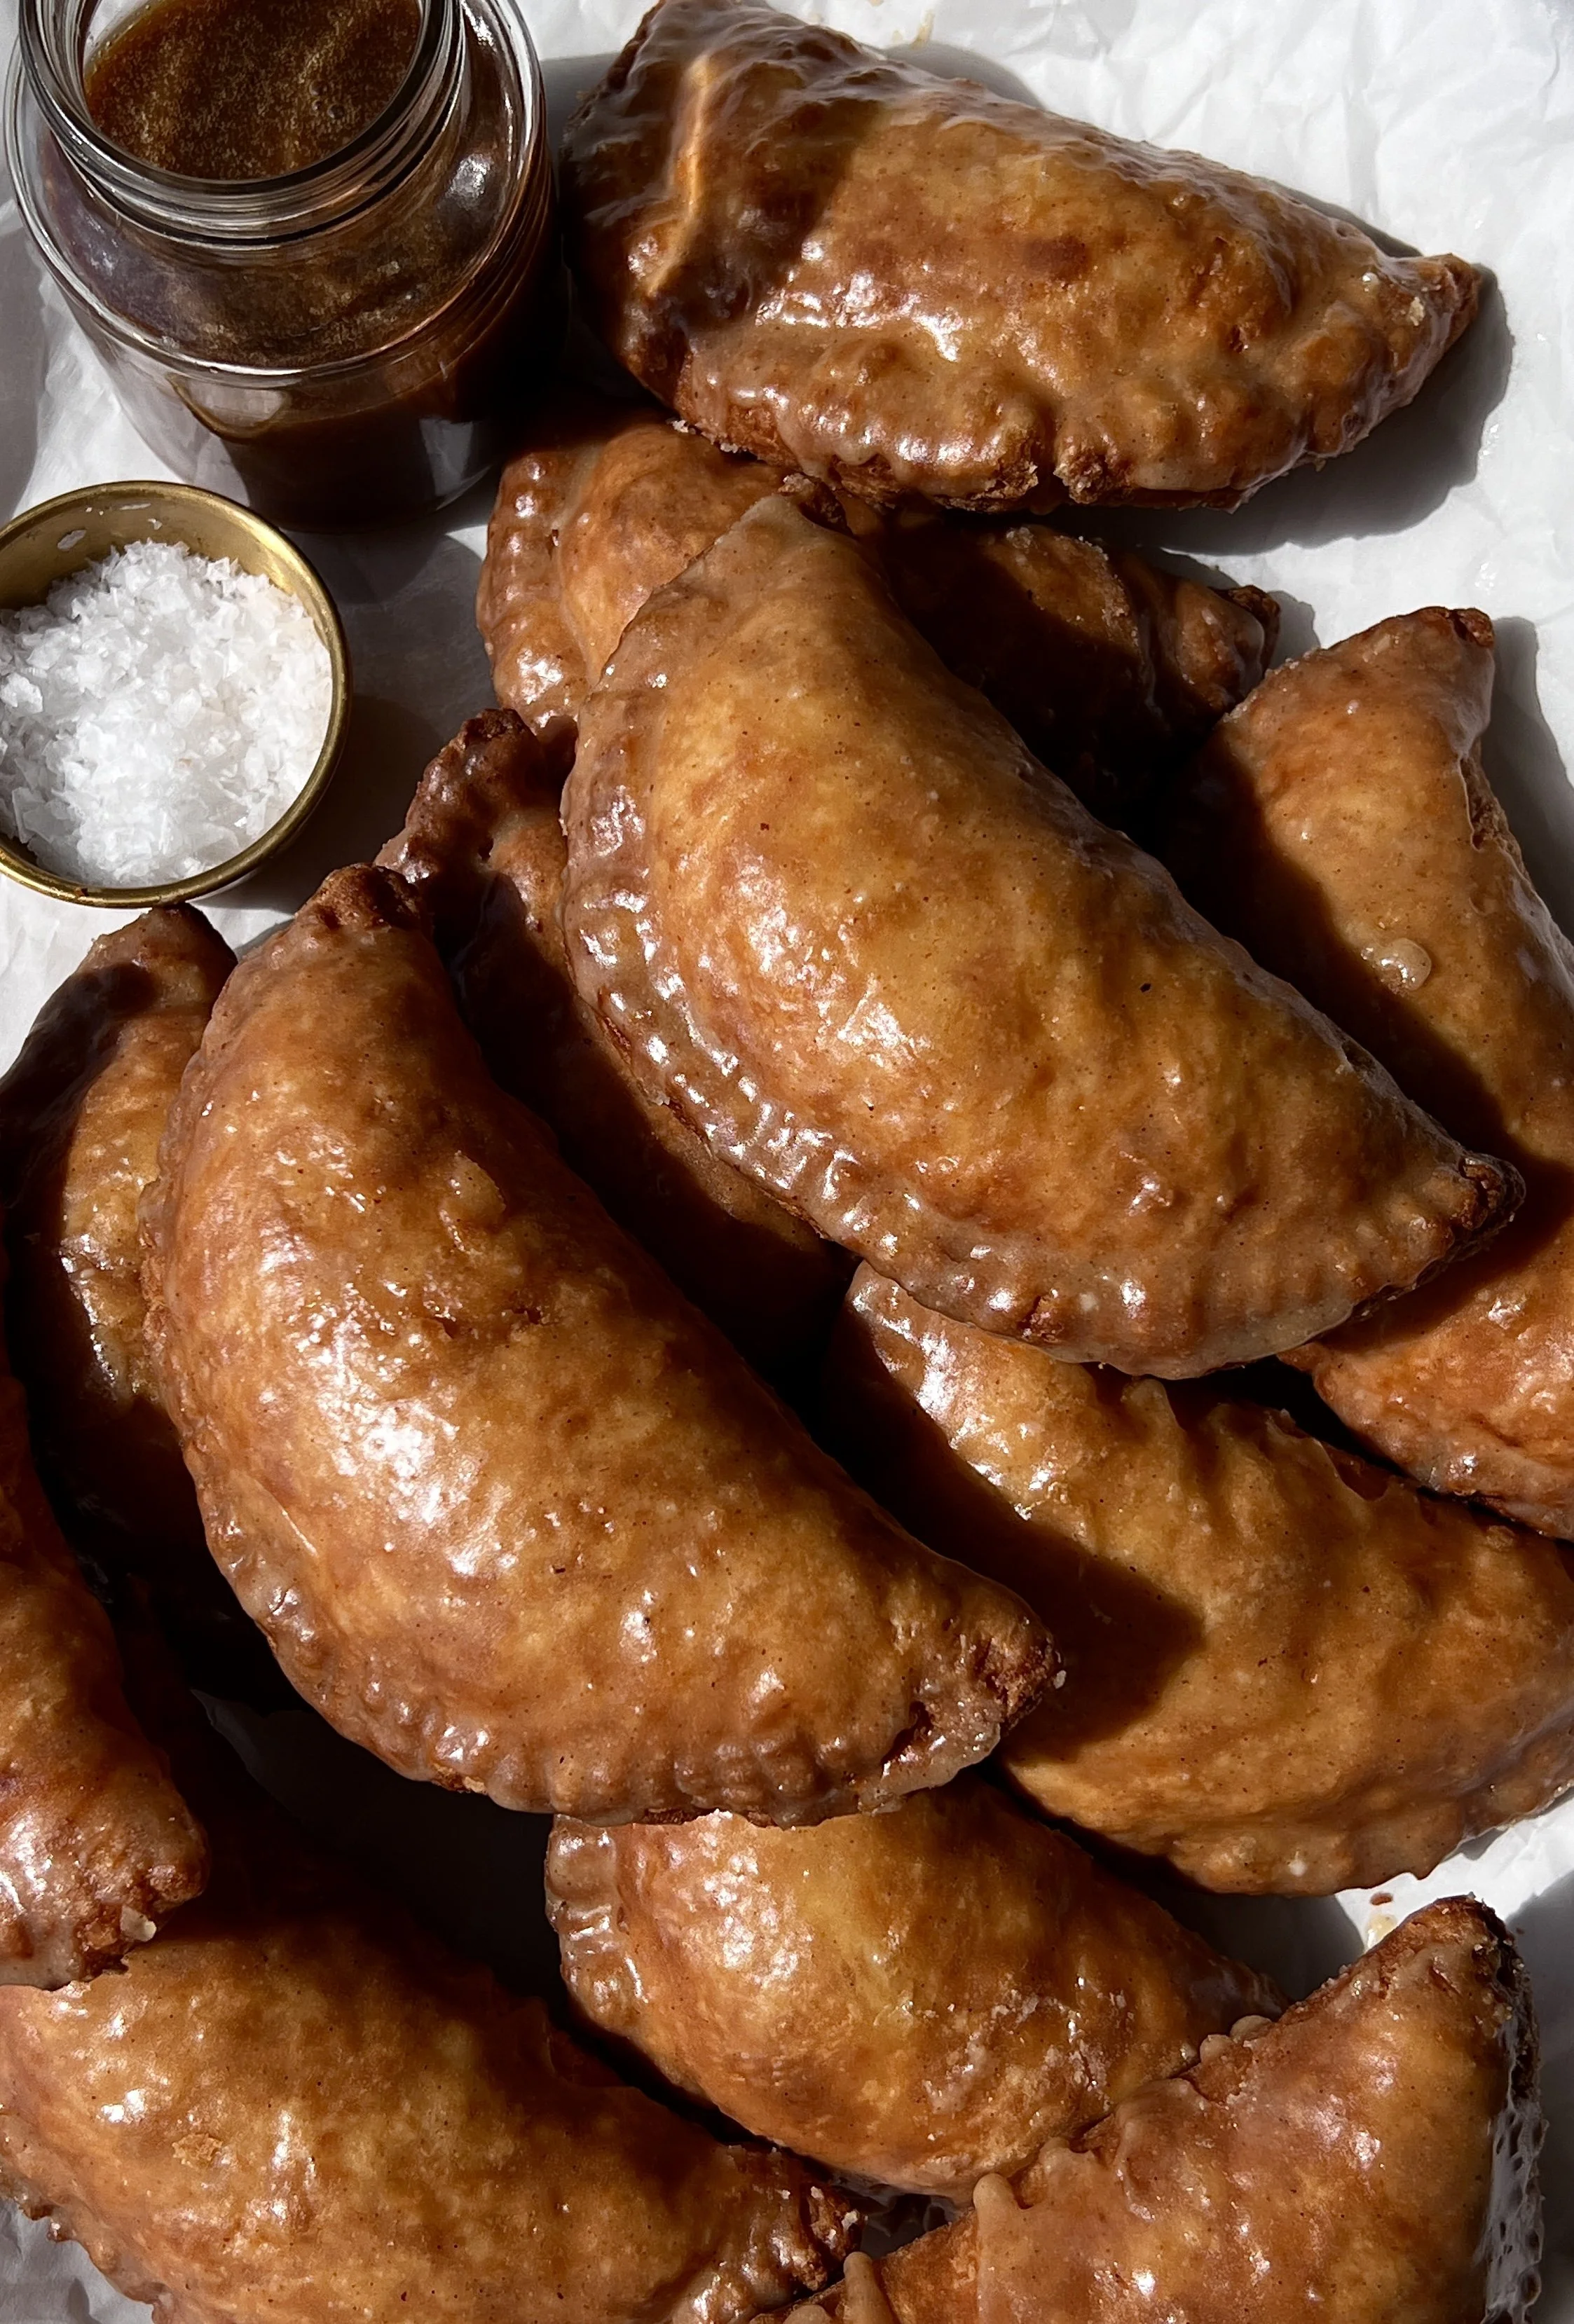
These Fried Apple Hand Pies start with a homemade pie crust that fries up perfectly golden, flaky, and buttery with the most delicate layers that just melt with every single bite. Each hand pie is stuffed with a warm and gooey apple pie filling that is packed with cozy spices and perfectly tart apple flavor that bursts in every single bite. Fried until beautifully golden and finished with a silky brown butter maple vanilla bean glaze that melts right over the top — these hand pies taste just like the best county fair treat but made completely from scratch at home.
If you try out this recipe, I’d love to see it! Leave a comment with a star rating below and tag @wellmadebykiley on Instagram and hashtag it #wellmadebykiley
Ingredients You Need:
Full ingredients and recipe are in the recipe card below. Read through this section for all the ingredients substitution and baking tips!
Salted Butter: Used in multiple components throughout — melted into the apple pie filling for a rich, buttery depth of flavor that enhances the warm spiced apple and maple flavors, cold and cut into cubes for the pie crust to create those beautiful flaky and buttery layers, and browned until deep golden amber and nutty for the glaze to add a warm, rich depth that makes the brown butter maple vanilla bean glaze truly irresistible throughout.
Apples: The star of the warm and gooey apple pie filling — Granny Smith apples are recommended for their perfectly tart and bright apple flavor that pairs absolutely beautifully with the warm cozy spices and brown butter maple vanilla bean glaze. Peeled and diced into small chunks and cooked down into the most perfectly sweet, tart, and jammy filling that bursts with flavor inside every single hand pie throughout.
Light Brown Sugar: Adds a deep, molasses-like sweetness to the apple pie filling that enhances the warm cinnamon and bright tart apple flavors and creates the most perfectly gooey and caramelized filling throughout every single hand pie.
Maple Syrup: Added to the apple pie filling for a natural, caramel-like sweetness and a warm depth of flavor that pairs absolutely beautifully with the bright tart apple flavor and warm cozy spices throughout every single hand pie.
Cinnamon: Adds a warm, cozy spice to the apple pie filling that gives every single hand pie that classic apple pie flavor that is warm, comforting, and absolutely irresistible throughout.
Apple Pie Spice: Optional but strongly recommended — adds extra warmth with nutmeg, ginger, and cloves for a classic autumn apple pie flavor that enhances the warm spiced apple filling and makes every single bite even more cozy and irresistible throughout.
Salt: Balances the sweetness and enhances all the warm apple pie and brown butter maple flavors throughout the apple pie filling, pie crust, and brown butter maple vanilla bean glaze.
Cornstarch: Whisked together with water to create a slurry that thickens the apple pie filling into a perfectly gooey and spoonable consistency that holds its shape beautifully inside every single hand pie during frying throughout.
Vanilla Bean Paste or Extract: Adds a warm, sweet, and aromatic flavor that enhances the apple pie filling and the silky brown butter maple vanilla bean glaze throughout every single bite.
All-Purpose Flour: The base of the homemade pie crust that provides structure while creating those beautiful delicate flaky layers that crisp and fry up perfectly golden and buttery throughout every single hand pie.
Granulated Sugar: Adds a subtle sweetness to the homemade pie crust that enhances the rich buttery flavor and helps create that perfectly golden exterior throughout every single hand pie.
Baking Powder: Adds a subtle lift to the homemade pie crust that helps create those beautiful flaky and delicate layers that shatter and melt with every single bite of these hand pies throughout.
Half And Half or Evaporated Milk: Combined with the cold egg to create the liquid base of the pie crust dough — using cold half and half or evaporated milk helps keep the butter cold and creates the most perfectly flaky and buttery crust throughout every single hand pie.
Egg: Used in the pie crust dough for richness and structure, and whisked together with water to create the egg wash that seals the edges of each hand pie and helps the crust fry up to a beautifully golden color throughout.
Avocado Oil: A neutral, high smoke point oil that is ideal for frying the hand pies to a perfectly golden, flaky, and buttery exterior without any unwanted flavor throughout every single hand pie.
Powdered Sugar: The base of the silky brown butter maple vanilla bean glaze that creates a smooth, perfectly sweet, and beautifully glossy coating that melts right over the top of every single warm fried apple hand pie throughout.
Milk: Whisked into the brown butter maple vanilla bean glaze to create a smooth, pourable, and perfectly silky consistency that brushes or spoons beautifully over each warm hand pie throughout.
Why You’ll Love Fried Apple Hand Pies:
Golden, Flaky, And Buttery Crust: The homemade pie crust fries up perfectly golden, flaky, and buttery with the most delicate layers that just melt in your mouth with every single bite — absolutely irresistible from the very first hand pie to the very last.
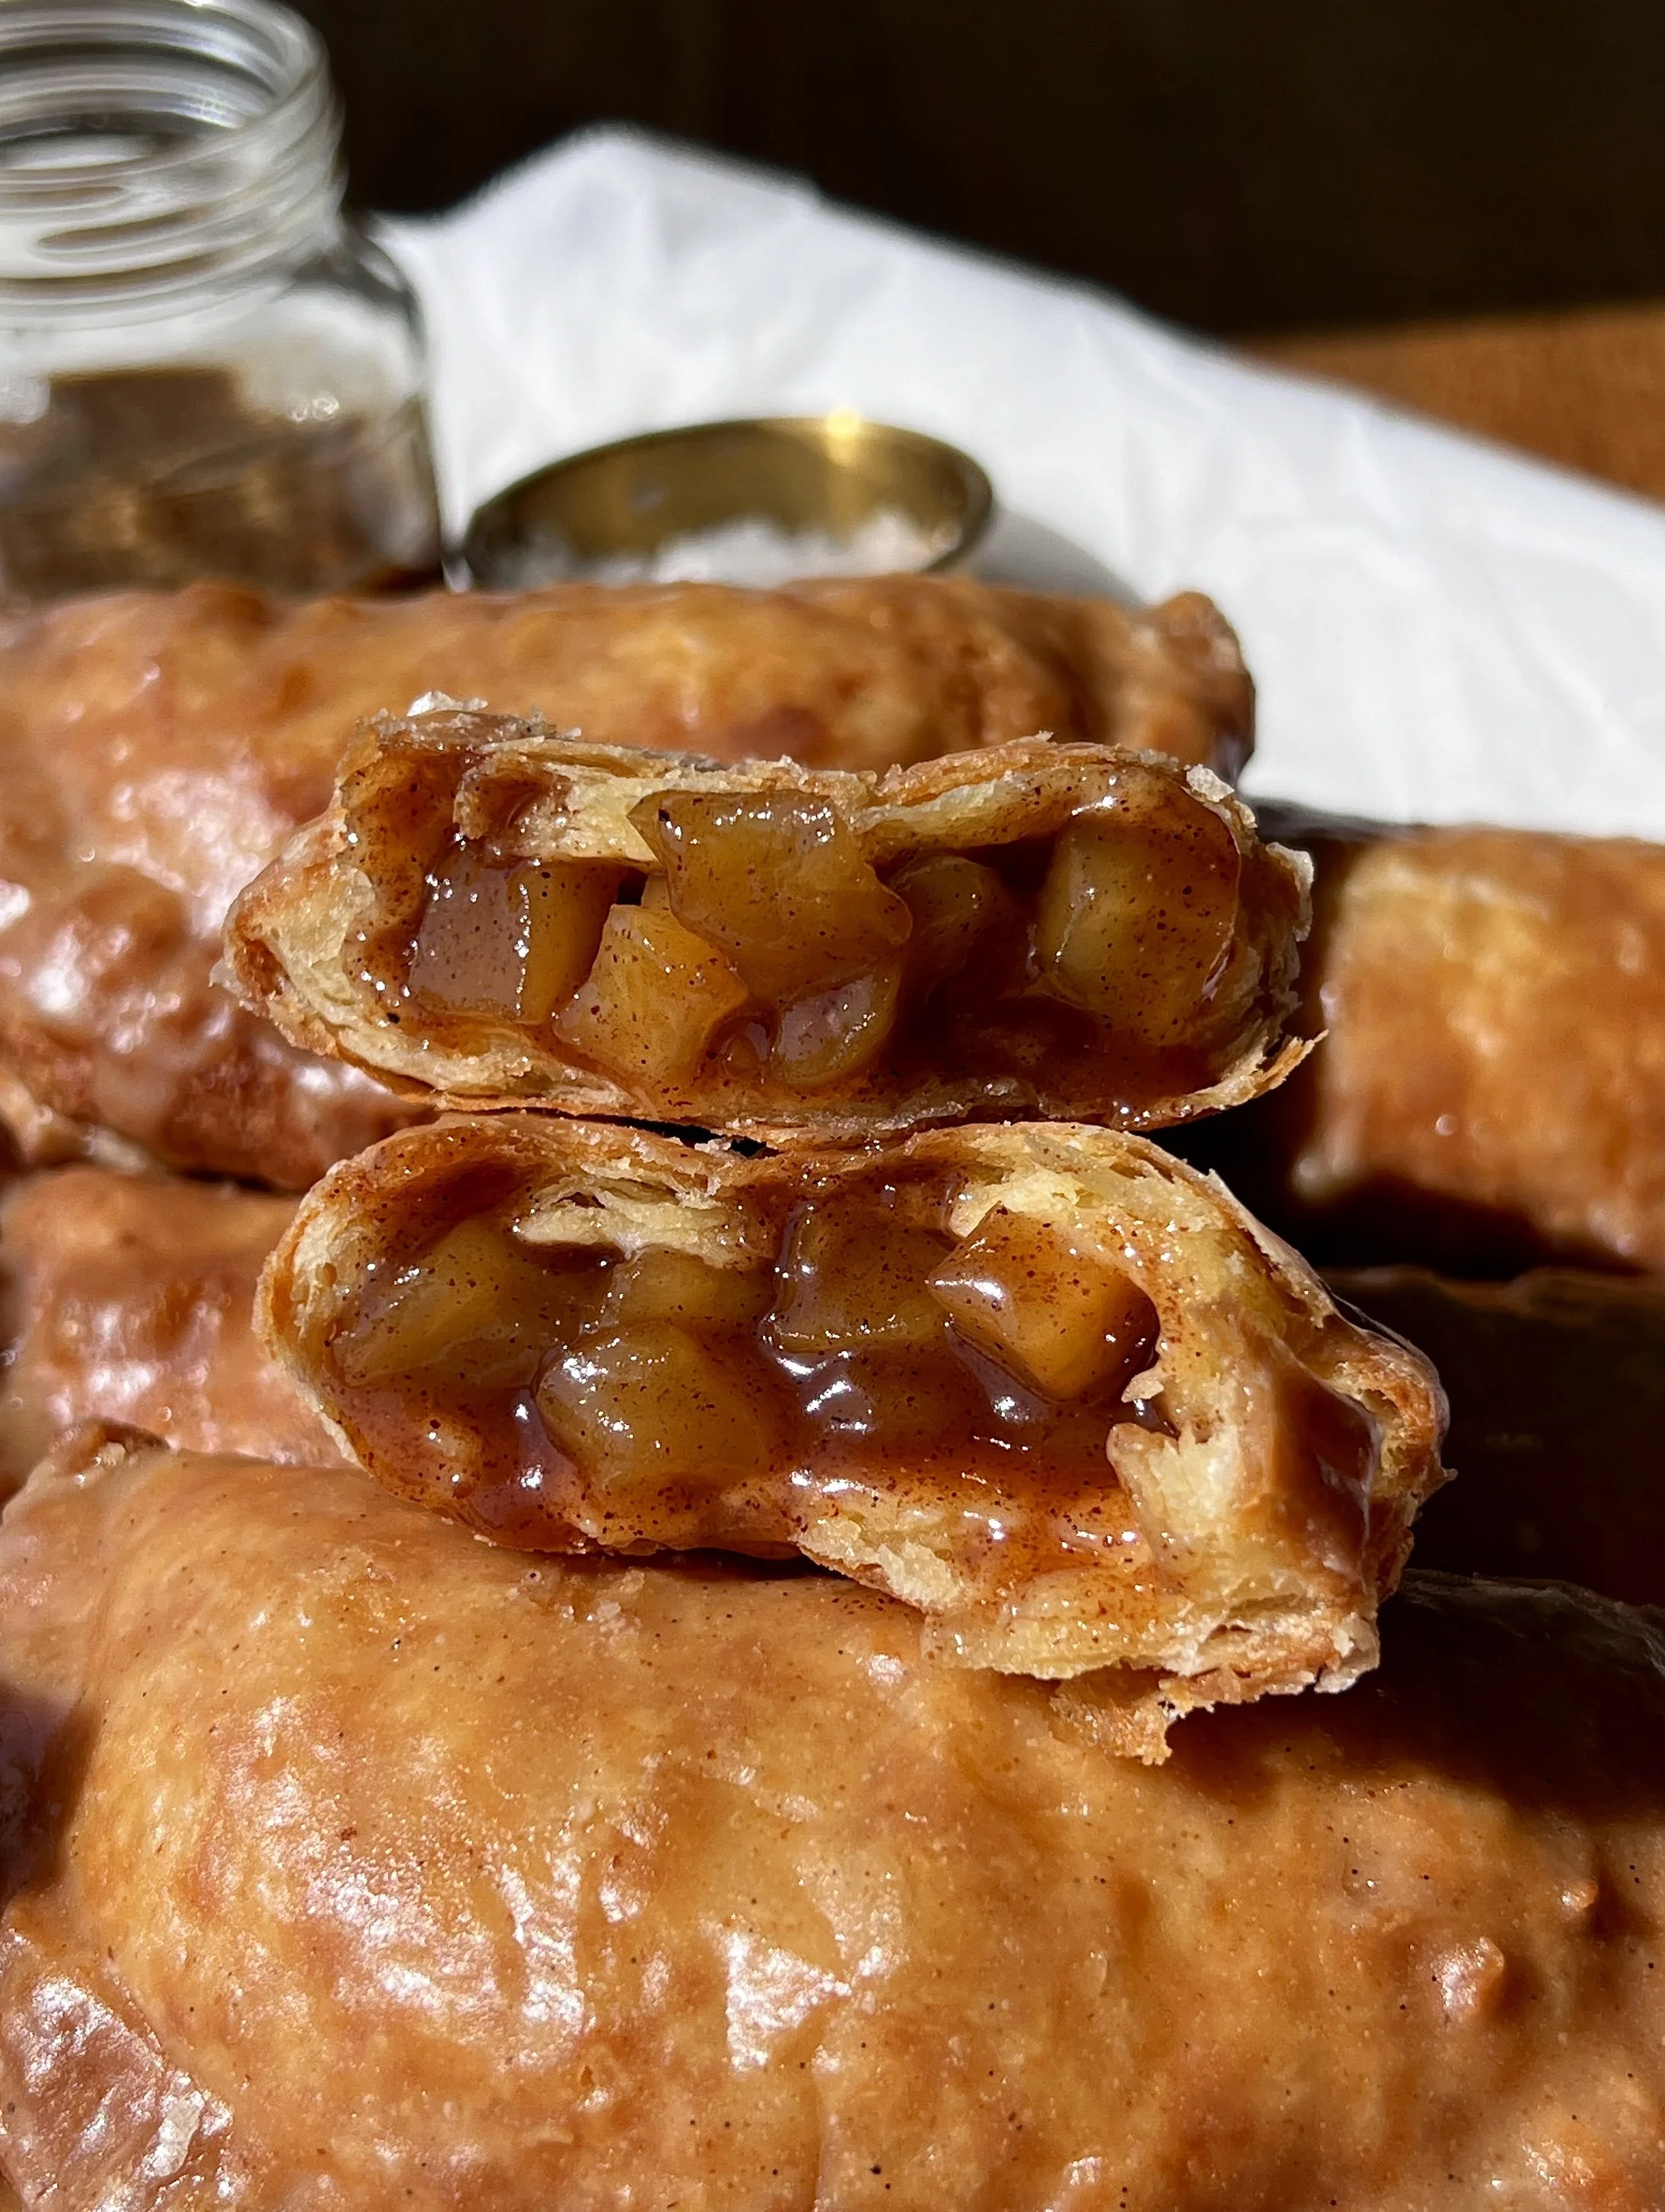
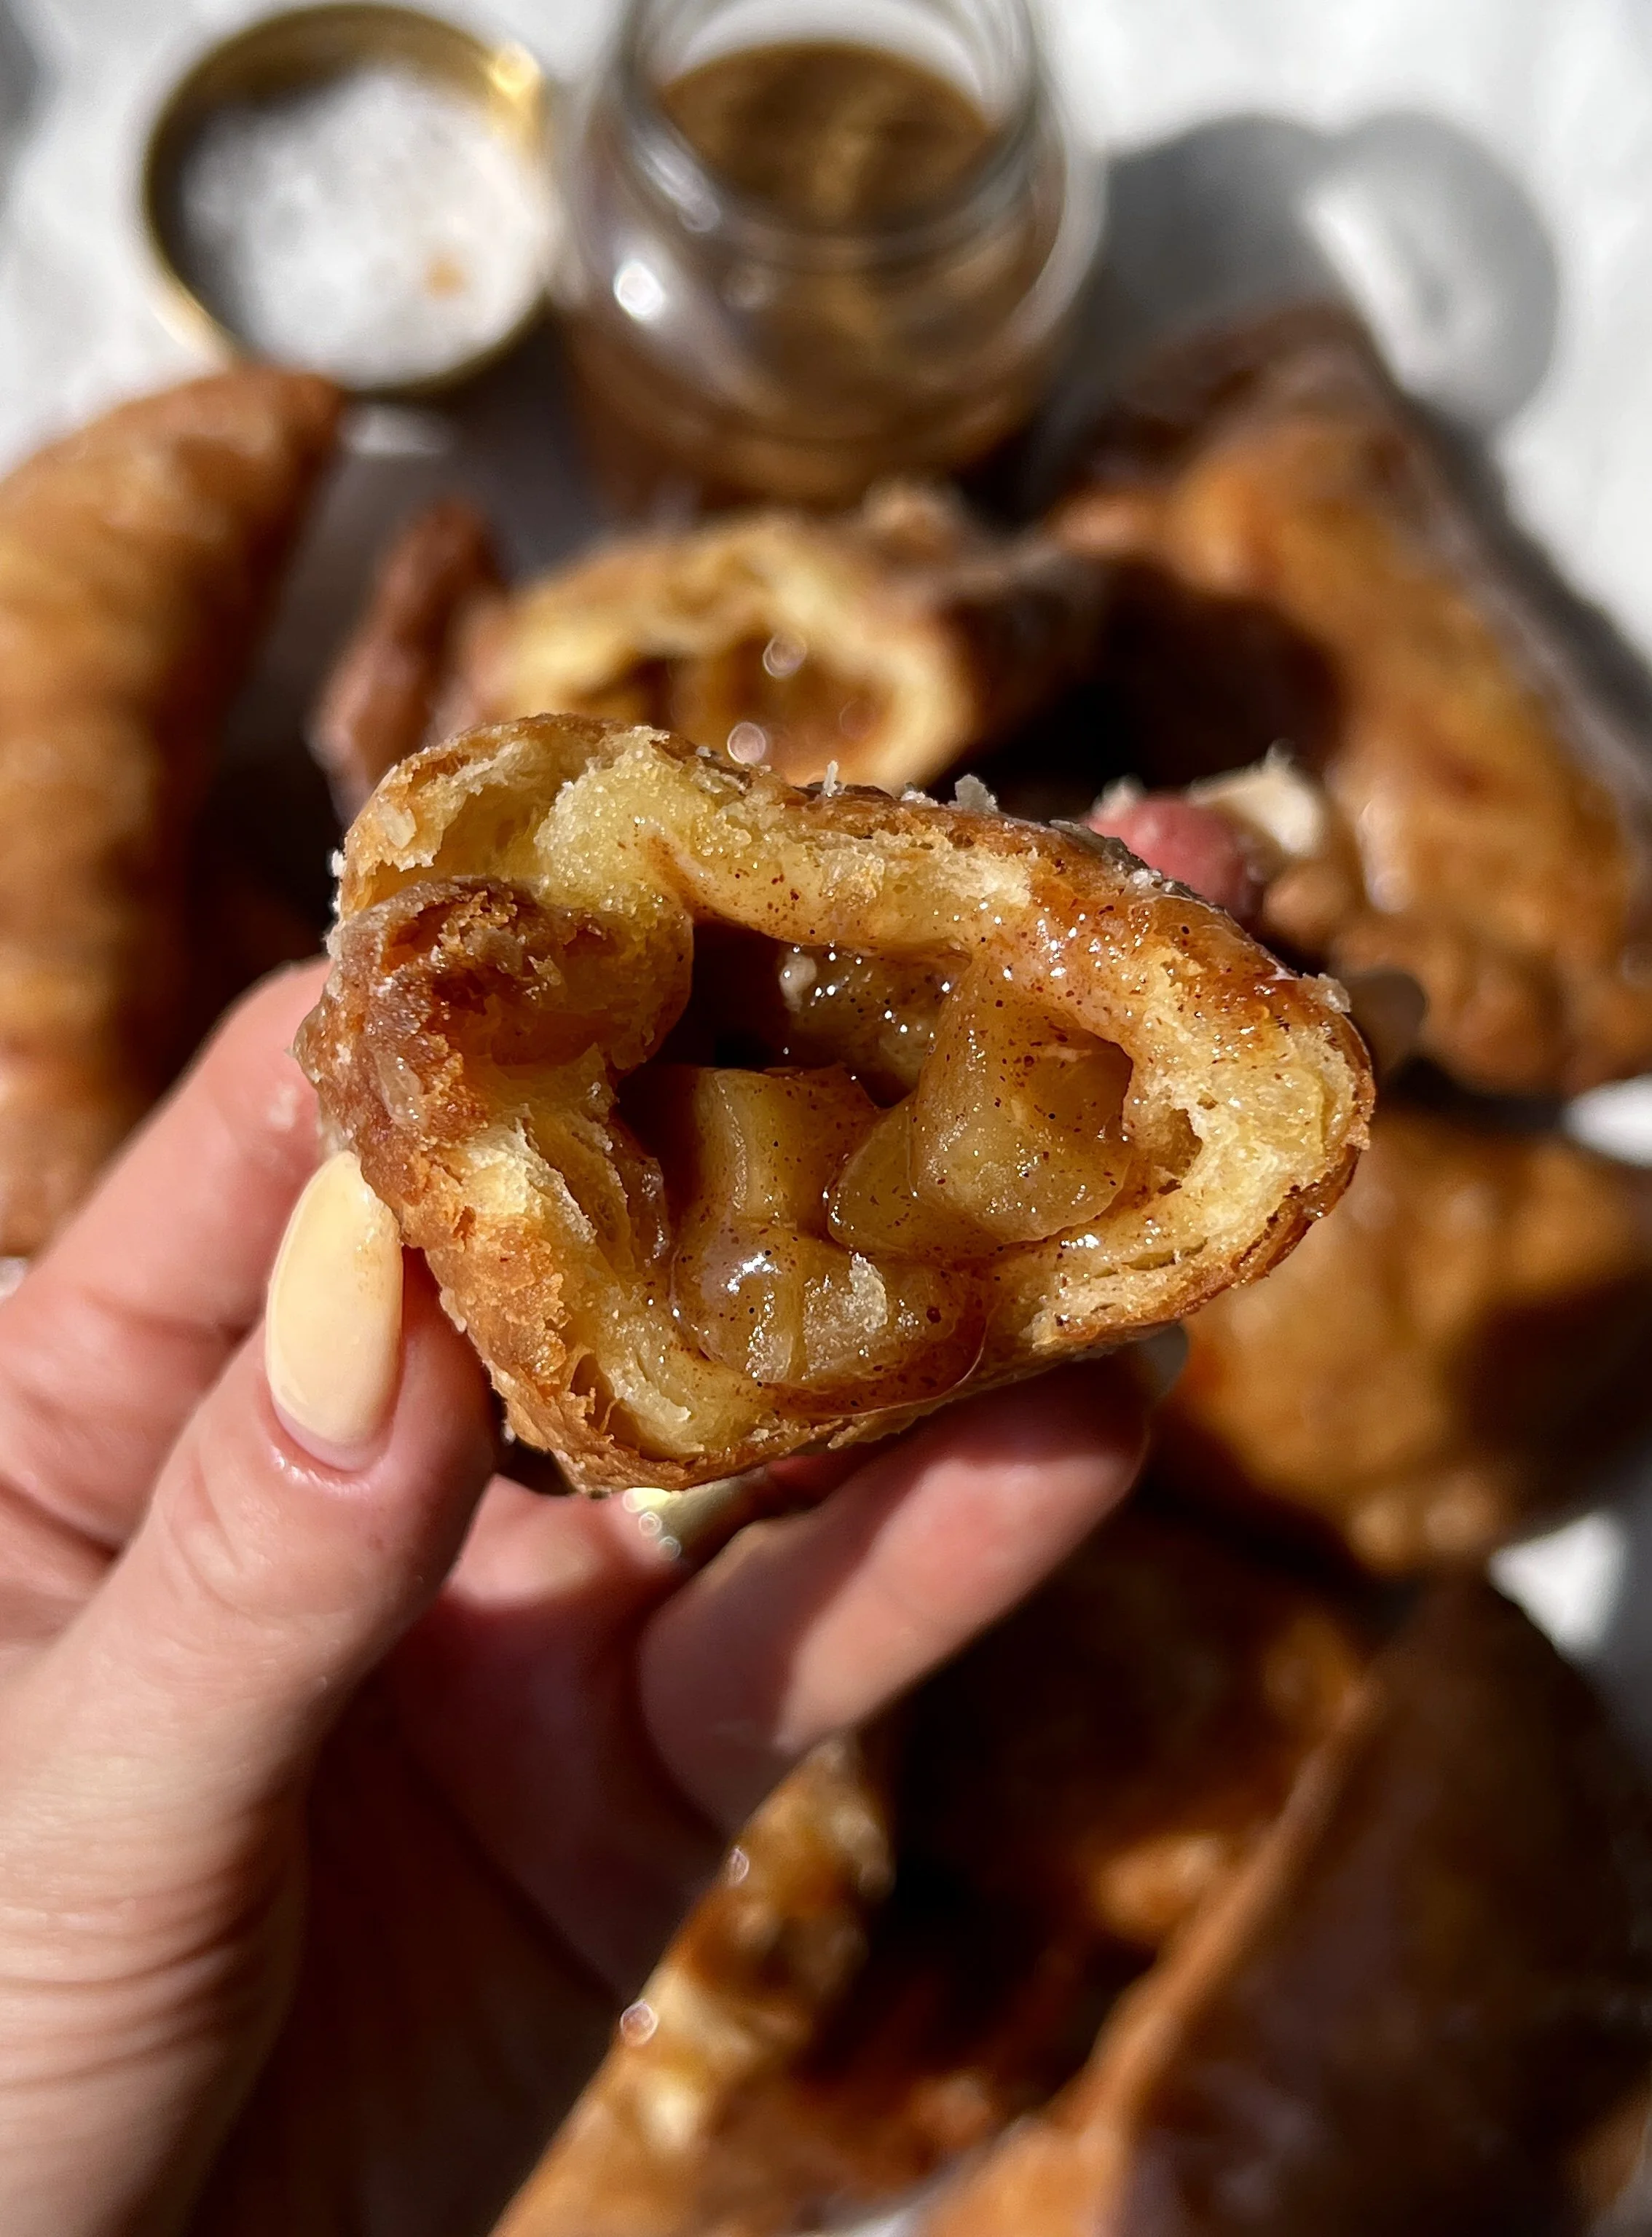
Warm And Gooey Apple Pie Filling: Each hand pie is stuffed with a warm and gooey apple pie filling that is packed with cozy spices and perfectly tart apple flavor that bursts beautifully with every single bite and pairs absolutely perfectly with the golden flaky crust throughout.
Delicate Flaky Layers: The homemade pie crust creates the most beautiful and delicate flaky layers that shatter and melt with every single bite for the most satisfying and indulgent texture contrast with the warm and gooey apple pie filling inside.
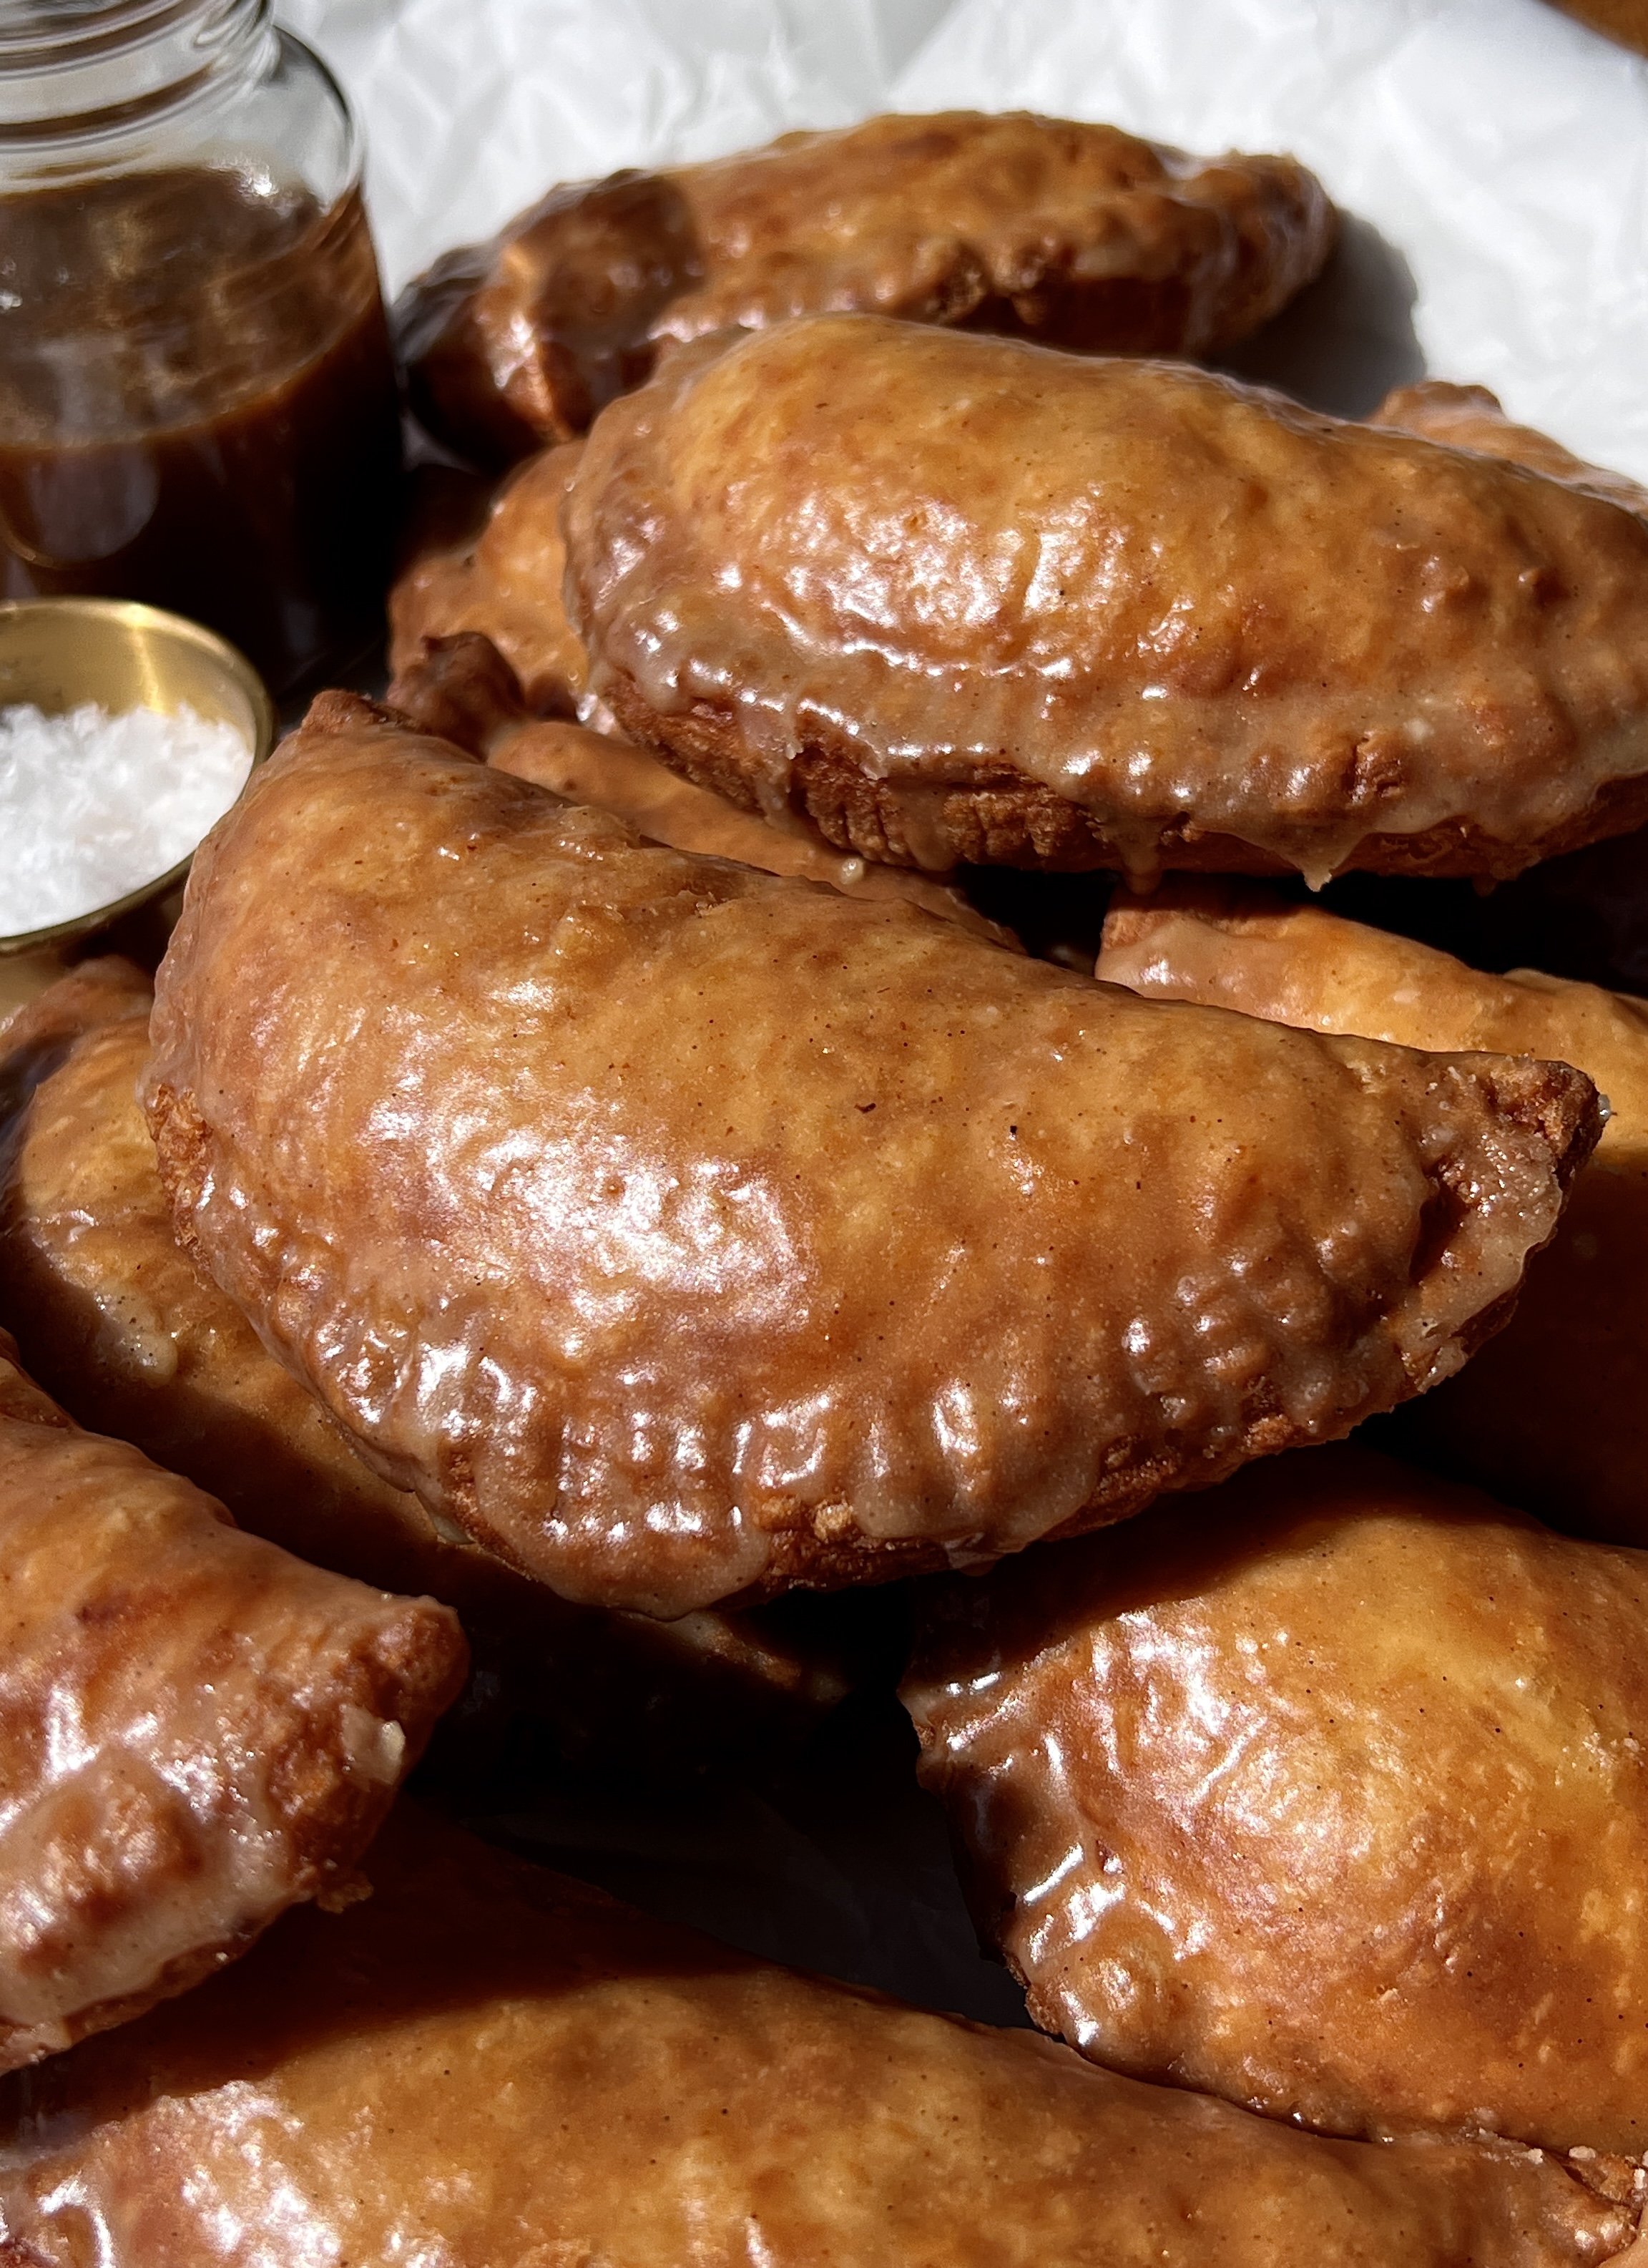
Brown Butter Maple Vanilla Bean Glaze: A silky brown butter maple vanilla bean glaze melts right over the top of each warm hand pie for the most rich, warm, and beautifully glossy finishing touch that ties all the cozy fall flavors together perfectly throughout.
The Perfect Handheld Treat: These hand pies are the perfect portable and handheld treat that makes them completely irresistible and ideal for sharing at any gathering, picnic, or special occasion throughout.
Better Than Your Favorite Bakery: These fried apple hand pies look and taste like they came straight from your favorite bakery but are made completely from scratch right in your own kitchen — and trust me, once you make these you will never go back to store-bought again.
Perfect For Any Occasion: Whether it is a fall gathering, a county fair inspired dessert, a holiday treat, or any time an apple pie craving hits, these fried apple hand pies are always the ultimate crowd-pleasing treat that everyone will absolutely love.
Tips for Making Fried Apple Hand Pies:
Make The Apple Pie Filling First: Start with the apple pie filling so it has plenty of time to cool completely before assembling the hand pies — filling that is too warm and runny will be difficult to work with and more likely to leak out during frying throughout.
Steam The Apples For Faster Softening: Cover the pan with a lid for a few minutes while cooking the apple pie filling to help steam the apples and speed up the softening process — this ensures the apples are perfectly tender, warm, and gooey throughout every single hand pie.
Don't Make The Filling Too Runny: Cook the apple pie filling until it is thick enough to hold its shape when spooned onto the dough circle — a filling that is too runny will spill out when forming and sealing the hand pies and leak out during frying throughout.
Cool The Filling Completely: Transfer the apple pie filling to a separate bowl, cover tightly with plastic wrap to prevent a film from forming, and place it in the refrigerator to speed up the cooling process — it should be almost completely cooled before assembling the hand pies throughout.
Use Granny Smith Apples For The Best Flavor: Granny Smith apples are strongly recommended for their perfectly tart and bright apple flavor that pairs absolutely beautifully with the warm spices and brown butter maple vanilla bean glaze — they also hold their shape beautifully during cooking without becoming too mushy throughout.
Keep All The Pie Dough Ingredients Cold: Cold butter, cold half and half or evaporated milk, and a cold egg are the key to a perfectly flaky and buttery pie crust — keep everything as cold as possible throughout the entire dough-making process for the best result throughout.
Cut The Butter Into Pea-Sized Chunks: Use a pastry cutter or two knives to cut the cold butter into the dry ingredients until it resembles coarse crumbs with pea-sized chunks — these small pieces of cold butter are what create those beautiful flaky layers in the crust throughout.
Don't Overmix Or Knead The Dough: Mix the dough gently until it just comes together into a ball — overmixing or kneading will develop the gluten too much and result in a tough, dense crust rather than a flaky, buttery one throughout.
The Dough Should Be Firm But Not Sticky: The finished dough should not be wet and sticky or dry and crumbly — it should form a nice and firm dough ball that holds together well and is easy to roll out and work with throughout.
Chill The Dough Before Rolling: Refrigerate the dough for 30 minutes after shaping into a disc — chilling the dough firms up the butter and makes it much easier to roll out and cut into circles without the dough becoming too soft and sticky throughout.
Roll The Dough To The Right Thickness: Roll the dough out to about 1/8"–1/4" thickness — too thick and the hand pies won't have those delicate flaky layers, too thin and the filling may break through during frying throughout.
Roll Each Circle Out Slightly More Before Filling: After cutting the circles, roll each one out just slightly more before adding the filling — this gives you a little extra dough around the edges for sealing and helps prevent the filling from leaking out during frying throughout.
Don't Overfill The Hand Pies: Place a heaping tablespoon of the apple pie filling in the center of each circle — overfilling will make it difficult to seal the edges properly and cause the filling to leak out during frying throughout.
Brush The Edges With Egg Wash Before Sealing: Brush or rub a small amount of egg wash on half of the circumference of each circle before folding — the egg wash acts as a glue that helps the edges seal together properly and prevents leaking throughout.
Seal The Edges Well With A Fork: Use a floured fork to firmly press and seal the edges of each hand pie — take your time here and make sure the edges are very well sealed to prevent the filling from leaking out while frying throughout.
Fold The Sealed Edge In Slightly: After sealing with the fork, gently fold the sealed edge slightly inward toward the hand pie — this extra step helps reinforce the seal and adds another layer of protection against leaking during frying throughout.
Refrigerate The Hand Pies While The Oil Heats: Place the assembled hand pies in the refrigerator while heating the oil — chilling them helps firm up the dough and filling and reduces the chance of them opening or leaking during frying throughout.
Use A Thermometer For The Oil — And Keep It There: The oil should be between 360F–370F before frying and it is strongly recommended to keep the thermometer in the oil throughout the entire frying process — maintaining the correct temperature is the key to perfectly golden, cooked-through hand pies every single time throughout.
Fry In Small Batches: Fry only 3–4 hand pies at a time to keep the oil temperature consistent and give you enough room to flip them easily without crowding the pot throughout.
Make The Brown Butter Maple Vanilla Bean Glaze While The Oil Heats: Prepare the glaze during the oil heating time so it is perfectly smooth and ready to brush or spoon over the warm hand pies the moment they come out of the oil throughout.
Glaze While Still Warm: Brush or spoon the brown butter maple vanilla bean glaze over the hand pies while they are still warm so it melts right over the top for the most beautiful, glossy, and perfectly sweet finish throughout every single hand pie.
How to Store Fried Apple Hand Pies:
Best Served Fresh: These fried apple hand pies are at their absolute best served warm and fresh the day they are made. The crust is perfectly golden, flaky, and buttery and the brown butter maple vanilla bean glaze is at its most silky and glossy right after glazing throughout.
Room Temperature (Short-Term): The glazed hand pies can sit covered at room temperature for up to 1 day. The crust will soften slightly as they sit but they will still be incredibly delicious and bursting with warm spiced apple flavor throughout.
Refrigerator: Store leftover hand pies in an airtight container in the refrigerator for up to 2 days. Keep in mind the crust will soften slightly after storing and the glaze may lose some of its glossy finish — reheating before serving is recommended for the best flaky and buttery texture throughout.
To Reheat: Warm individual hand pies in the oven at 325F for 8–10 minutes until warmed through and the crust is slightly crisp again — the oven is strongly recommended over the microwave for the best flaky and buttery texture throughout.
Freezer: Freeze individual unglazed fried hand pies in a freezer-safe bag or container for up to 2 months. Thaw overnight in the refrigerator, reheat in the oven at 325F until warmed through, and brush or spoon a fresh batch of brown butter maple vanilla bean glaze over the top before serving for the best result throughout.
Make Ahead (Apple Pie Filling): The homemade apple pie filling can be made up to 3 days in advance and stored in an airtight jar or container in the refrigerator — this is a great way to save time the day of making the hand pies throughout.
Make Ahead (Pie Dough): The pie dough can be made and wrapped tightly in plastic wrap and stored in the refrigerator for up to 2 days before rolling, cutting, and assembling the hand pies — this makes the day of frying much quicker and easier throughout.
Make Ahead (Assembled Hand Pies): Assemble the hand pies, place them on a parchment-lined baking sheet, cover tightly, and store in the refrigerator for up to 1 day before frying — this is a great way to prep in advance and fry fresh the day of serving throughout.
Make Ahead (Brown Butter Maple Vanilla Bean Glaze): The glaze can be made in advance and stored in an airtight container at room temperature. Whisk before using and warm slightly if needed to bring back a smooth and perfectly pourable consistency before brushing or spooning over the warm hand pies throughout.
Baking Option: If you prefer not to fry, the hand pies can be baked at 400F for 22–25 minutes until golden brown — brush the tops with egg wash and slit the tops with a knife to create a vent before baking and glaze immediately after removing from the oven for the best result throughout.
FAQs:
Q: Can I make these fried apple hand pies ahead of time?
A: Yes. The apple pie filling and pie dough can both be made in advance and stored separately in the refrigerator. The hand pies can also be assembled, placed on a parchment-lined baking sheet, covered tightly, and stored in the refrigerator for up to 1 day before frying fresh the day of serving for the freshest and most delicious result.
Q: Can I use a different type of apple instead of Granny Smith?
A: Yes. Any apple of choice works beautifully in this recipe — Honeycrisp, Fuji, or Braeburn all work well and pair beautifully with the warm spices and brown butter maple vanilla bean glaze. Granny Smith apples are recommended for their perfectly tart and bright apple flavor that pairs absolutely beautifully with the warm cozy spices throughout.
Q: Can I use store-bought pie crust instead of homemade?
A: Yes. Store-bought pie crust works perfectly as a substitute if you are short on time — simply roll it out, cut into circles, fill, seal, and fry as directed for the same delicious result without the extra steps throughout.
Q: Can I bake these hand pies instead of frying them?
A: Yes. Place the assembled hand pies onto two separate baking sheets, brush the tops with egg wash, and slit the tops with a knife to create a vent. Bake at 400F for 22–25 minutes until golden brown on the top and edges and glaze immediately after removing from the oven for the best result throughout.
Q: Why is it important to keep the pie dough ingredients cold?
A: Cold butter, cold half and half or evaporated milk, and a cold egg are the key to a perfectly flaky and buttery pie crust — keeping everything as cold as possible throughout the entire dough-making process ensures those beautiful flaky layers that shatter and melt with every single bite throughout.
Q: Why do I need to seal the edges so well?
A: A well-sealed edge is the most important step to prevent the apple pie filling from leaking out during frying — take your time pressing the edges firmly with a floured fork and gently folding the sealed edge slightly inward for the best leak-proof seal every single time throughout.
Q: Why do I refrigerate the assembled hand pies before frying?
A: Chilling the assembled hand pies while the oil heats up helps firm up the dough and filling and reduces the chance of them opening or leaking during frying — it is a quick and easy step that makes a big difference in the final golden and flaky result throughout.
Q: Why do I need to keep a thermometer in the oil throughout frying?
A: The oil temperature will fluctuate as you add and remove hand pies from the pot — maintaining the correct temperature of 350F–365F throughout the entire frying process is the key to perfectly golden, cooked-through hand pies every single time. Too low and they will be greasy and undercooked, too high and they will brown too quickly on the outside before cooking through throughout.
Q: Can I use a different fruit filling?
A: Yes. Any fruit pie filling of choice works beautifully in this recipe — cherry, peach, blueberry, or strawberry are all delicious options that pair perfectly with the golden flaky buttery pie crust and brown butter maple vanilla bean glaze throughout.
Q: Can I freeze these hand pies?
A: Yes. Freeze individual unglazed fried hand pies in a freezer-safe bag or container for up to 2 months. Thaw overnight in the refrigerator, reheat in the oven at 325F until warmed through, and brush or spoon a fresh batch of brown butter maple vanilla bean glaze over the top before serving for the best result throughout.
Love these? Check out my other summer recipes:
Pumpkin Cinnamon Roll Pancakes with Whipped Honey Cinnamon Butter
Buttermilk Fried Apples with Homemade Crème Anglaise and Salted Caramel
Make sure to tag me @wellmadebykiley on Instagram and leave a review or comment if you make these fried apple hand pies. Happy baking!