

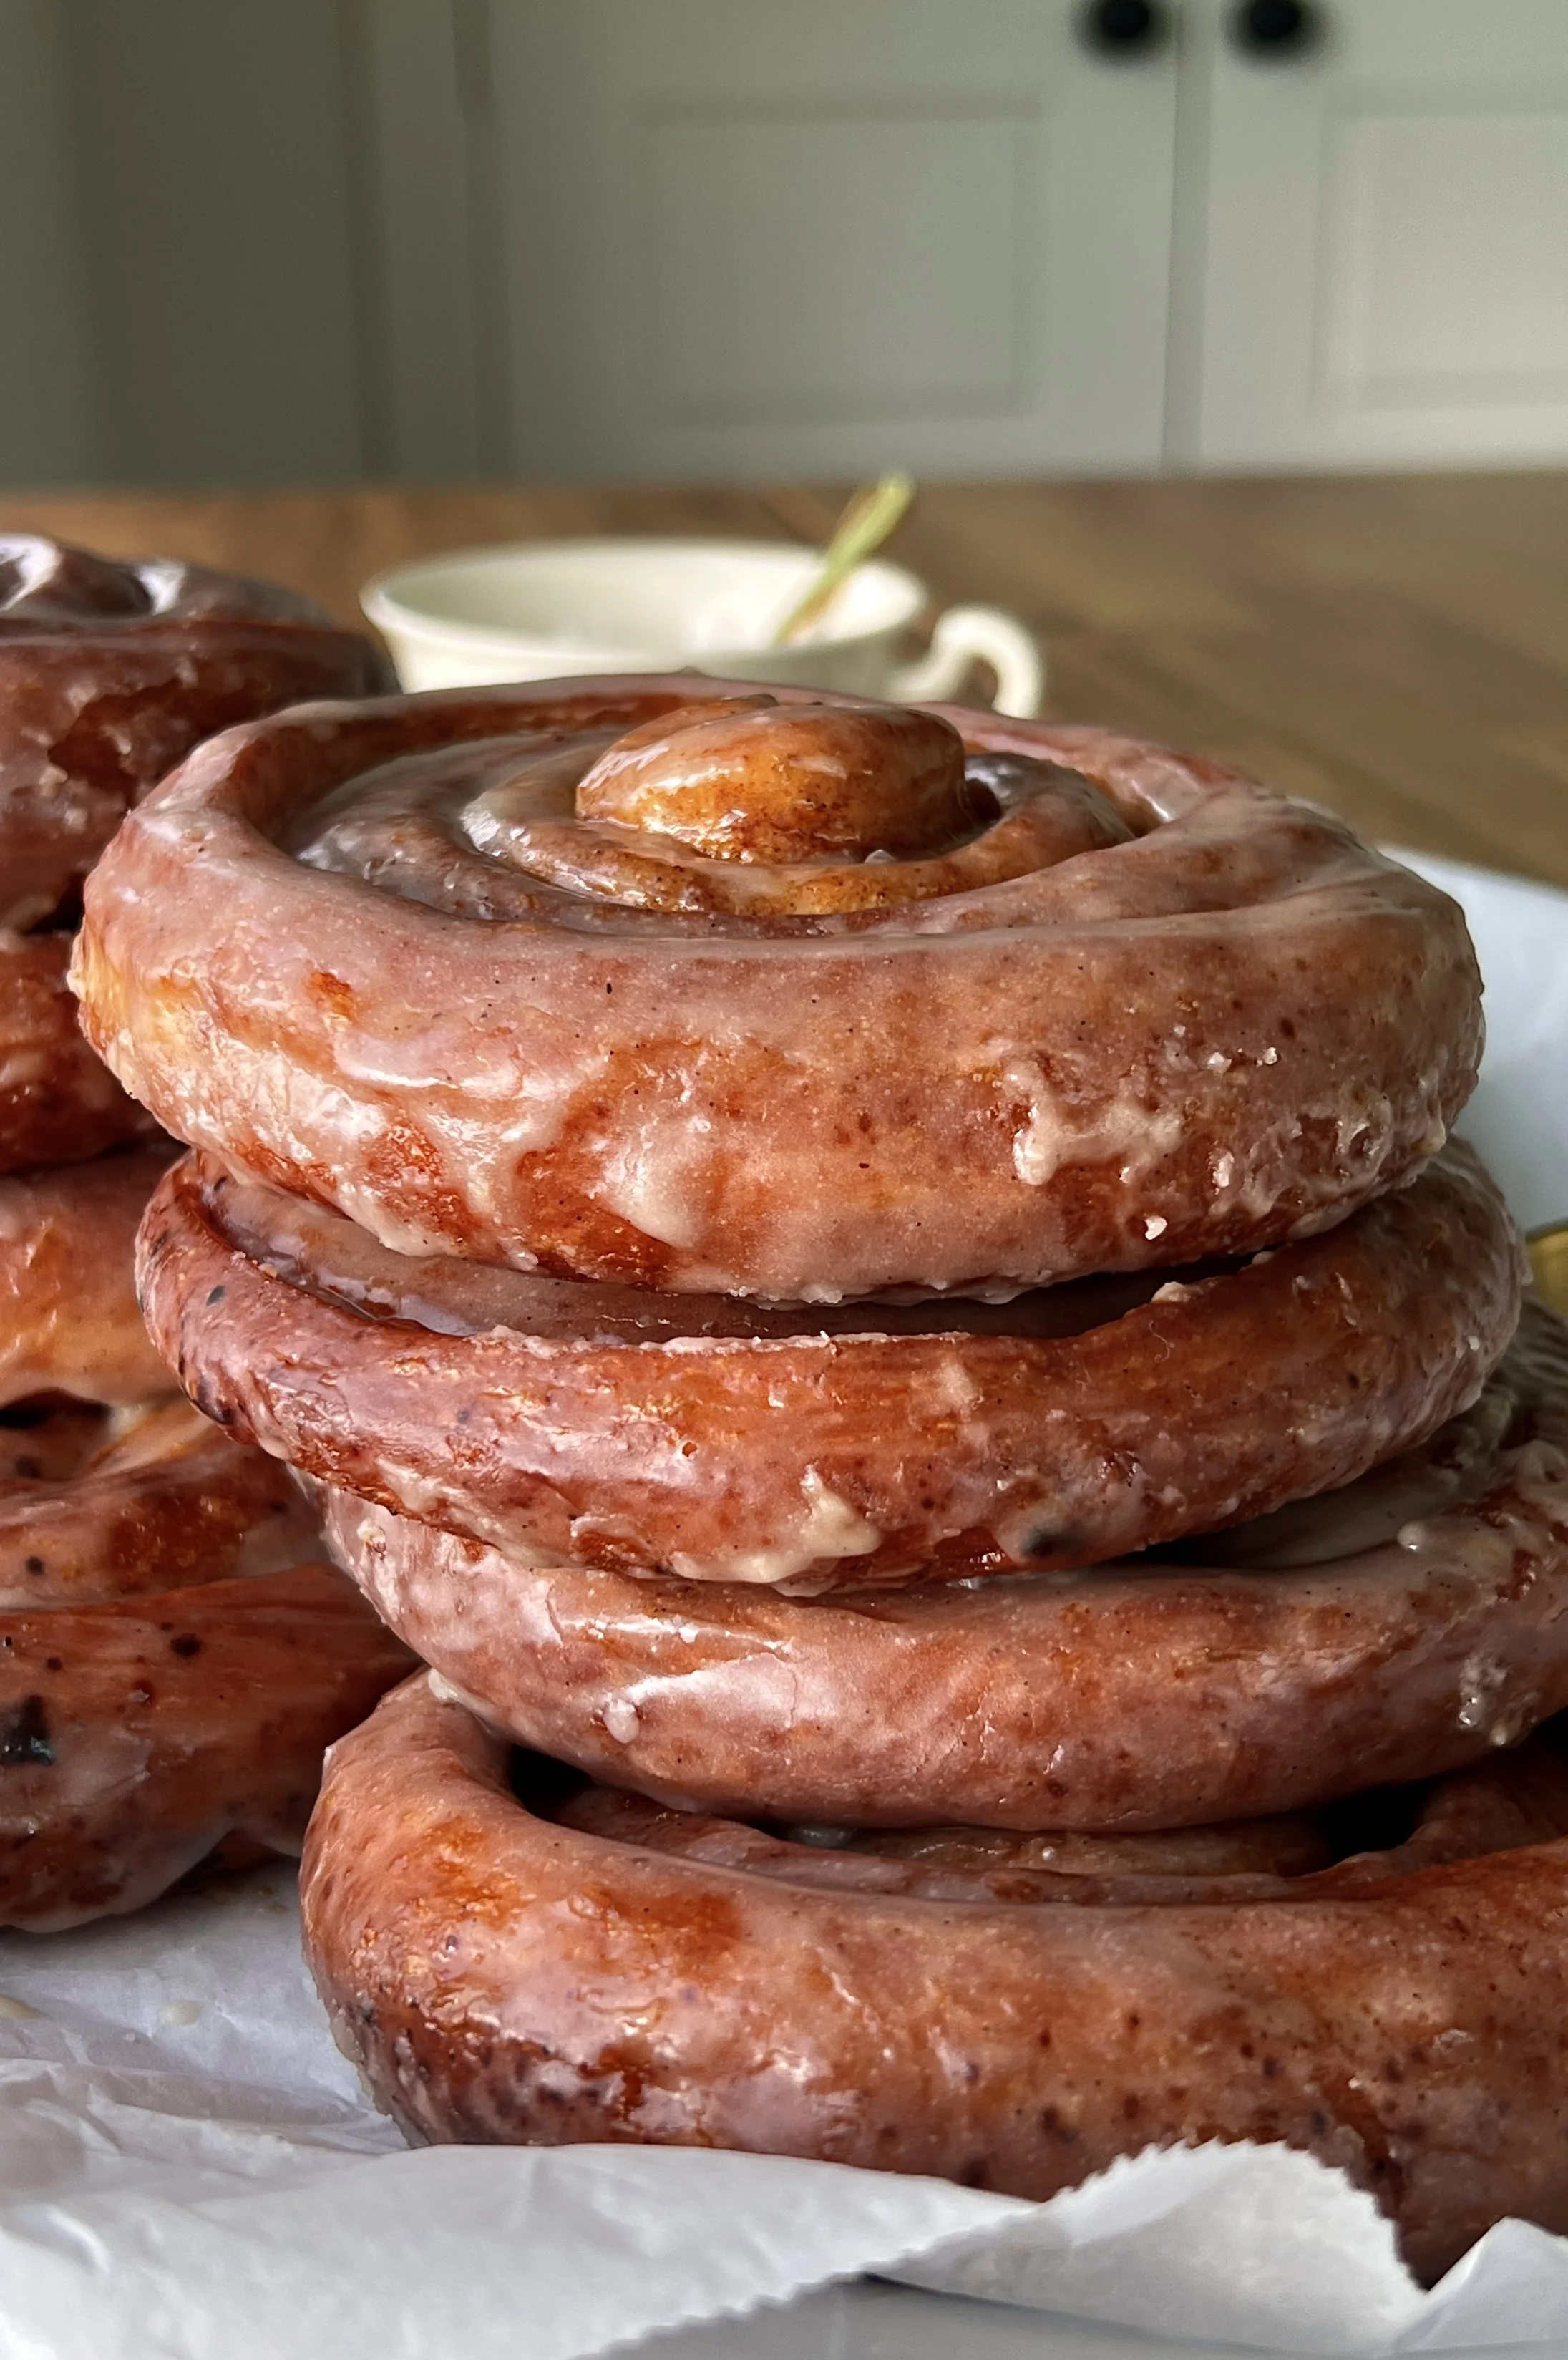
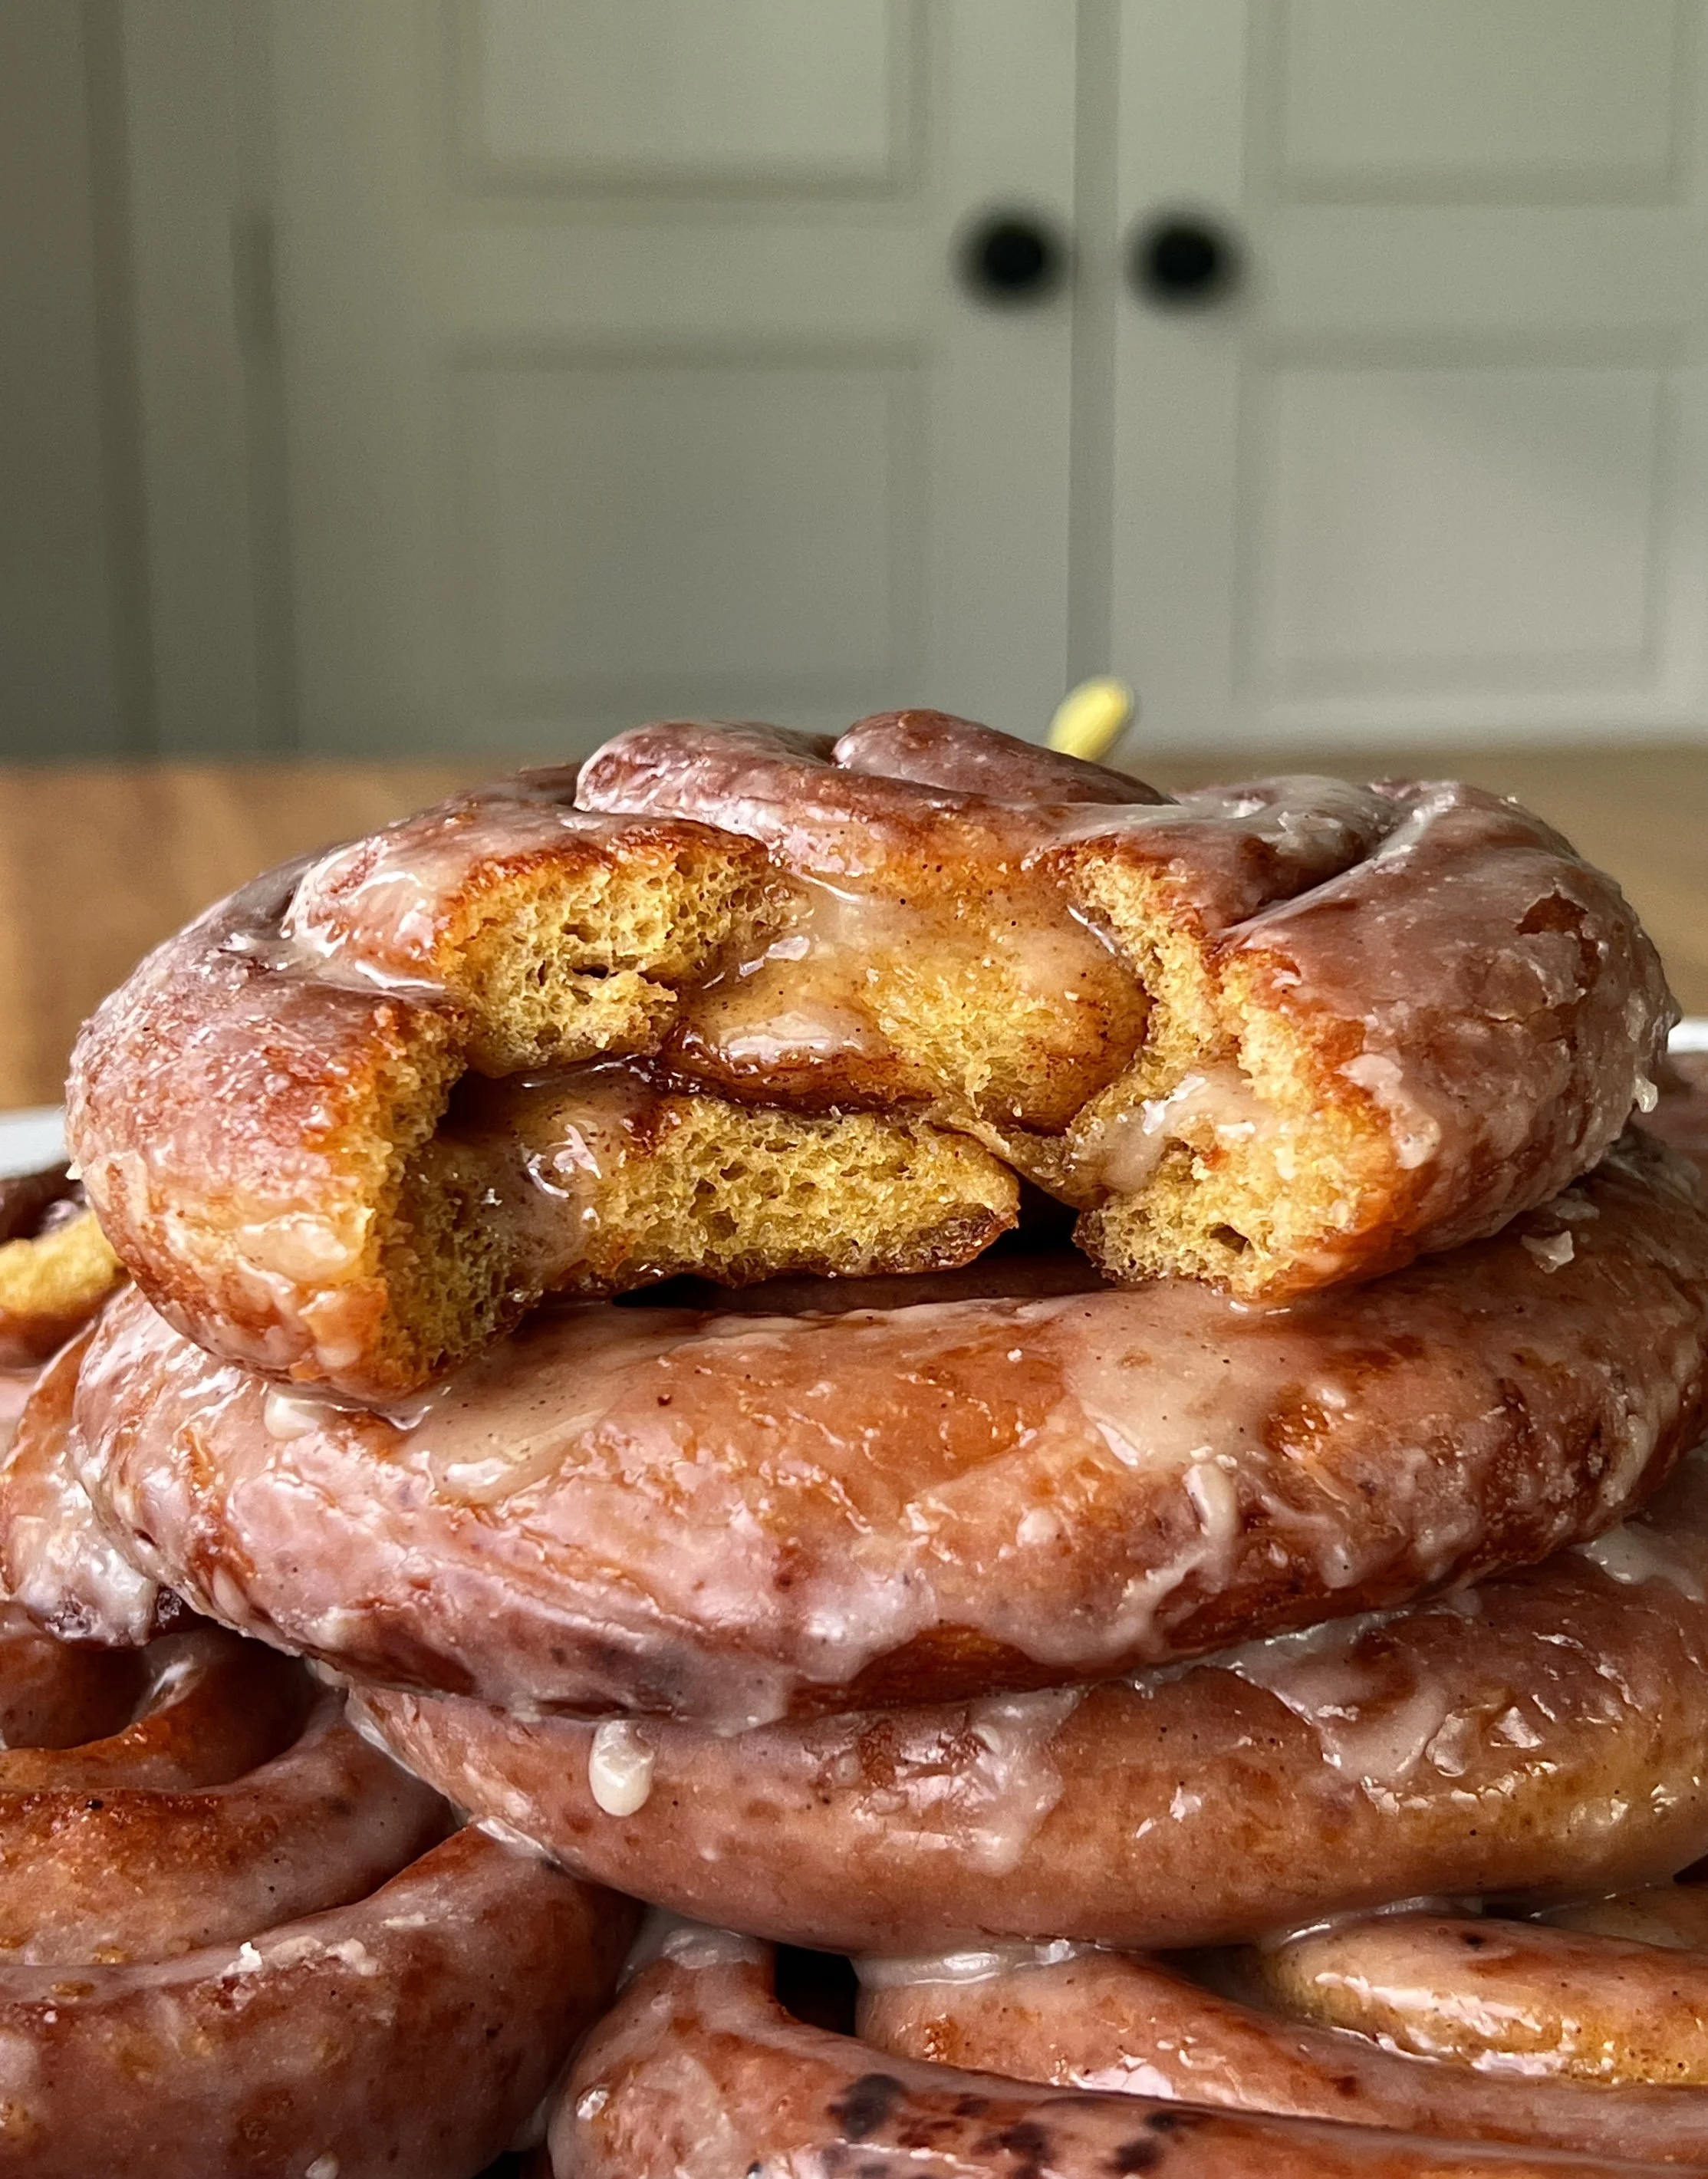
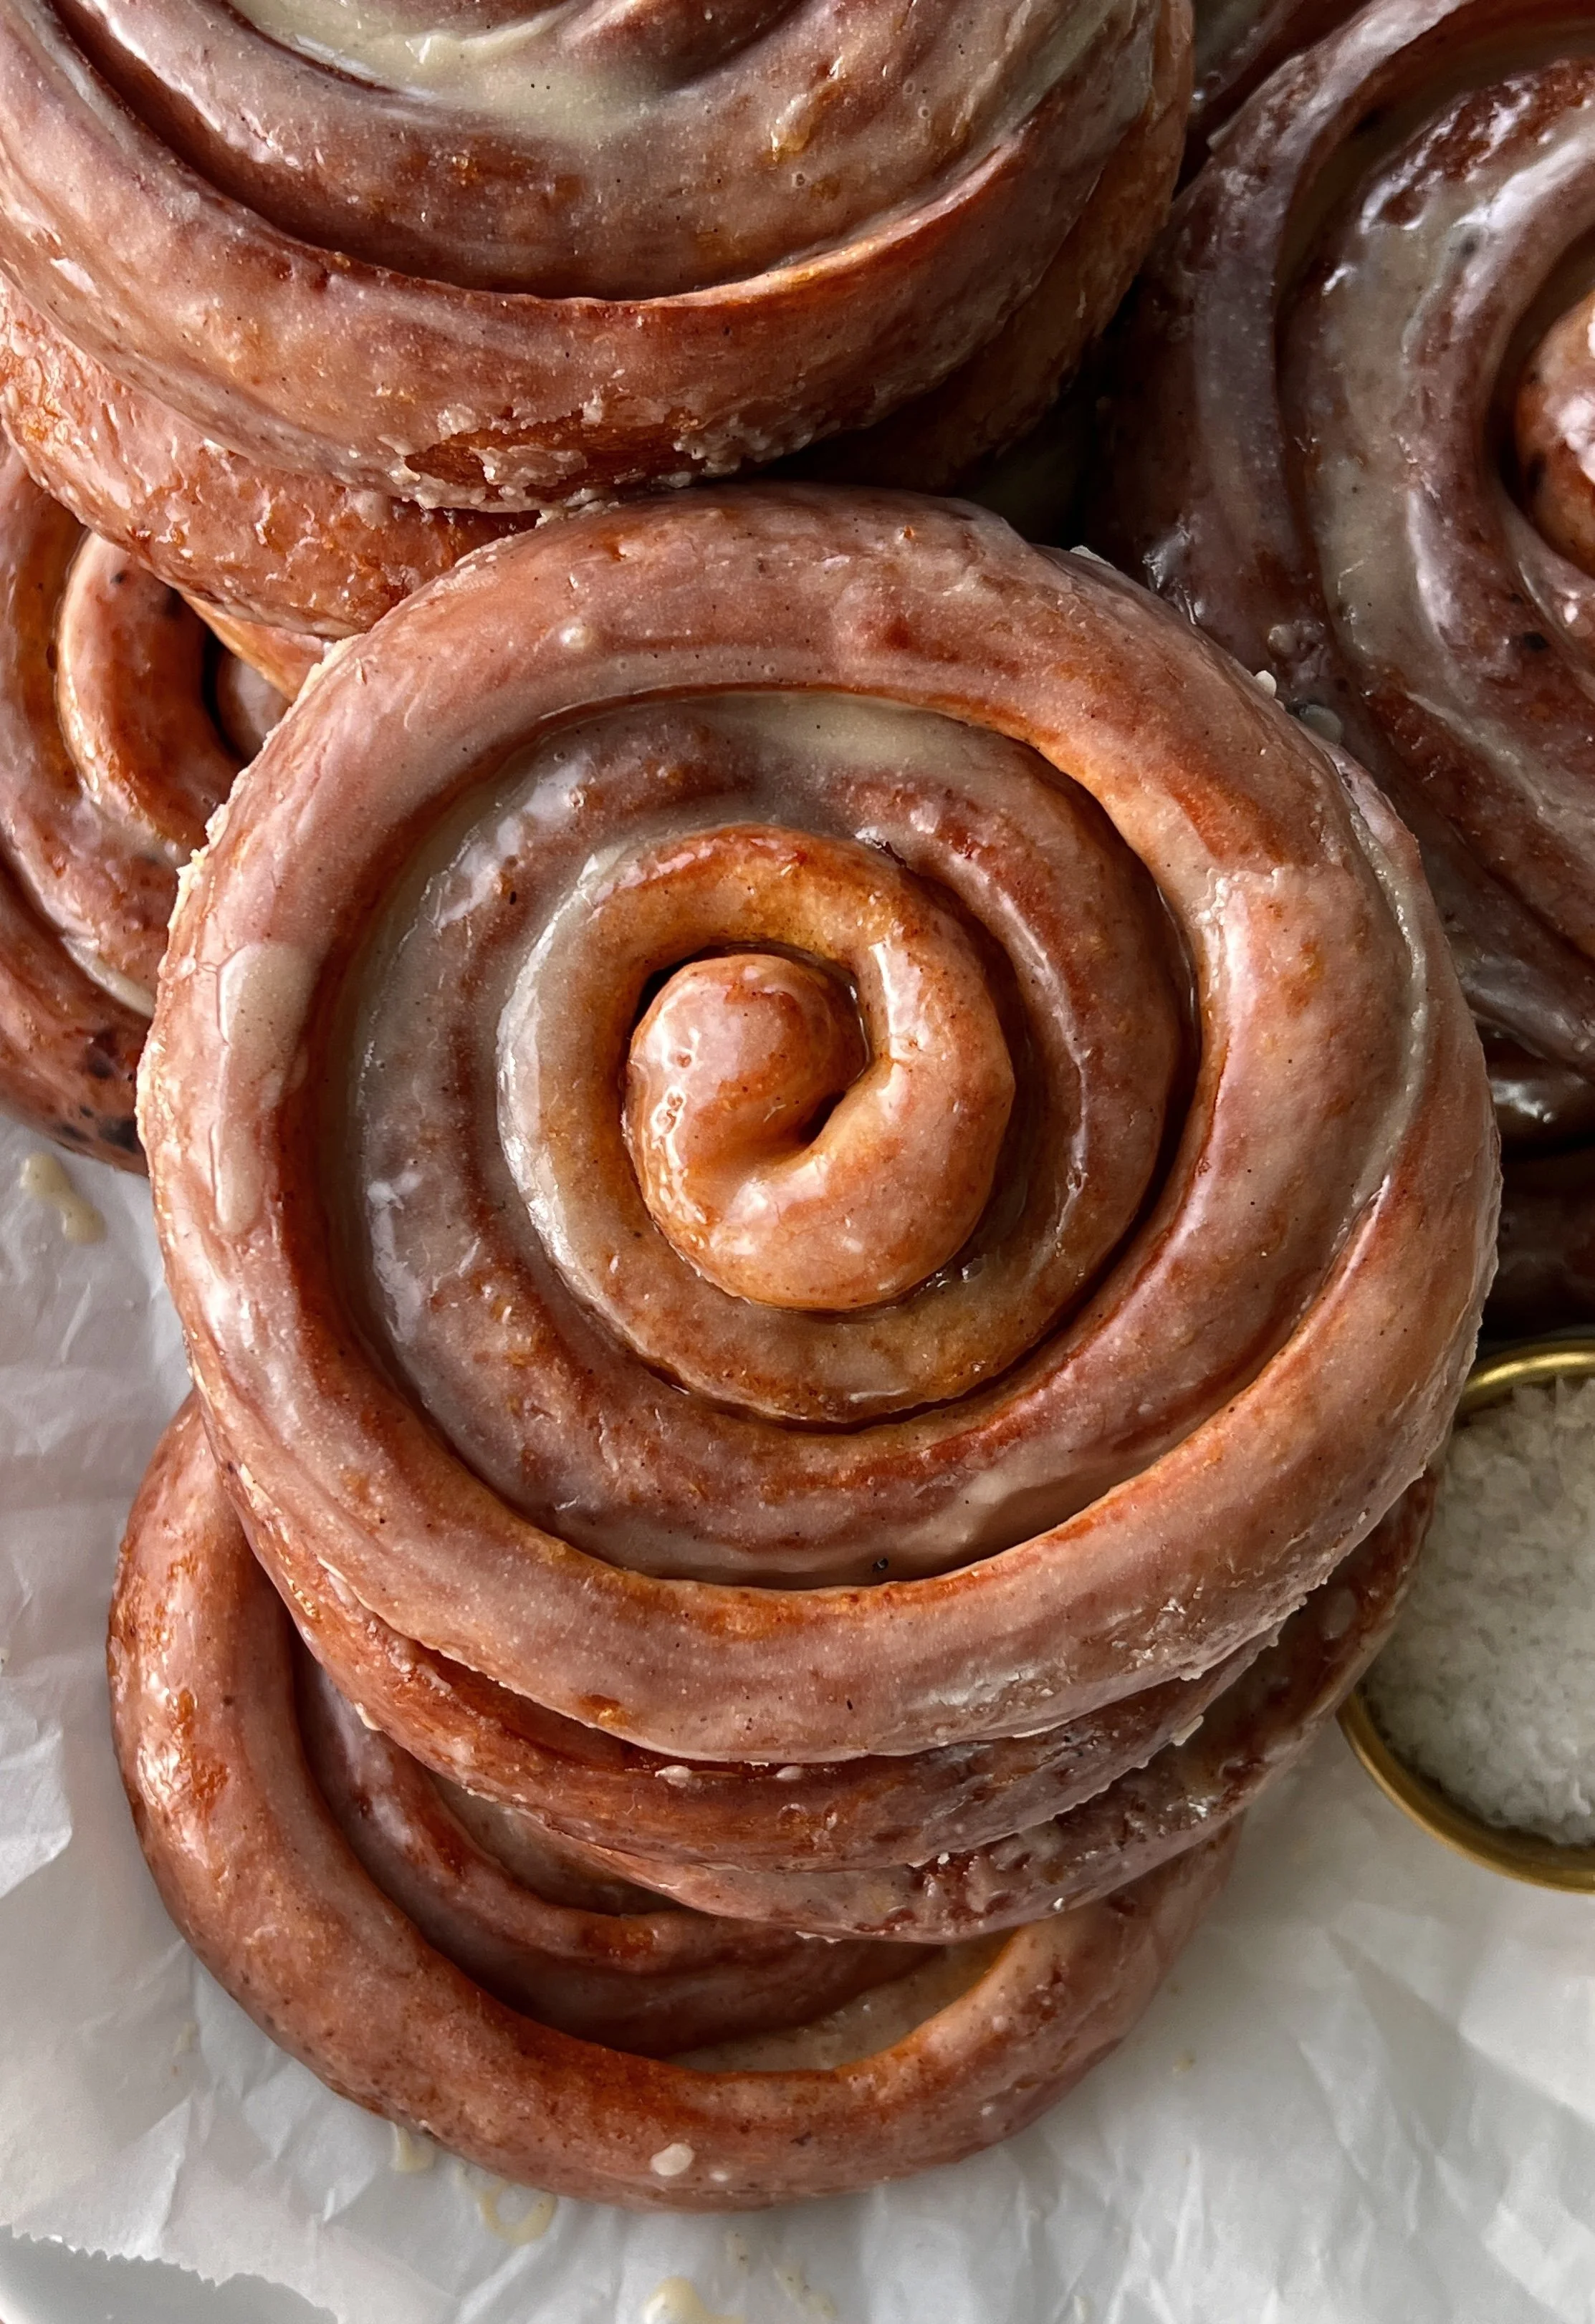
Soft, pillowy, and dripping in honey glaze, these Pumpkin Spice Honey Buns are the fall bake you didn’t know you needed. The pumpkin dough is tender in the middle with a beautifully golden exterior that has just a little chew. Tucked inside every swirl is a warm honey butter and a pumpkin spice brown sugar filling that melts as they cook, creating gooey layers in every single bite. They’re fried to perfection and coated in a honey glaze that sinks into every crack, then served warm with a hot cup of coffee!
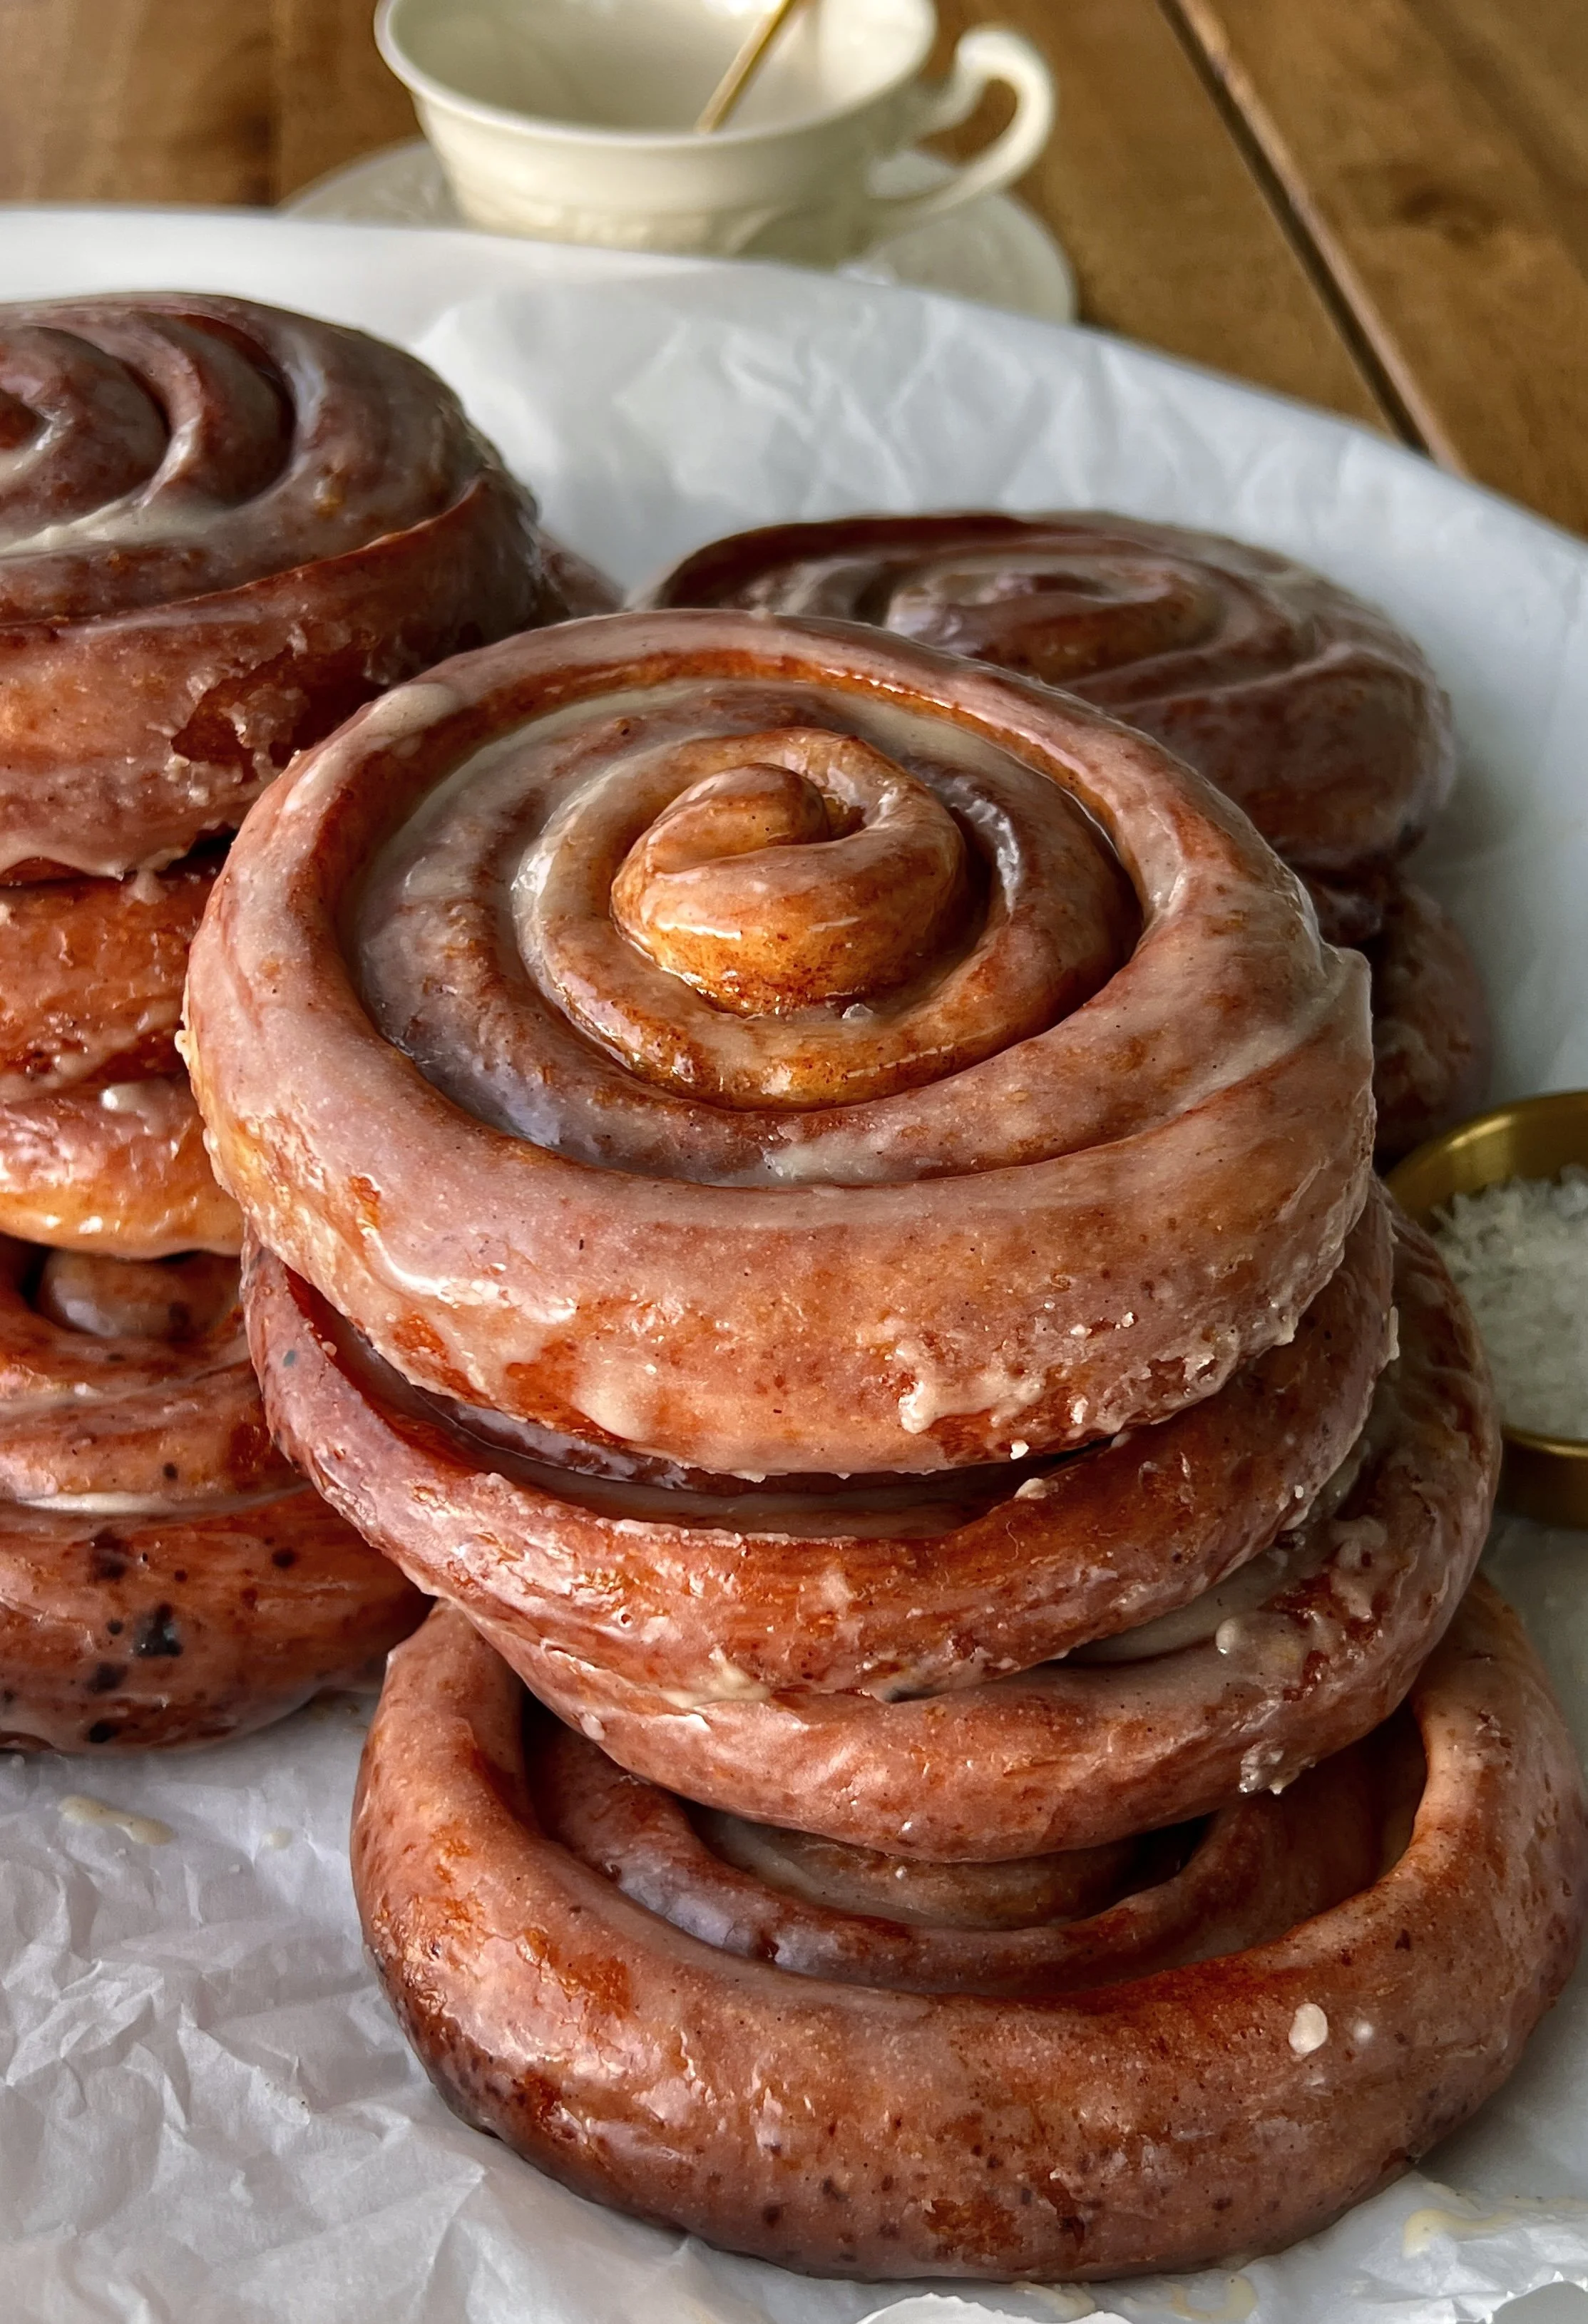
If you try out this recipe, I’d love to see it! Leave a comment with a star rating below and tag @wellmadebykiley on Instagram and hashtag it #wellmadebykiley
Ingredients You Need:
Full ingredients and recipe are in the recipe card below. Read through this section for all the ingredients substitution and baking tips!
Milk: Warmed to about 110F to activate the yeast and add moisture to the dough. It helps create the soft, pillowy pumpkin dough, and any milk of choice works. It’s also whisked into the honey glaze to thin it to a dippable consistency.
Granulated Sugar: Feeds the yeast during activation and adds a touch of sweetness to the pumpkin dough, helping the buns turn a beautiful golden color in the oil.
Active Dry Yeast: The leavening agent that gives these honey buns their soft, fluffy texture. Make sure it’s frothy before adding it to the dough. Instant yeast works as a substitute.
Pumpkin Puree: Adds natural sweetness, moisture, and cozy pumpkin flavor to the dough. Be sure to use plain pumpkin puree and not pumpkin pie filling.
Salted Butter: Used in the dough, honey butter filling, and honey glaze. It’s very softened in the dough for a tender, pillowy crumb, mixed with honey for the gooey filling, and melted into the glaze for a rich, glossy finish.
Egg: Adds structure and richness to the dough so the buns hold together in the oil and stay soft on the inside.
Vanilla Bean Paste or Extract: Adds warm, sweet flavor to the dough, the honey butter filling, and the honey glaze.
Bread Flour: Gives the buns a slightly chewy, structured texture that holds up well during frying. All-purpose flour works as a substitute. See the notes section for how to measure flour properly.
Salt: Balances the sweetness and brings out the pumpkin spice and honey flavors in the dough, filling, and glaze.
Cinnamon: Used in the dough and the pumpkin spice brown sugar filling for warm, cozy spice that pairs beautifully with the pumpkin.
Pumpkin Pie Spice: Used in both the dough and the filling for that classic blend of nutmeg, ginger, and cloves that makes every bite taste like fall.
Honey: Used in both the honey butter filling and the honey glaze. It gives the swirls their sticky, gooey sweetness and creates that classic honey bun glaze that sinks into every crack.
Brown Sugar: The base of the pumpkin spice brown sugar filling. It adds deep, molasses-like sweetness and melts into gooey, caramelized layers as the buns fry.
Powdered Sugar: The base of the honey glaze, creating a smooth, sweet coating that sets into a sticky finish on the warm buns.
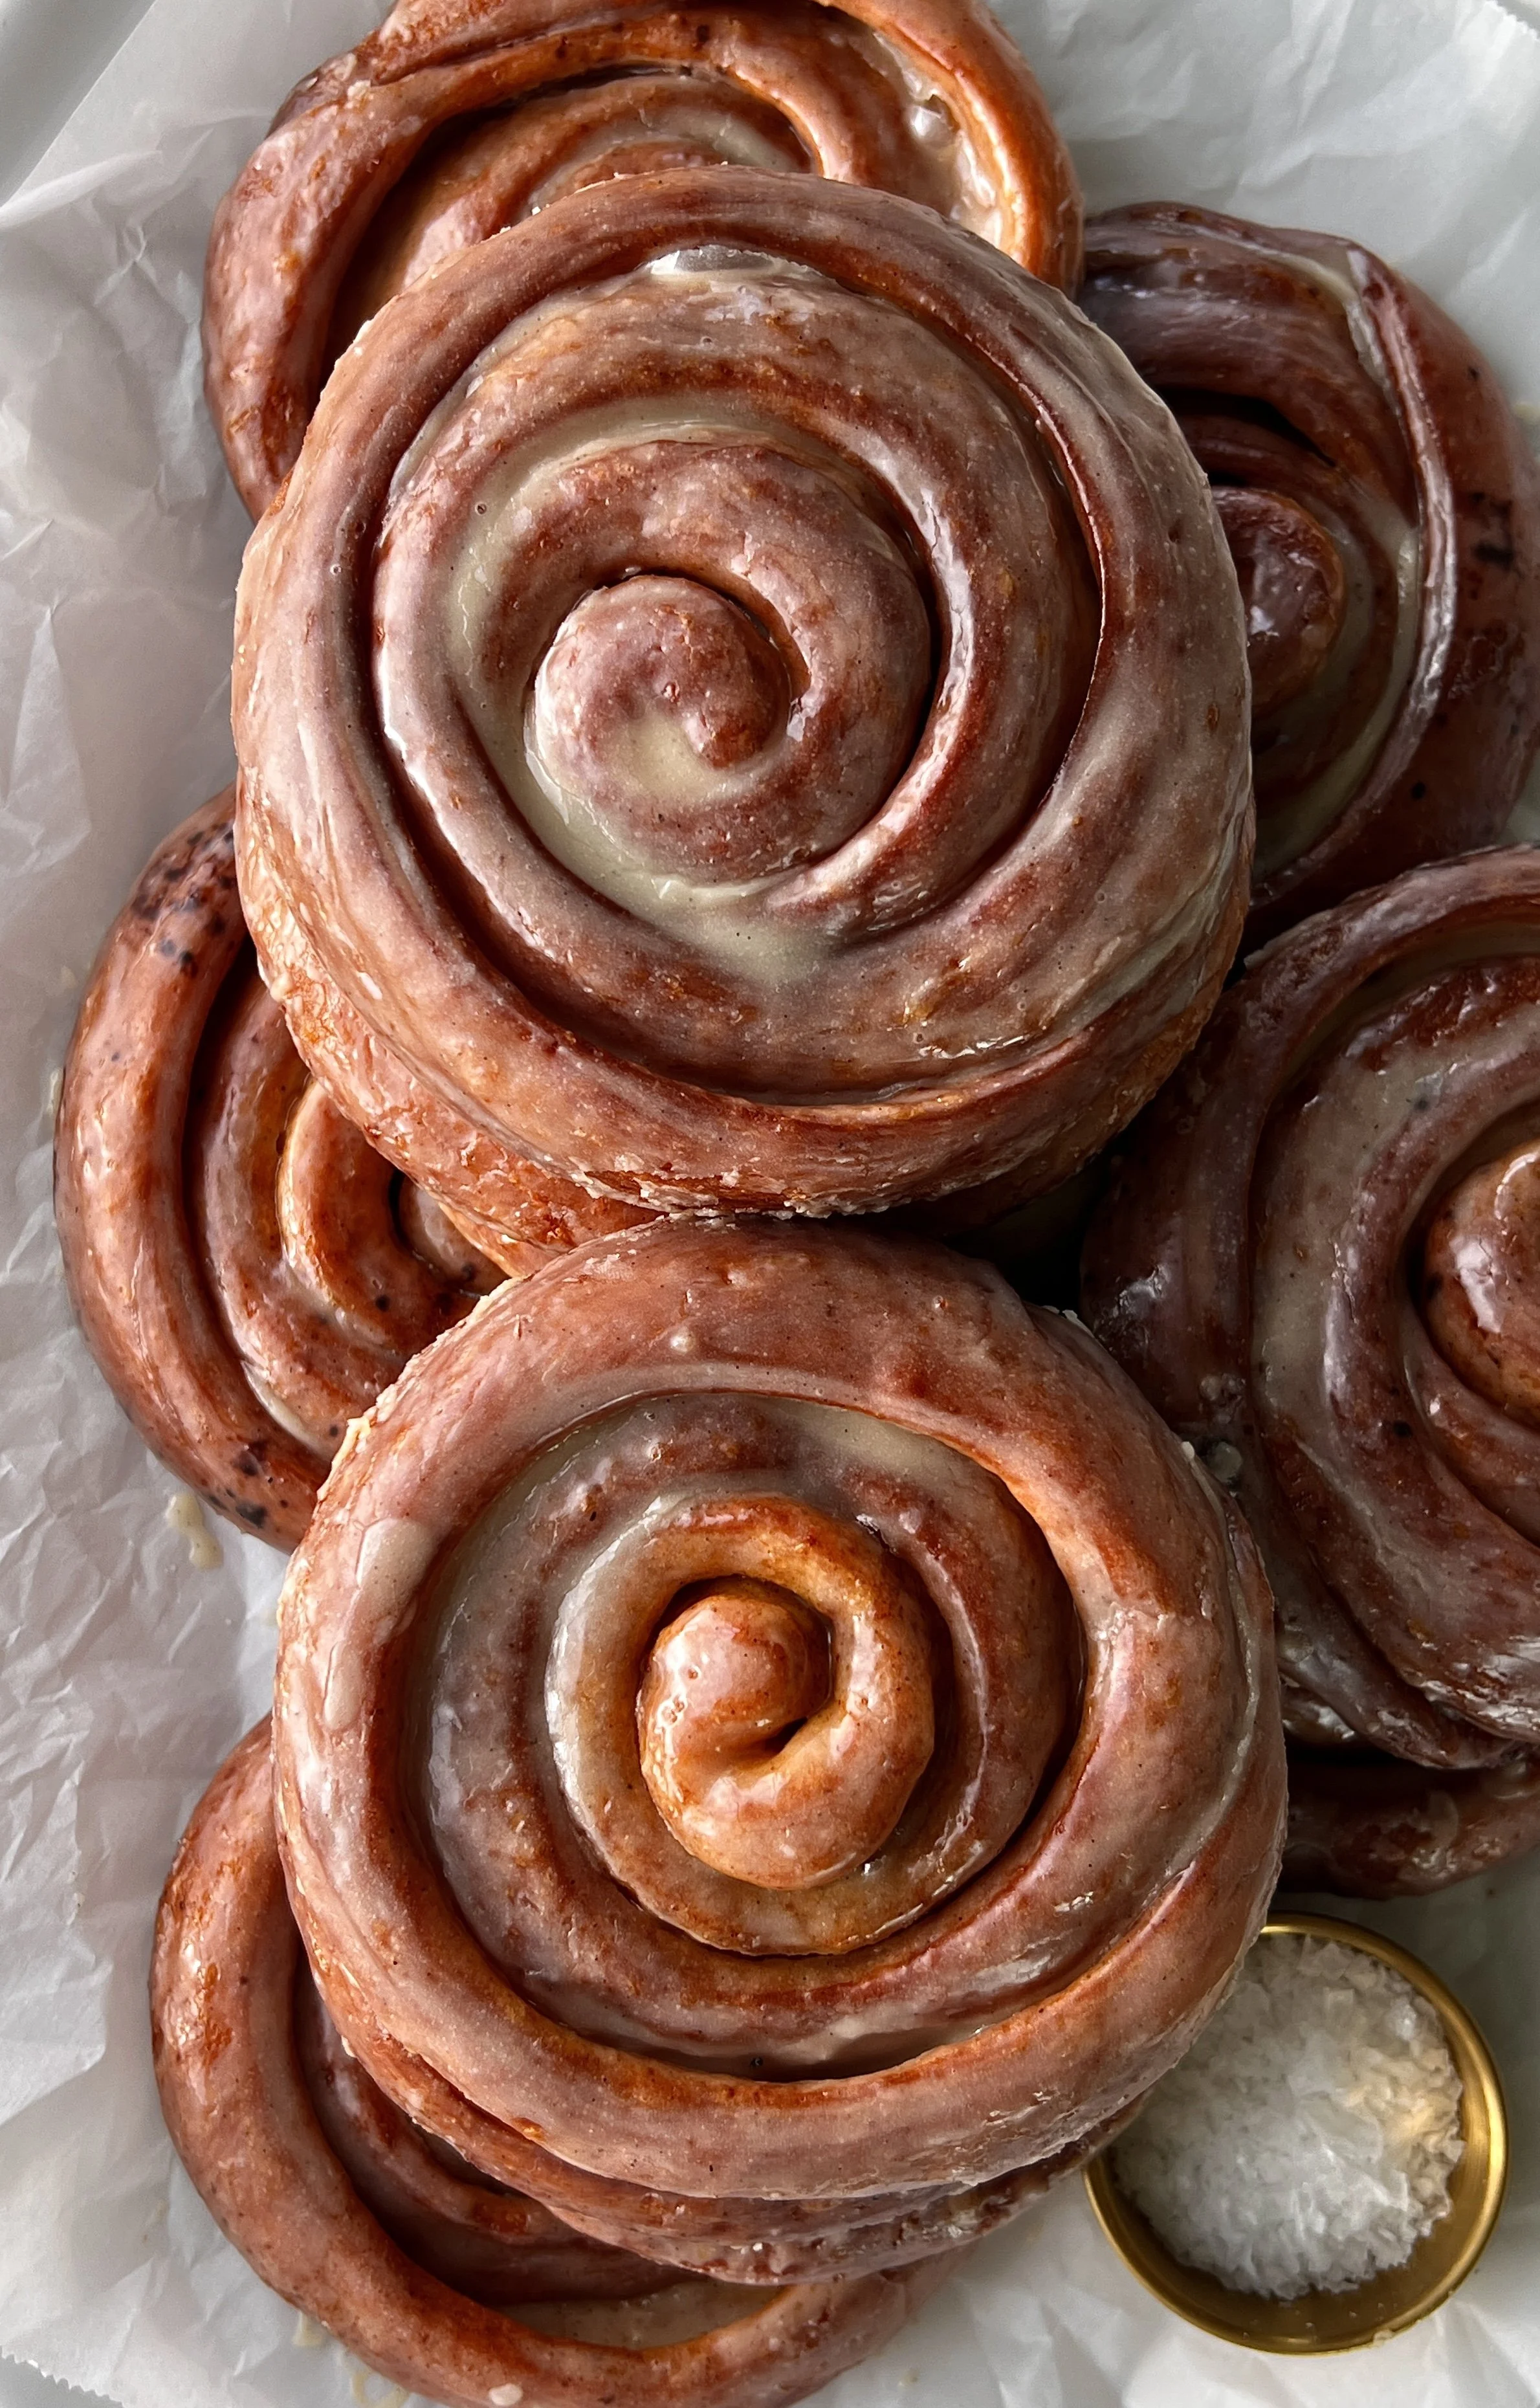
Why You’ll Love Pumpkin Spice Honey Buns:
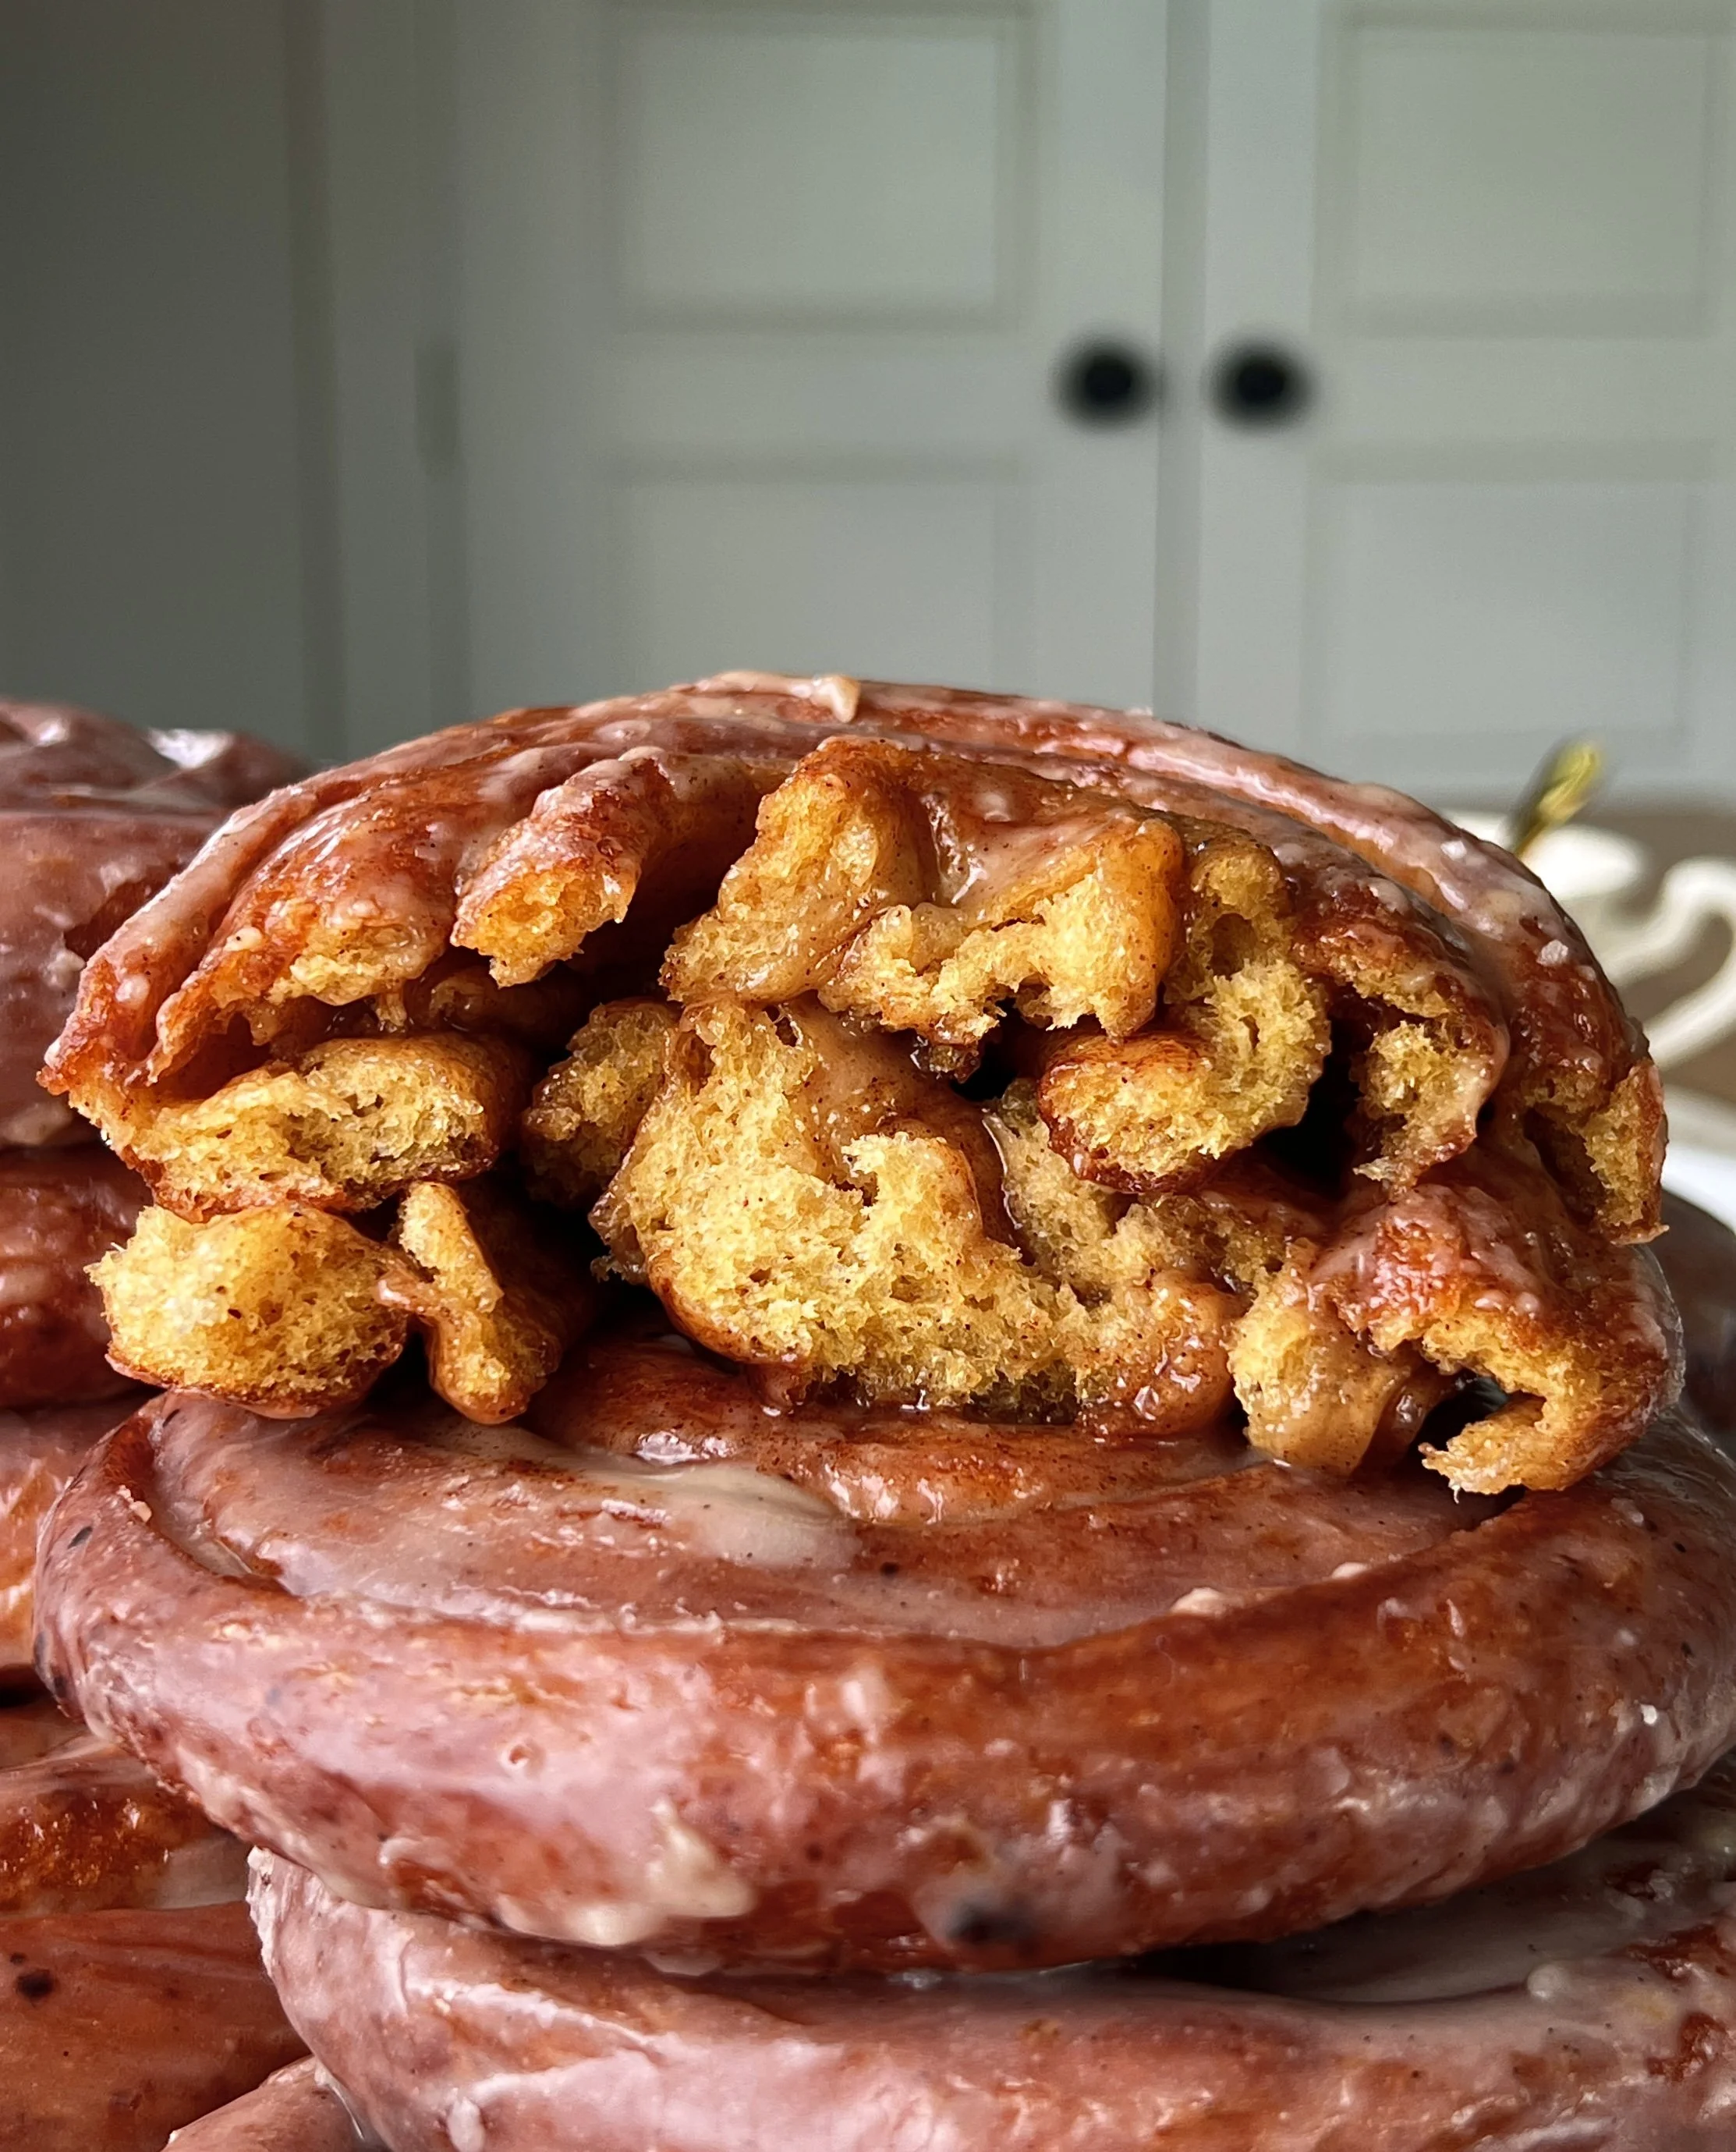
Soft, Pillowy Pumpkin Dough: The pumpkin dough is tender and fluffy in the middle with a beautifully golden exterior that has just a little chew. It’s the kind of texture that makes you reach for a second one before you’ve finished the first.
Gooey Honey Butter And Pumpkin Spice Swirls: A warm honey butter and a pumpkin spice brown sugar filling are tucked into every swirl and melt as the buns cook. You get gooey layers in every single bite.
Honey Glaze In Every Crack: The honey glaze sinks into every crack and crevice of the warm buns, giving them a sticky, sweet finish that makes them taste just like the classic honey bun, only better.
Fried To Golden Perfection: Frying gives these buns that crisp, golden outside with a little chew that you just can’t get from baking. It’s what makes them so fun and so satisfying to eat.
Cozy Pumpkin Spice Flavor: The warm pumpkin spice in both the dough and the filling makes every bite taste like fall. It’s comforting, cozy, and exactly what you want on a chilly morning.
Better Than The Gas Station Classic: If you grew up loving honey buns, these are the homemade, from-scratch version you’ve been missing. Softer, gooier, and made with real pumpkin and real honey.
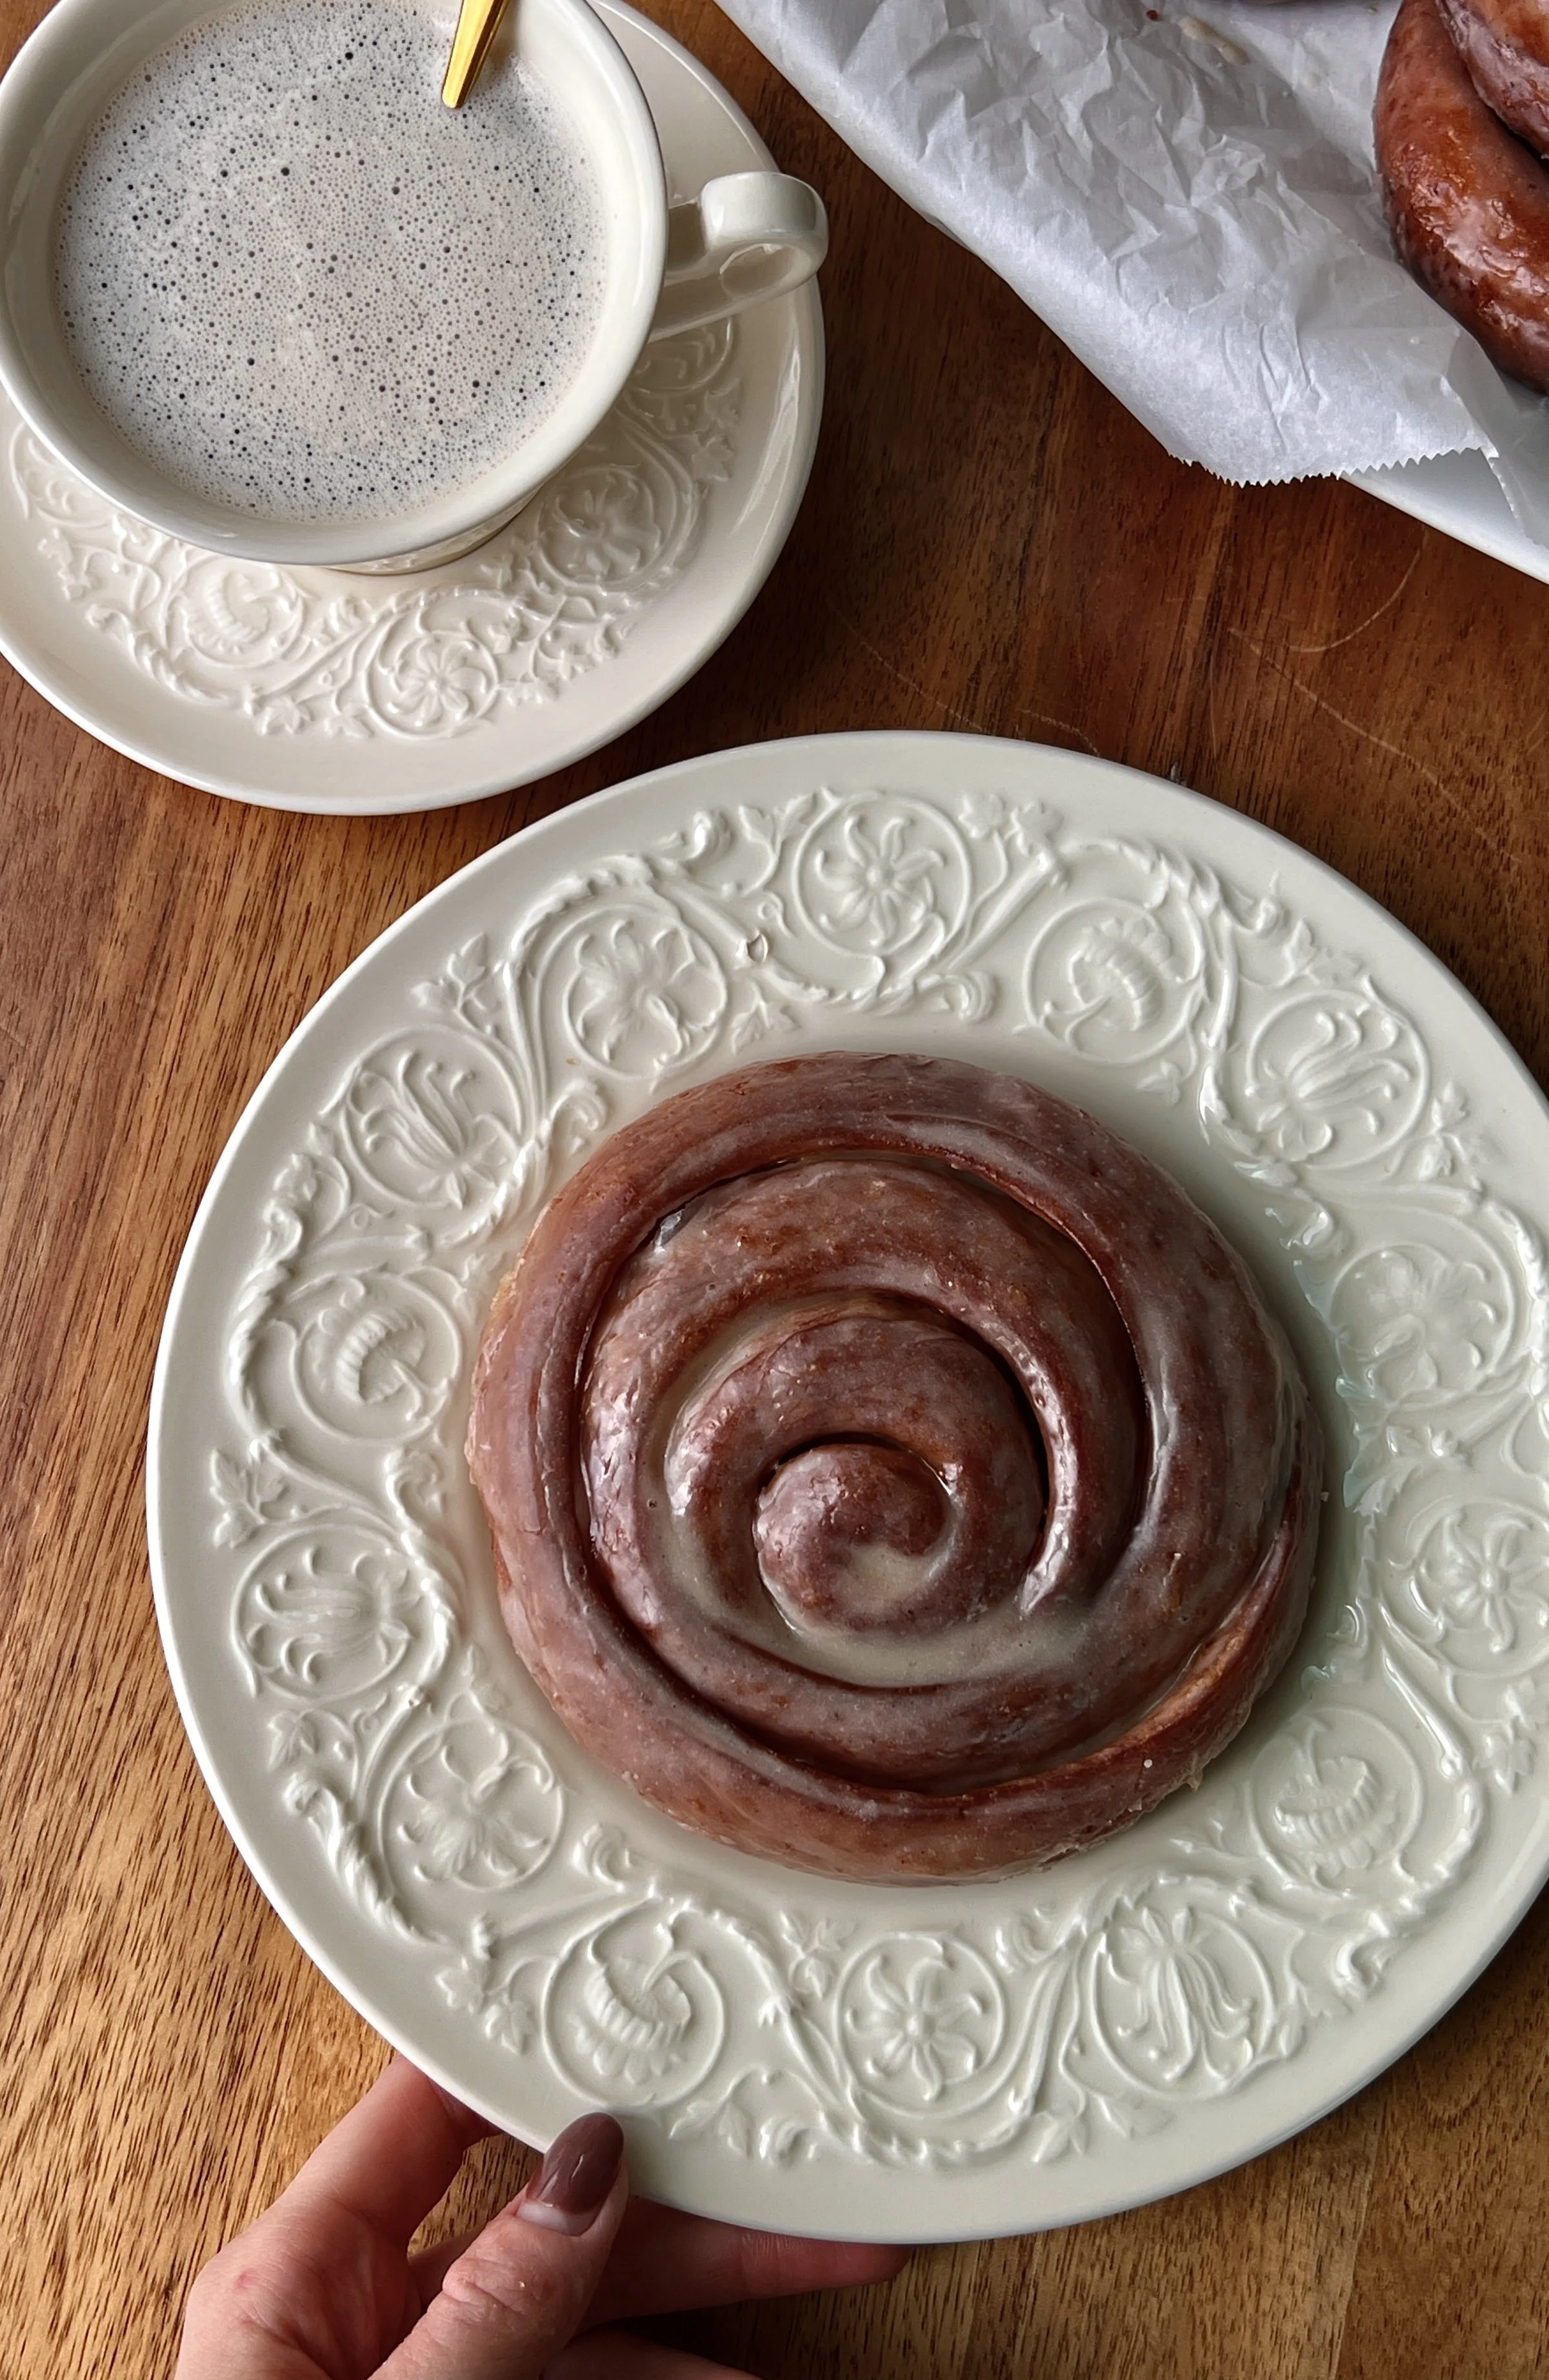
Perfect With A Hot Cup Of Coffee: A warm honey bun and a steaming mug of coffee is one of the best fall breakfast pairings out there. These were made for slow weekend mornings.
Perfect For Any Fall Occasion: Weekend brunch, holiday mornings, Thanksgiving breakfast, or any time a pumpkin craving hits, these are always the first thing to disappear from the table.
Tips for Making Pumpkin Spice Honey Buns:
Activate The Yeast In Warm Milk: Warm the milk to about 110F before activating the yeast. It should feel like a warm bath, not hot. Look for a frothy, bubbly mixture after 5-7 minutes so you know it’s ready. If you’re using instant yeast, you can skip this step and mix it right in.
Use Pumpkin Puree, Not Pumpkin Pie Filling: Make sure you grab plain pumpkin puree. Pie filling has added sugar and spices that will throw off the flavor and texture of the dough.
Use Very Softened Butter In The Dough: The butter should be very soft, almost melted, so it mixes in smoothly and evenly. This is what gives you the softest, most pillowy buns.
Let The Flour Rest Before Kneading: After mixing on low for 1 minute, let the dough rest for 5 minutes. This gives the flour time to soak up the liquid and makes for a smoother, more elastic dough.
Keep The Dough Slightly Sticky: Only add extra flour 1 tablespoon at a time, and only if the dough is too sticky to pull away from the bowl. Too much flour will give you dense, dry buns instead of soft, pillowy ones.
Let The Dough Rise Fully: Give the dough the full 1 to 1.5 hours to double in size. A good rise is what gives these buns their soft, fluffy texture.
Make The Fillings While The Dough Rises: Mix up the honey butter and the pumpkin spice brown sugar filling during the rise so everything is ready to go when the dough is.
Cut The Parchment Squares Ahead Of Time: Cut out your 13 parchment squares before the dough finishes rising. They make it so much easier to get the buns into the hot oil without squishing them. The extra square is for flattening each bun.
Spread The Honey Butter Evenly: Spread the honey butter all the way across the dough, leaving just a tiny border around the edges. Then sprinkle the brown sugar mixture on top and gently press it into the butter so it stays put.
Roll Each Strip Tightly: This one really matters. Roll each strip as tightly as you can and tuck the last inch under the bottom. A tight roll keeps too much of the filling from melting out in the oil.
Flatten Gently With Parchment: Place a second piece of parchment on top of each bun and press down lightly to flatten. This helps the buns fry evenly and gives you that classic honey bun shape.
Don’t Skip The Toothpick: Slide a toothpick into the seam end of each bun to hold it in place while frying. It keeps the buns from unraveling in the oil, so I really recommend not skipping it.
Proof Until Puffy, Not Doubled: Let the shaped buns proof for 30-45 minutes until they look puffy but haven’t doubled in size. Over-proofing can make them greasy and hard to handle in the oil.
Use A Thermometer For The Oil: Keep the oil between 350F and 360F. If it’s too low, the buns soak up oil and turn greasy. If it’s too high, they brown too fast before the inside cooks through.
Fry In Small Batches: Fry just 2-3 buns at a time so the oil temperature stays steady and you have room to flip them easily.
Some Filling Will Leak, And That’s Normal: Don’t panic if a little filling melts out while the buns fry. It’s completely expected and it’s part of what makes the inside so gooey.
Glaze While The Buns Are Still Warm: Dip the buns into the honey glaze while they’re still warm from the oil. That’s what lets the glaze sink into every crack and set into that sticky finish.
Remove The Toothpicks After Glazing: Once the glaze has set, pull out the toothpicks before serving.
Thin The Glaze If Needed: If the glaze looks too thick, add milk 1 tablespoon at a time until it’s easy to dip.
How to Store Pumpkin Spice Honey Buns:
Best Served Fresh: These pumpkin spice honey buns are at their best served warm the day they’re made. The outside is golden with a little chew, the inside is soft and pillowy, and the honey glaze is at its stickiest right after dipping.
Room Temperature: Store glazed buns loosely covered at room temperature for up to 1 day. The exterior will soften as they sit, but they’ll still be soft and delicious.
Refrigerator: Store leftovers in an airtight container in the refrigerator for up to 3 days. Let them come to room temperature or warm them up before serving for the best texture.
To Reheat: Warm individual buns in the microwave for 15-20 seconds until soft and gooey again. The oven at 325F for 5-8 minutes also works well if you want to bring back a little of the golden exterior.
Freezer: Freeze individual unglazed fried buns in a freezer-safe bag or container for up to 2 months. Thaw overnight in the refrigerator, reheat in the oven at 325F until warmed through, and dip in a fresh batch of honey glaze before serving.
Make Ahead (Overnight Dough Method): Make the dough and let it complete the first rise, then cover tightly and refrigerate overnight. The next day, let the dough sit at room temperature for about 30 minutes, then roll, fill, shape, and flatten the buns as directed. Proof for 30-45 minutes until puffy, then fry and glaze.
Make Ahead (Shaped Buns Overnight): Shape the buns, flatten them, and place them on their parchment squares with the toothpicks in. Cover tightly and refrigerate overnight instead of doing the second proof. Let them sit at room temperature for 30-45 minutes while the oil heats before frying.
Make Ahead (Fillings): The honey butter and pumpkin spice brown sugar filling can be made up to 2 days in advance. Store the honey butter covered in the refrigerator and let it soften slightly before spreading.
Make Ahead (Honey Glaze): The glaze can be made a day ahead and stored covered at room temperature. Give it a good whisk and add a splash of milk if it has thickened.
FAQs:
Q: Can I make the dough the night before and shape and fry the buns the next day?
A: Yes. Make the dough and let it complete the first rise, then cover tightly and refrigerate overnight. The next day, let it sit at room temperature for about 30 minutes before rolling it out, adding the fillings, and shaping the buns. Proof for 30-45 minutes until puffy, then fry and glaze as directed.
Q: Can I shape the buns the night before and fry them the next day?
A: Yes. Shape the buns, flatten them, and secure each with a toothpick on its parchment square. Cover tightly and refrigerate overnight instead of doing the second proof. Let them sit at room temperature for 30-45 minutes while the oil heats, then fry and glaze as directed.
Q: Can I bake these instead of frying?
A: These honey buns are designed to be fried for the classic soft, chewy texture. Baking will create a different, more bread-like result. If you do decide to bake them, bake at 350F for 18-20 minutes, and add 2 minutes at a time as needed until golden. Then remove from the oven, glaze, and serve.
Q: Can I use instant yeast instead of active dry yeast?
A: Yes. If you’re using instant yeast, there’s no need to activate it first. Add it directly to the dough along with the warm milk and keep going with the recipe.
Q: Can I use all-purpose flour instead of bread flour?
A: Yes. All-purpose flour works as a substitute. Bread flour gives the buns a slightly chewier, more structured texture, but they’ll still be soft and delicious. See the notes section for how to properly measure flour.
Q: Can I use pumpkin pie filling instead of pumpkin puree?
A: No. Use plain pumpkin puree. Pumpkin pie filling has added sugar and spices that will throw off the flavor and texture of the dough.
Q: Why do I need to use a toothpick?
A: The toothpick holds the seam in place so the buns don’t unravel while frying. It’s a small step that makes a big difference, so I really recommend not skipping it.
Q: Is it normal for the filling to leak out while frying?
A: Yes, completely normal. Some of the honey butter and brown sugar filling will melt out as the buns cook. Rolling each strip tightly keeps most of it inside and helps you get those gooey layers in every bite.
Q: Can I bake these instead of frying them?
A: These are made to be fried, and that’s what gives them the golden, slightly chewy exterior that makes them taste like a classic honey bun. Baking isn’t recommended for this recipe.
Q: What oil is best for frying?
A: Avocado oil is great for its neutral flavor and high smoke point, but any neutral oil of choice works well.
Q: Why do I need to use a thermometer for the oil?
A: The oil temperature changes as you add and remove buns. Keeping it between 350F and 360F means the buns turn golden on the outside and cook through on the inside, without turning greasy or browning too fast.
Q: Can I freeze these honey buns?
A: Yes. Freeze individual unglazed fried buns in a freezer-safe bag or container for up to 2 months. Thaw overnight in the refrigerator, reheat in the oven at 325F until warmed through, and dip in a fresh batch of honey glaze before serving.
Love this? Check out my other fall breakfast recipes:
Make sure to tag me @wellmadebykiley on Instagram and leave a review or comment if you make these pumpkin spice honey buns. Happy baking!